The Ultimate Rock Solid Fried Ice Cream Crispy Coating Frozen Centre
- The Magic of Temperature: Why This Fried Ice Cream Recipe Works
- Deconstructing the Delight: Expecting Perfection on Your Plate
- Curating Your Components: What Goes Into the Coating
- Phase One: Achieving Rock-Hard Ice Cream Spheres
- The Triple Dip: Building the Unbeatable Warm Crust
- Frying Dynamics: Mastering the Quick Heat Transfer
- Troubleshooting Common Pitfalls in Your Fried Ice Cream Attempt
- Beyond Cinnamon: Creative Topping Combinations and Variations
- Recipe FAQs
- 📝 Recipe Card
The Magic of Temperature: Why This Fried Ice Cream Recipe Works
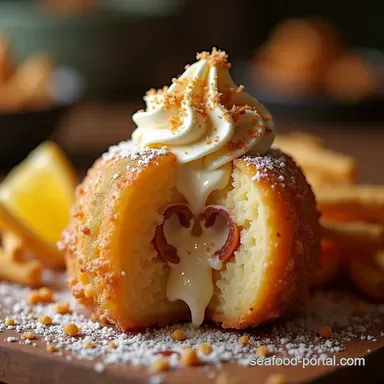
There is perhaps no dessert more theatrical or instantly gratifying than perfectly executed Fried Ice Cream. It’s a culinary paradox: a searingly hot, crisp shell protecting an impossibly cold, creamy core. Achieving this isn't about magic; it's about meticulous temperature management.
The success of this Fried Ice Cream Recipe hinges entirely on creating an insulating barrier so effective that the ice cream itself barely registers the heat of the oil. We are aiming for instant caramelization of the crust, not diffusion of heat into the dairy.
When done right, every bite of this Fried Dessert is a textural symphony, moving from shatteringly crisp to lusciously frozen in milliseconds.
Deconstructing the Delight: Expecting Perfection on Your Plate
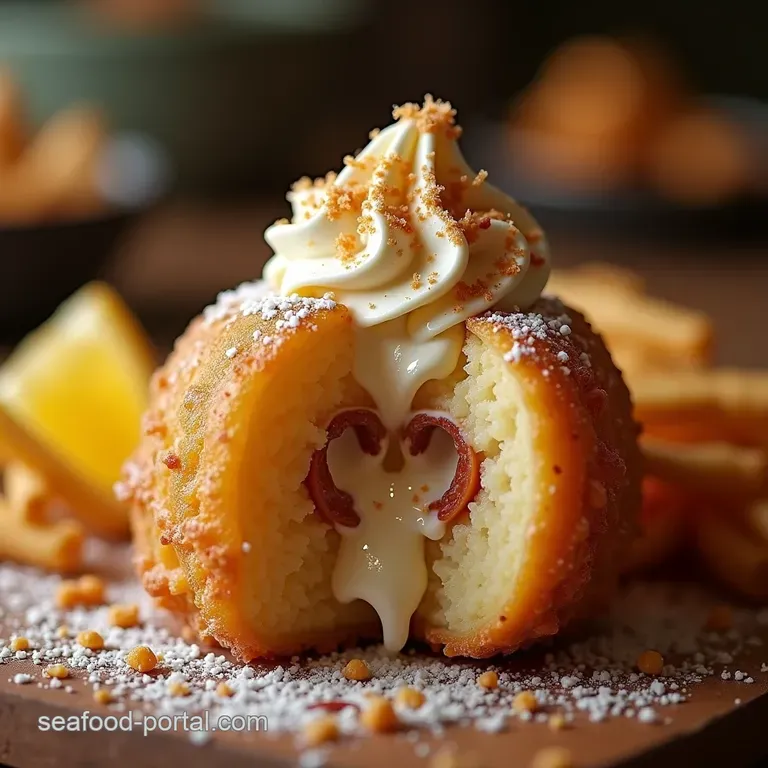
This specific Fried Ice Cream Dessert moves far beyond simple battered scoops. We are building armour for the ice cream. Our goal is a robust, flavour packed coating, drawing inspiration from traditional Mexican Fried Ice Cream preparations, which often utilize toasted cereal or crisp cookies rather than standard breadcrumbs.
You should expect a dessert that delivers intense contrast the warmth of the cinnamon spiced crust meeting the icy blast of premium vanilla. This isn't just a recipe; it's an exercise in controlled extremes.
A Showstopper That Isn't Scary: Demystifying the Technique
Many home cooks shy away from attempting this classic due to the perceived difficulty, but I assure you, this Easy Fried Ice Cream approach demystifies the process. The secret isn't in the frying itself which is incredibly quick but in the preparation preceding it.
We utilize a standard three stage dredging process (flour, egg, coating) but supercharge the chilling phase. If you follow the freezing protocols strictly, you’ll find that even a novice can deliver this impressive Fried Dessert .
Why 'Rock Solid' Matters for Perfect Fried Ice Cream Results
When we talk about the ice cream centre, "cold" simply isn't good enough; it must be rock solid . We are working with very high temperatures in the oil around 375° F ( 190° C) and the contact time needs to be under a minute.
If the scoop has even a slight surface melt, that water content will leach into the crust or, worse, cause the entire structure to collapse the second it hits the hot fat. Therefore, we begin by scooping our premium vanilla ice cream and freezing it until it has the density of granite before any coating is applied.
Essential Kitchen Gear for Success (Beyond the Stove)
While a deep fryer simplifies things, a heavy bottomed pot works perfectly well for this Fried Ice Cream Recipe . The most critical piece of equipment, non-negotiable for this Deep Fried Desserts category, is a reliable candy or deep fry thermometer.
Without accurately monitoring the oil temperature, you are guessing, and guesswork leads to melted ice cream. Plus,, ensure you have a sturdy ice cream scoop the kind that releases cleanly to form uniform balls for even cooking times.
Curating Your Components: What Goes Into the Coating
The coating is the protective shell, and it needs two things: excellent adherence and fantastic flavour. For the best results in this Easy Ice Cream Recipe , we are utilizing the classic trifecta of dredging stations: a dry component (flour), a binder (egg wash), and the textural element (our crushed mixture).
The Ideal Breadcrumb Blend for Maximum Crunch
Forget plain white breadcrumbs here; we are elevating the texture. For the most authentic and satisfying crunch that characterises great Mexican Fried Ice Cream , I recommend combining 3 cups of crushed, toasted cornflakes with an equal measure of finely crushed vanilla wafers or shortbread cookies.
The cornflakes offer lightness and crispness, while the wafers add sweetness and structure. A gentle half teaspoon of ground cinnamon mixed into this blend injects that warm, traditional spice note that everyone expects.
Binding Agents and Egg Wash Secrets Revealed
The flour station, using about 1 cup of all-purpose flour seasoned lightly with salt, ensures the egg wash has something dry to grip onto initially. The egg wash itself should be two large eggs, lightly beaten until just combined over-whipping introduces too much air.
This sticky medium is what allows our crunchy cereal mixture to adhere firmly to the frozen surface of the scoop.
Prepping Your Scoop Shapes for Quick Freezing
Before assembly, the quality of your initial scoop determines the success of the final fry. Using a solid ice cream scoop, form six uniform balls, aiming for about half a cup each. Place these immediately onto a parchment lined baking sheet.
Uniformity is key, as any significant size difference will result in some scoops being perfectly fried while others turn into soup.
Phase One: Achieving Rock Hard Ice Cream Spheres
This initial freezing phase is non-negotiable. After scooping, these spheres must enter the deepest, coldest part of your freezer for a minimum of two hours. They need to be absolutely rock solid before they meet the dredging stations.
If your freezer runs warm, push this initial freeze time to four hours or even overnight. Remember, the colder they are now, the more forgiving they will be during the quick assembly process.
Related Recipes Worth Trying
- The Proper Picnic Pal Ultimate Creamy Tuna Pasta Salad — Ditch the dull This is the best Tuna Pasta Salad recipe featuring a tangy dill dressing and essential celery crunch Simple to make and perfect for lunch
- The Ultimate Extra Crispy Buttermilk Fried Chicken Tenders — Stop settling for soggy Master the doubledredge technique for Extra Crispy Fried Chicken Tenders that stay crunchy Perfect comfort food
- The Best Creamy Tuna Pasta Salad Recipe Easy Tangy — Forget dry versions This simple Creamy Tuna Pasta Salad recipe delivers that perfect comfort hug with a rich tangy dressing Your new goto summer dish
The Triple Dip: Building the Unbeatable Warm Crust
Once the ice cream is frozen solid, you must work quickly. Set up your three shallow stations side-by-side: Flour, Egg Wash, and the Cinnamon Cereal Mix. Take one frozen scoop at a time keep the others tucked away and execute the triple dip method flawlessly.
First, dredge the scoop thoroughly in the flour, patting gently to ensure every surface is covered, then vigorously shake off any excess. Next, dip it completely into the beaten egg, letting the excess drip back into the bowl.
Finally, press the wet scoop firmly into the cinnamon cereal mixture, rolling and pressing until it is entirely and thickly encased. The coating must be complete; any exposed ice cream will instantly melt during frying.
Frying Dynamics: Mastering the Quick Heat Transfer
This is the climax of your Fried Ice Cream Dessert preparation. High heat and speed are your only allies here.
Freezing Protocols: How Long is Long Enough?
After the triple coating is complete, those newly battered balls must return to the freezer. This secondary freezing phase is arguably more crucial than the first. You need the coating to effectively seal to the ice cream and for the entire system to re-stabilize at its lowest temperature.
Plan for at least another two hours, though overnight freezing guarantees the best chance of success for this impressive Fried Dessert .
Crafting the Flawless Coating Layer-by-Layer
As you work through the dipping process, if you feel the coating isn't adhering perfectly, don't hesitate to repeat the egg wash and cereal dip for a double coat. This extra layer acts as additional insulation, protecting the cream during those critical seconds in the hot oil.
This commitment to a thick crust is what separates a mediocre experience from a truly stellar Fried Ice Cream Recipe .
Oil Temperature Check: Hitting That Critical Frying Point
Pour 2 to 3 inches of a neutral, high smoke point oil canola or peanut oil works perfectly into your pot. Bring the temperature up slowly and steadily to precisely 375° F ( 190° C) . A digital thermometer is your best friend here.
If the oil is too cool (below 360° F), the crust will absorb oil and become soggy while the ice cream melts. If it’s too hot (above 390° F), the crust will scorch before the coating sets properly.
Troubleshooting Common Pitfalls in Your Fried Ice Cream Attempt
The primary enemy of this dish is heat mismanagement. If your ice cream melts, it’s almost always because your oil temperature dropped too low, usually due to overcrowding the pot. Another common mistake is not freezing the scoops long enough initially.
If you see immediate bubbling or rapid structural collapse upon entering the oil, pull the batch out, let the oil reheat to 375° F, and return your remaining scoops to the freezer for another hour before trying again.
Beyond Cinnamon: Creative Topping Combinations and Variations
While the classic preparation leans heavily on cinnamon and vanilla, this dish invites creativity. To give your Fried Ice Cream a contemporary twist, consider alternative coating flavours. Ground pecans or pistachios can be substituted for some of the cereal mix for a richer, nuttier profile.
When thinking about variations, you can easily adapt this Easy Fried Ice Cream method for coffee or strawberry ice cream bases.
Why Did My Ice Cream Melt? Expert Heat Management Tips
If your ice cream melted, review two things: First, was the oil temperature correct? It needs to be 375° F. Second, were you frying too many scoops at once? Never put more than two scoops into the pot simultaneously, as the mass of cold ice cream will drastically lower the oil temperature.
Fry in small, quick batches, allowing the oil to recover its heat between dips.
Serving Suggestions: Sauces That Complement the Crunch
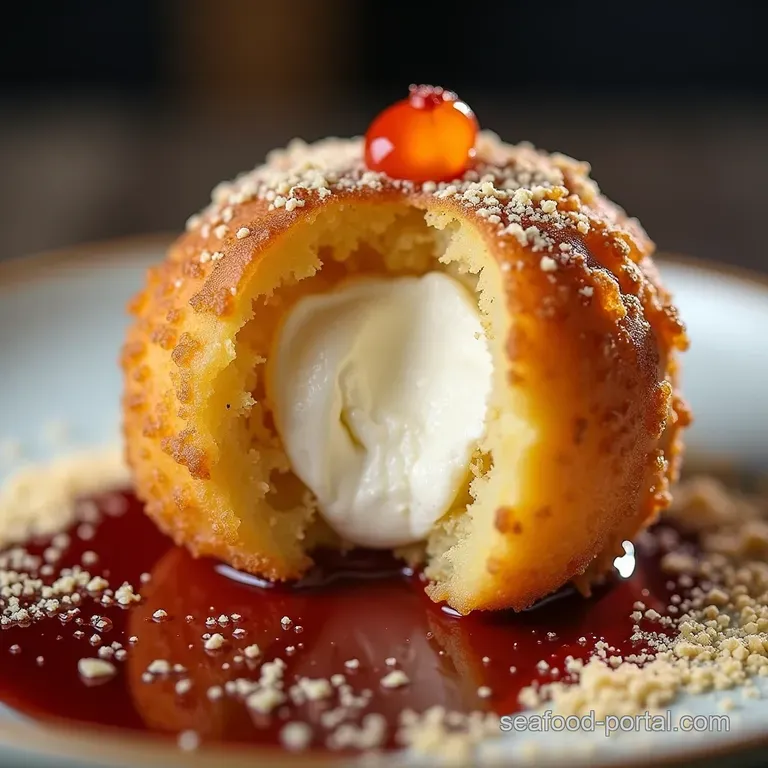
The final presentation demands a luxurious drizzle. The contrast between the warm crust and the frozen centre is amplified by a warm sauce. A classic dark chocolate fudge sauce, poured tableside, is traditional.
However, a slightly tart raspberry coulis or a bright, slightly spicy salted caramel sauce provides an incredible counterpoint to the richness of the fried crust. Serving this immediately is key to enjoying the full effect of this wonderful Fried Dessert .
Can This Be Done In An Air Fryer? (An Honest Look)
While many recipes suggest an air fryer for making this Easy Ice Cream Recipe healthier, the reality is that an air fryer cannot replicate the necessary heat intensity to achieve a true fried texture in under 60 seconds.
Air frying tends to heat too slowly, drying out the crust before it browns, or causing the internal ice cream to weep and melt before the exterior reaches true crispness. For authentic results mirroring the traditional Fried Ice Cream Origin , deep frying remains the superior, albeit brief, method.
Recipe FAQs
How do I stop my ice cream from melting completely when making Fried Ice Cream?
The secret lies in rock solid freezing! You must freeze the coated scoops for a minimum of four hours, or ideally overnight, after the final coating. Also, ensure your oil is hot enough exactly 375°F (190°C) so the crust cooks instantly before the interior has a chance to defrost.
Can I use a different coating besides cornflakes for the crunch?
Absolutely! While cornflakes are traditional and robust, you can use crushed graham crackers, panko breadcrumbs for an extra light crunch, or even crushed vanilla wafers, just as we suggest. Just ensure whatever you use is finely crushed so it adheres properly to the egg wash.
Can I prepare this dessert ahead of time, or does it have to be made fresh?
The preparation (scooping and coating) can certainly be done ahead of time, which is highly recommended! Once coated, keep those balls in the freezer until you are ready to serve. You absolutely must fry them immediately before serving; there’s no way to store them cooked without losing that wonderful hot/cold contrast.
My coating keeps falling off during frying what am I doing wrong?
This usually means you're missing a step in the dredging process, or the ice cream wasn't cold enough to begin with. Make sure you press the coating onto the egg wash firmly, almost packing it on, and definitely freeze it solid again afterwards. A double coat can also offer extra insurance against slippage!
Is this a very unhealthy dessert due to the deep frying?
Let's be honest, it's an indulgence, not your Tuesday night staple! Because the cooking time is so brief under a minute the crust absorbs surprisingly little oil, provided your oil temperature is correct.
To make it 'lighter,' you could bake the coated scoops instead, though the texture won't be quite as spectacular.
Crispy Fried Ice Cream