The Ultimate Craggy Crunch Extra Crispy Buttermilk Fried Chicken Tenders
- Unlocking the Secret to Shatteringly Crunchy Bites: Your Guide to Perfect Tenders
- Why This Buttermilk Soak is Non-Negotiable for Juiciness
- Curating Your Crisping Arsenal: Essential Components for Coating Success
- The Two-Stage Soaking Method: Maximizing Flavor Infusion
- Troubleshooting the Fry: Tips for Maintaining Perfect Crispness Post-Cooking
- Beyond the Fryer: Alternative Cooking Methods for Healthier Snacking
- Recipe FAQs
- 📝 Recipe Card
Unlocking the Secret to Shatteringly Crunchy Bites: Your Guide to Perfect Tenders
There are few culinary experiences quite as satisfying as biting through a flawlessly crisp exterior to find succulent, perfectly cooked white meat beneath. We’re diving deep into the techniques required to master Extra Crispy Fried Chicken Tenders , transforming humble chicken strips into Ultimate Comfort Food Chicken .
Forget bland, oily failures; this method utilizes a two-stage coating process and meticulous temperature control to guarantee a rugged, shatteringly crunchy finish every single time. Achieving this texture is less about luck and more about understanding the chemistry of the brine and the dredge.
Why This Buttermilk Soak is Non-Negotiable for Juiciness
The foundation of any truly great fried chicken, especially Crispy Fried Chicken Tenders , begins long before the oil gets hot. It starts with the marinade. We are employing a buttermilk soak, not just for flavour penetration, but for critical structural changes within the meat fibres.
The Quest for the Gold Standard in Chicken Tender Texture
The primary challenge with tenders (which are often the tenderloin portion of the breast) is preventing them from drying out during the high heat frying process. Buttermilk, being acidic, begins to gently denature the proteins in the chicken.
This process tenderizes the meat significantly and, crucially, allows the chicken to retain moisture during its rapid cooking time. This ensures that even when you are seeking that Best Crispy Fried Chicken Recipe exterior, the interior remains juicy and tender.
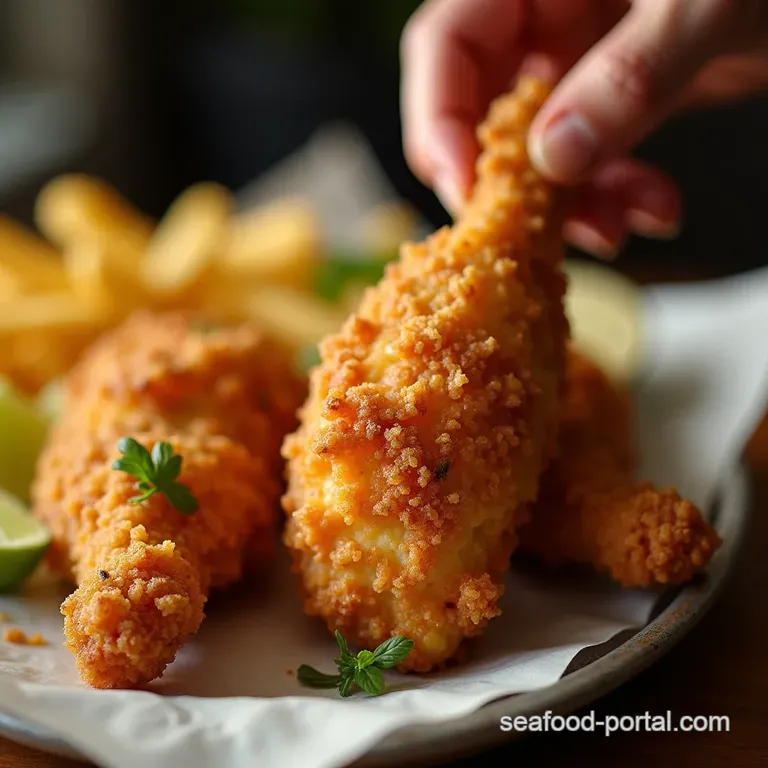
Defining the Ideal Crag: What Makes This Crust Unique
The unique, rugged texture we are aiming for the "craggy" exterior is achieved by manipulating how the flour adheres to the wet chicken. Our mixture contains cornstarch, which is our secret weapon against softness. Cornstarch fries up harder and crisper than pure flour.
On top of that,, the double dredging technique ensures that little pockets of dry flour mix stick to the already moistened coating, creating those beautiful, crunchy ridges that catch the light.
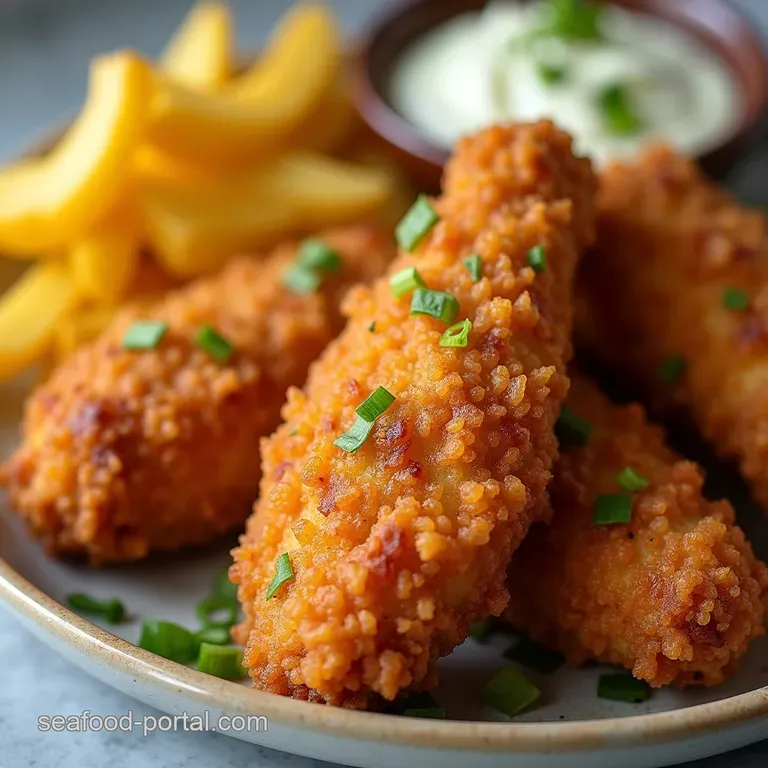
First Look: A Sneak Peek at Your Extra Crispy Fried Chicken Tenders
Before we detail the process, know that this recipe utilizes 1.5 lbs of boneless, skinless chicken tenderloins, which we will marinate for a minimum of two hours in a potent mix of full fat buttermilk, kosher salt, and a splash of hot sauce for background flavour.
The active preparation time is about 20 minutes, yielding four generous servings of Crispy Crunchy Fried Chicken Tenders . The total cook time is a swift 10 to 12 minutes once the oil is ready.
Curating Your Crisping Arsenal: Essential Components for Coating Success
A spectacular crust demands specific elements in both the marinade and the dry coating. Each component plays a vital role in flavour, adhesion, and final crunch factor. This precise assembly is what separates an Easy Fried Chicken Tenders Recipe from one that truly sings.
The Marinade Foundation: Sourcing Premium Buttermilk and Spices
For the marinade, 2 cups of buttermilk are essential, with full fat providing the best environment for tenderization. A tablespoon of kosher salt dissolves into the buttermilk, beginning the brining process immediately, while a teaspoon of hot sauce adds depth without unnecessary heat.
This flavour bath is the engine that keeps your Deep Fried Chicken Tenders Recipe interior moist.
Selecting The Right Cut: Chicken Breast Preparation Essentials
While we are using tenderloins, if you opt to cut strips from whole chicken breasts, ensure they are uniform in thickness, roughly ¾-inch thick. Consistency is paramount in deep frying so that all pieces finish cooking simultaneously without burning the thinner edges or leaving the thicker centres raw.
Precision Measurement: Dry Dredge Components for Maximum Adhesion
The crunch mix is where the magic happens. It requires 2 cups of All-Purpose Flour, partnered with a crucial ½ cup of Cornstarch. This blend is flavoured intensely with 2 tablespoons of Smoked Paprika, generous amounts of Garlic and Onion Powder, freshly ground Black Pepper, and 1 teaspoon each of Cayenne Pepper (optional) and Kosher Salt.
Most importantly for texture, we incorporate 1 teaspoon of Baking Powder; its reaction with the acidic buttermilk creates small pockets of air, leading to a lighter, airier crunch.
Essential Frying Gear: Tools to Guarantee Consistent Temperature
Do not attempt this without the right tools. You need a large, heavy bottomed Dutch Oven or a deep, sturdy pot to hold the oil volume safely. The most important tool, however, is a reliable candy or deep fry thermometer.
Guessing the oil temperature is the quickest way to ruin your Extra Crispy Chicken Strips Recipe .
Related Recipes Worth Trying
- The Best Baked Cauliflower Crisp Recipe Crispy Easy Side — Tired of boring veg Learn how to cook cauliflower crispy in the oven These bites are coated in garlic and Parmesan for a satisfying crunch
- The Best RestaurantStyle Crispy Crab Rangoons Recipe — Forget soggy starters Master this foolproof Crispy Crab Rangoon recipe for shatteringly crisp wontons and a creamy savoury filling Easy finger foods await
- The Ultimate Soy Sauce pan fried Noodles Recipe Under 35 Mins — Ditch the takeaway menu Nail these Cantoneseinspired Soy Sauce pan fried Noodles with crispy edges and rich umami flavour A simple stir fry noodle recipe...
The Two-Stage Soaking Method: Maximizing Flavor Infusion
The actual dipping process is where we build the signature rugged coating. We are employing a wet/dry/wet/dry sequence designed to maximize surface area for the dry coating to grab onto, creating those desirable crags.
Step-by-step Buttermilk Bath Duration Recommendations
Once your chicken has spent at least two hours bathing in the spiced buttermilk, remove the tenders one by one. Shake off any heavy, dripping excess we want them damp, not saturated. A brief shake ensures the initial layer of flour has something substantial to stick to in the first pass.
Double Dredging Deep Dive: Ensuring Every Inch is Coated
The first pass through the Dry Dredge should be gentle, just ensuring a light, even coat of the seasoned flour mixture. Next, we use a quick, 2-to-3-second dip back into the leftover buttermilk mixture (or a fresh egg/water wash if preferred).
This re-wets the surface just enough for the final, critical step: returning the tenders to the Dry Dredge bowl. This time, press the flour firmly onto the chicken, tossing and squeezing gently to build up those thick, textural flakes.
After this second dredge, allow the tenders to rest on a wire rack for 10 minutes before frying; this allows the coating to hydrate slightly, preventing immediate shedding in the oil.
Heat Management Mastery: Achieving Perfect Oil Temperature for Extra Crispy Fried Chicken Tenders
Before introducing the coated chicken, the oil must reach precisely 325° F ( 160° C). Once the first small batch of 4 or 5 tenders is gently lowered in using tongs, monitor the temperature constantly.
A cold batch of chicken will immediately plummet the heat below 300° F, leading to oil absorption and soggy results. If the temperature drops, reduce the heat slightly; if it climbs above 330° F, remove the pot from the burner momentarily.
Maintain that sweet spot between 315° F and 325° F for the entire 5-to-7-minute fry time.
The Drop and Drain Sequence: Preventing Soggy Bottoms
Gently lower the tenders away from you into the hot oil to prevent splashing. Never overcrowd the pot; if you crowd it, the temperature drops instantly, and you are back to square one.
Once they are a deep golden brown and register 165° F ( 74° C) internally, retrieve them with tongs and place them immediately onto a clean wire rack set over a baking sheet.
Do not place them on paper towels, as this traps steam underneath and guarantees a soggy bottom. A final sprinkle of flaky salt while they are piping hot enhances the overall flavour profile of your Extra Crispy Fried Chicken Tenders .
Troubleshooting the Fry: Tips for Maintaining Perfect Crispness Post Cooking
If your crust seems heavy or oily, it’s nearly always a temperature issue the oil was too low during frying, allowing the coating to absorb liquid fat instead of crisping rapidly.
If the coating falls off, you likely didn't press hard enough during the double dredge, or the chicken was too wet coming out of the buttermilk. For maintaining crispness while you fry subsequent batches, place the cooked tenders on the rack; the airflow underneath prevents condensation buildup.
Beyond the Fryer: Alternative Cooking Methods for Healthier Snacking
While deep frying yields the superior, Best Crispy Fried Chicken Recipe texture, you can achieve excellent results using an air fryer or oven, though the texture will lean towards "crunchy" rather than "shatteringly crisp." For the air fryer, cook at 380° F ( 195° C) for 15- 20 minutes, flipping halfway.
For the oven, bake on a wire rack at 400° F ( 200° C) until golden brown.
Cooling and Holding: Keeping Your Tenders Hot While Serving the Crowd
If you are making a large batch, the best holding spot is a low oven set to 200° F ( 93° C). Place the wire rack holding the cooked tenders directly on the oven rack and keep the door slightly ajar.
This environment keeps them warm and allows the residual heat to continue drying the crust slightly without steaming them.
Flavor Variations: Elevating Your Chicken Tenders with Global Spice Blends
To remix this Easy Fried Chicken Tenders Recipe , experiment with the dry dredge. For an Asian twist, add ginger powder, white pepper, and a touch of five spice powder. For a smoky Southwestern flavour, increase the smoked paprika and add ground cumin and dried oregano into the flour mix.
Nutritional Snapshot: Understanding the Make-Up of These Satisfying Tenders
It is important to note that while these Deep Fried Chicken Tenders Recipe results are highly indulgent, the nutritional breakdown reflects the protein content from the chicken balanced against the fats absorbed during the frying process.
The inclusion of cornstarch helps lighten the final product compared to using only flour, resulting in a slightly better fat-to-crust ratio.
Storage Secrets: Best Practices for Refrigerating Leftover Extra Crispy Fried Chicken Tenders
Any leftovers should be stored in an airtight container lined with paper towels in the refrigerator for up to three days. To revive the crispness the next day, skip the microwave entirely.
Instead, reheat them in a 375° F ( 190° C) oven or toaster oven for 8– 10 minutes, or flash fry them briefly (about 60 seconds) in 350° F oil until the exterior tightens up again.
Enjoy this ultimate crispy indulgence!
Recipe FAQs
Extra crispy fried chicken tenders recipe
To achieve that shatteringly crisp coating for your tenders, the inclusion of cornstarch in your dry dredge is non-negotiable, as it locks in extra crispness. Ensure your frying oil maintains a consistent temperature around 350°F (175°C) for proper cooking without burning the crust.
If you are meal prepping, these tenders are best reheated in a hot oven or air fryer rather than a microwave to revive that glorious crunch.
KFC crispy chicken strips recipe
For that shatteringly crisp, craggy crust essential for authentic KFC-style tenders, focus on the doubledredge technique using your flour and cornstarch mix. Ensure your oil maintains a steady 325-350°F (160-175°C) during the 10-12 minute fry time for optimal internal juiciness and exterior crunch.
Store cooled leftovers in a single layer on paper towels in an airtight container, reheating briefly in a hot oven for best crispness retention.
Crispy chicken tenders air fryer
To achieve that shatteringly crisp coating in the air fryer, ensure your tenders are well drained after the double dredge and avoid overcrowding the basket. Cook at 380°F (195°C), shaking halfway through, until golden and cooked through.
For best results, avoid storing cooked tenders; they are truly best enjoyed immediately.
Extra crispy fried chicken tenders with flour
To achieve that shatteringly crisp coating, ensure your dry dredge includes cornstarch; this starch is vital for the extra crunch you desire. For the best results, use a reliable deep frying thermometer to maintain oil temperature precisely between 350°F and 365°F during cooking.
Once cooled, store leftover tenders in a single layer on a wire rack inside a loosely covered container for short term crispness retention.
What's the secret to crispy chicken tenders?
The secret lies in the clever double dredge technique, ensuring a rugged, craggy crust that shatters when bitten. Make certain to incorporate cornstarch into your dry mix; it is crucial for achieving that ultimate crispness.
After frying, drain the tenders thoroughly on a wire rack, never paper towels, to prevent the bottoms from steaming and losing their crunch.
What is the secret to crispy fried chicken?
The secret to truly Extra Crispy Fried Chicken Tenders lies in the clever doubledredge technique, ensuring a rugged, craggy crust. Incorporating cornstarch into your dry dredge mix is absolutely key for achieving that shatteringly crisp texture that lasts.
For the best results, ensure your oil temperature is consistently maintained during the frying process.
Craggy Crunch Chicken Tenders

