Golden Crunch the Perfect Pubstyle Crispy Fried Flounder
- Unlocking the Secret to Truly Golden Flounder
- Why This Crispy Fried Flounder Recipe Stands Above the Rest
- Assembling Your Crispy Coating Components
- The Technique: Achieving Supreme Crispiness
- Frying Dynamics: Oil Temperature Control for Success
- Troubleshooting and Flavor Enhancements
- Frequently Asked Questions
- 📝 Recipe Card
Unlocking the Secret to Truly Golden Flounder
Right then, let's get this show on the road! Crispy fried flounder a proper classic, isn't it? Proper satisfying when done right, much like a perfectly brewed cup of tea on a drizzly afternoon. Forget those sad, limp excuses for fried fish you’ve encountered elsewhere.
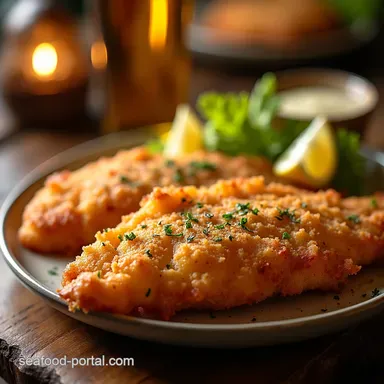
We are aiming for perfection here: a light, shatteringly crisp exterior encasing sweet, tender white fish. This Crispy Fried Flounder Recipe isn't just about throwing fish in hot oil; it’s about precision in preparation and mastering the gentle dance of temperature control.
By the end of this guide, you'll have the confidence to produce Best Crispy Fried Flounder every single time, transforming humble fillets into an unforgettable meal that tastes straight from the best seaside shack.
Why This Crispy Fried Flounder Recipe Stands Above the Rest
We’ve designed this method to be straightforward yet intensely effective, guaranteeing results that are robust enough to stand up to heavy condiments without succumbing to sogginess.
Setting the Stage: A Classic Reimagined
Our approach leans into a seasoned coating rather than a heavy, beer battered shell. This method, requiring only 1.5 lbs of skinless, thin flounder fillets for four servings, keeps the focus squarely on the delicate flavour of the fish itself.
We estimate this takes about 15 minutes of active prep time and cooks in a mere 8 to 10 minutes total, making it an incredibly fast weeknight option.
This recipe is rated as Easy because it skips the complexity of managing a wet batter, relying instead on a dependable three part dredging system.
The Promise of Perfect 'Shatter' Texture
The real magic behind achieving that irresistible crunch lies in the flour mixture. We incorporate Cornstarch alongside the all-purpose flour. Cornstarch lowers the gluten development and fundamentally resists absorbing moisture during the fry, which is the key component in creating that Crispy Flounder Fillets texture that shatters beautifully when bitten into.
Couple that with frying in high heat neutral oil (like canola or vegetable) heated precisely to 350° F ( 175° C), and you’ve set the stage for textural success.
Catering to Novices: Confidence in Every Coat
Many home cooks fear frying, often citing greasy results or coating separation. We tackle this head-on. By employing a light initial dusting, followed by a full soak in an egg-and-milk liaison, and finishing with a firm press into our seasoned dry mix, we create a coating that adheres tenaciously.
This technique is vital for anyone learning How To Fry Flounder Crispy because it builds layers of texture that lock in moisture and crispness, ready for enjoyment whether eaten immediately or tucked into a hearty Flounder Sandwich Recipe .
Assembling Your Crispy Coating Components
A successful Deep Fried Flounder Recipe hinges on the quality and combination of the dry ingredients. We move beyond just salt and pepper to build a foundation of flavour that complements the mild fish.
The Dry Mix: Flour, Seasoning, and Starch Ratios
For the flavour bomb of the dry coating, you’ll combine 1 cup of all-purpose flour with that essential 1/4 cup of cornstarch. To this base, we introduce aromatics: 1 teaspoon of smoked paprika for colour and depth, 1 teaspoon of garlic powder for savory punch, 1 teaspoon of fine sea salt, and 1/2 teaspoon of freshly ground black pepper.
Whisk these elements vigorously in a wide bowl. This seasoning profile ensures that every piece of Crispy Fish Fry Food sings with flavour. If you prefer a bit more zip, a half teaspoon of cayenne pepper (as detailed later) makes a fantastic substitution or addition.
Choosing the Right Frying Medium for High Heat
The oil you select is not merely a cooking medium; it’s a heat conductor. For Deep Fried Flounder , you need a neutral oil with a high smoke point. Canola, vegetable, or peanut oil are excellent choices.
You’ll need 2 to 3 cups, poured into a heavy bottomed skillet or Dutch oven to ensure the oil depth is about an inch. A heavy pot is crucial because it retains heat better than a thin pan, which prevents frustrating temperature dips when you introduce the cold fish.
Preparing the Delicate Flounder Fillets
The success of this entire endeavor rests on dryness. Flounder fillets are thin and delicate, which is wonderful for quick cooking but means they hold onto surface moisture easily. After rinsing your 1.5 lbs of fillets (if necessary), they must be patted absolutely, relentlessly dry with paper towels.
Any lingering water droplets will instantly turn into steam upon hitting the hot oil, sabotaging your efforts to create a Crispy Fried Flounder . Once dry, they are ready for the three stage coating process.
Related Recipes Worth Trying
- The Best DeepFried Fish Recipe for Ultimate Crunch — Tired of soggy fish and chips This Deep Fried Fish Recipe uses a fizzy batter secret to guarantee outrageously crispy fillets every time Perfect for home...
- The Best Crispy Fried Calamari Recipe Restaurant Style at Home — Learn how to make truly crispy fried calamari using our simple milksoak method This foolproof Italian Fried Calamari recipe guarantees a light crunch every time
- Proper Crispy Calamari Light Crunchy Seafood Treat — Master the art of truly light nongreasy crispy fried calamari with this foolproof buttermilk soak recipe Say goodbye to soggy rings
The Technique: Achieving Supreme Crispiness
This is where we translate the preparation into action. We utilize three shallow dishes to create a sequential coating system designed for maximum adherence and texture development. In the first dish, we use a small amount of plain flour just to wick away any final surface moisture.
Dish two holds your seasoned flour and cornstarch mixture. Dish three contains the wet binder: two large eggs whisked lightly with 1/4 cup of whole milk.
Frying Dynamics: Oil Temperature Control for Success
Controlling the temperature is the single most important factor when aiming for Best Crispy Fried Flounder . We need consistency.
The Crucial Double Dredge Method Explained
Take a dried fillet, lightly dust it in the first plain flour dish, shaking off the excess this is purely an adhesion promoter. Next, fully submerge the fillet in the egg/milk liaison (Dish 3), allowing the excess liquid to drip back into the bowl for a few seconds.
Finally, and this is key: press the fillet firmly into the seasoned dry mix (Dish 2) on both sides. Do not just lightly dust it; press the coating on so it forms a tight, craggy exterior.
Repeat this until all your Crispy Flounder Fillets are coated, then let them rest briefly while the oil heats.
How Long to Fry Each Side for Optimal Cook
Heat your oil in the heavy skillet until an instant read thermometer registers precisely 350° F ( 175° C) . Carefully lower 2 to 3 fillets into the oil using tongs, ensuring you do not overcrowd the pan this prevents the oil temperature from dropping below the critical 325° F mark.
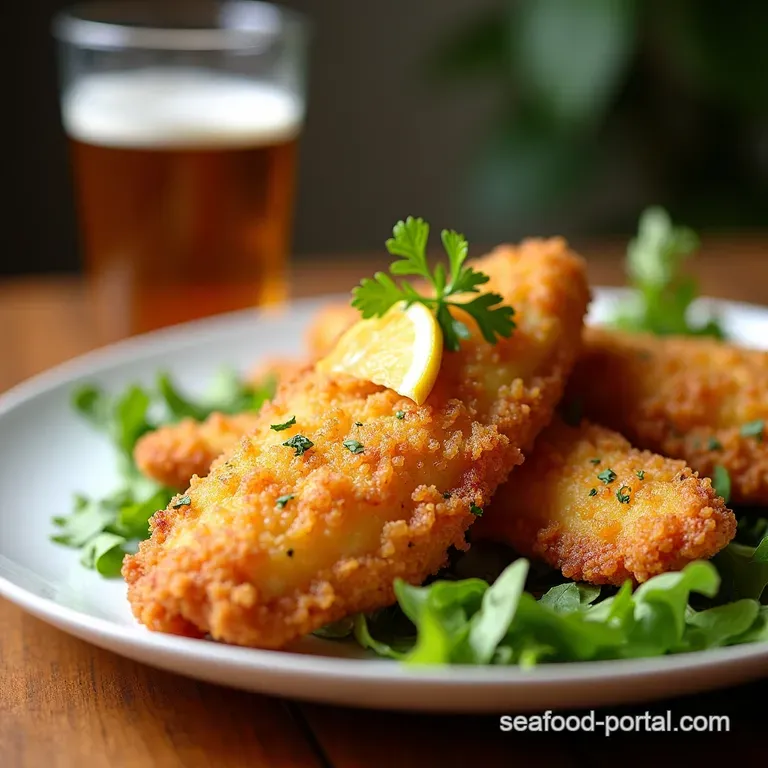
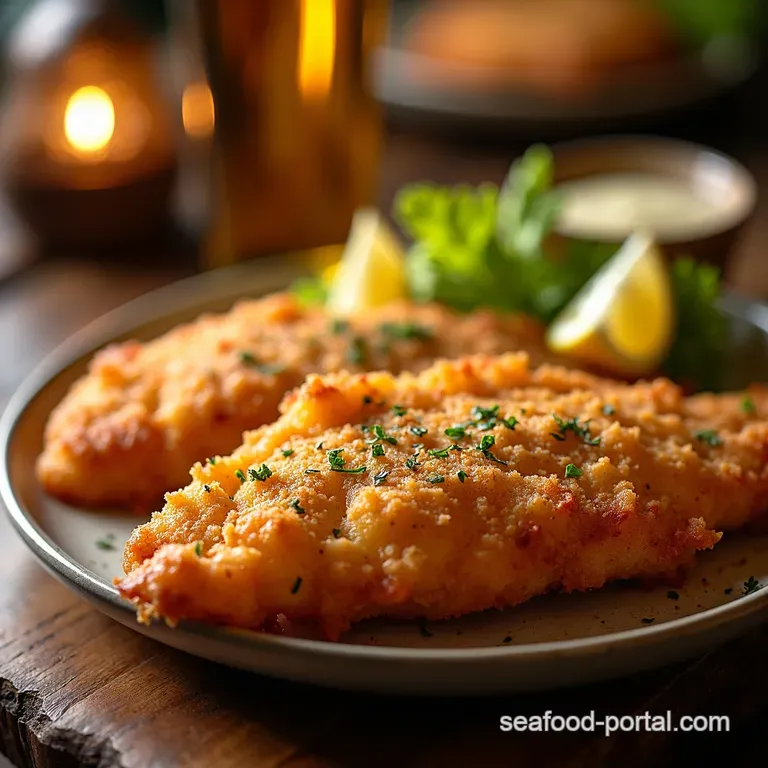
For these thin fillets, you are looking at about 3 to 4 minutes per side. You are searching for a deep, uniform golden brown colour, signifying that the moisture has been driven out of the coating, leaving pure crunch.
Draining and Resting: Preventing Sogginess Post Fry
As soon as a fillet is golden and cooked through, remove it immediately with tongs. Here is a vital pro tip for maintaining that hard earned crispness: place the cooked fish on a wire rack set over a baking sheet, rather than draining directly onto paper towels.
Paper towels trap the steam rising from the hot oil, immediately softening the bottom of your perfectly fried fish. The rack allows air circulation, keeping the entire exterior crisp while any residual oil drips away.
Serving Suggestions for Your Pukka Crispy Fried Flounder
Once drained, the flounder should be served piping hot. For a truly satisfying experience, pair these Crispy Fried Flounder pieces with proper chunky chips (fries) dusted with salt and malt vinegar. A necessary component is a sharp homemade Tartar Sauce spiked with chopped capers and fresh dill.
For balance, a side of crisp coleslaw or bright pickled vegetables cuts through the richness beautifully.
Troubleshooting and Flavor Enhancements
Even when following the best instructions, minor hiccups can occur. Knowing how to adjust on the fly ensures your final plate is flawless.
Quick Fixes for Oil That's Too Hot or Cold
If your coating is browning almost instantly (under 2 minutes), your oil is too hot. Immediately reduce the heat slightly and wait 30 seconds before adding the next batch.
If the coating looks pale, heavy, and the fish seems to be "sizzling slowly" after 3 minutes (i.e., it’s not achieving deep colour), the oil has dropped too low. Increase the heat gently and let it recover to 350° F before continuing.
Remember, precise temperature management is the secret to Deep Fried Flounder that isn't greasy.
Optional Spice Variations for a Zesty Kick
If you want to elevate this beyond a simple fish fry, consider these flavour boosts added directly into your dry coating mix. Beyond the cayenne mentioned earlier, try substituting 1/4 teaspoon of the salt with Old Bay Seasoning for a classic Chesapeake flavour, or incorporate 1/2 teaspoon of dried oregano and thyme for a Mediterranean twist that works beautifully on Flounder Sandwich Recipe builds.
Storage Guidelines for Leftover Fried Goodness
While fried fish is undeniably best consumed within minutes of leaving the rack, if you have leftovers, the key is refrigeration, not room temperature storage. Place cooled fillets in a single layer inside an airtight container before refrigerating.
To reheat and regain some of that original texture, avoid the microwave entirely. Instead, place the cooled fish on a rack in a 400° F ( 200° C) oven for about 8– 10 minutes.
This allows the heat to penetrate while crisping up the coating again, bringing back much of that desirable crunch for a quick lunch.
Frequently Asked Questions
Why is my Crispy Fried Flounder coming out soggy instead of golden and crunchy?
Sogginess is usually down to two culprits: the oil temperature being too low or overcrowding the pan. Aim for a steady 350°F (175°C); if it’s cooler, the fish soaks up grease.
Also, ensure you’re draining the cooked fish on a wire rack, not paper towels, to let air circulate underneath and keep that bottom layer crisp we don't want a steamy mess!
I'm nervous about deep frying what's the safest way to manage the hot oil for this recipe?
Don’t fret, it’s simpler than you think if you take precautions! Always use a heavy bottomed pan (like a Dutch oven) as it holds heat better, and never fill it more than halfway with oil. Most importantly, invest in an instant read thermometer; it takes the guesswork out and prevents spluttering disasters.
Never leave hot oil unattended, honestly, that’s just bad form!
Can I make this Crispy Fried Flounder ahead of time, or does it have to be eaten right away?
Fried food is best enjoyed the moment it leaves the rack it’s meant to be a showstopper! If you absolutely must prep ahead, you can coat the fish completely and lay them on a baking sheet in the fridge for up to two hours.
To revive them, bake them briefly on a wire rack in a hot oven (400°F/200°C) for 5-7 minutes before serving.
I don't have flounder; what other fish works well with this dredging technique?
This coating technique is brilliantly versatile! Thinner, milder white fish fillets are ideal replacements; think cod, haddock, or even sole, which fry up just as quickly. Just ensure whatever fish you choose is patted bone dry before dredging for that essential crunch.
My coating keeps falling off the fish when it hits the oil what did I miss in the preparation?
This usually means the coating wasn't adhered properly it’s a three step process for a reason! You must press the seasoned flour mixture firmly onto the wet fillet to ensure it really sticks.
Also, making sure your fish fillets are completely dry before the first dust helps tremendously, as moisture stops the coating from grabbing hold.
Pubstyle Crispy Fried Flounder