Sushi Rice: Perfectly Cooked

- Time: Active 10 minutes, Passive 15 minutes, Total 25 minutes
- Flavor/Texture Hook: Glossy, chewy, and subtly tangy
- Perfect for: Homemade rolls, poke bowls, and beginner sushi chefs
- Why This Recipe Works
- Essential Specifications for Your Next Sushi Night
- Breaking Down the Essential Elements for Seasoned Grains
- Preparing Your Kitchen for Pressure Cooker Success
- Step by Step Journey to Flawless Seasoned Rice
- Correcting Common Texture Issues for Better Results
- Adapting Your Grains for Different Dietary Needs
- Preserving Freshness and Repurposing Your Leftover Grains
- Pairing Your Seasoned Rice with Fresh Seafood
- Sushi Rice FAQs
- 📝 Recipe Card
I can still smell the sharp, sweet tang of seasoned steam hitting my face the first time I actually got this right. For years, I struggled with stovetop versions that were either crunchy in the middle or resembled library paste.
It was frustrating because I just wanted that specific, velvety mouthfeel you get at a high end sushi bar. Then, I realized the secret wasn't just in the rice itself, but in how we handle the starch before the heat even touches it.
We’ve all been there starving for a spicy tuna roll but staring at a pot of mush. Most people think they can just use whatever "rice instant pot" settings they use for Jasmine or Basmati, but that’s a one way ticket to disappointment.
This recipe is the result of many "mistakes" (some more edible than others) and a deep dive into why Japanese short grain rice behaves so differently under pressure. Trust me on this: once you see the way the seasoned vinegar makes those grains shine, you’ll never go back to the old way.
Why This Recipe Works
- The Starch Gelatinization Factor: Pressure cooking forces moisture into the center of the short grains quickly, ensuring the starch swells without the exterior disintegrating. This creates a distinct "al dente" bite that holds its shape in a roll.
- Precision Hydration: Using a strict 1:1 ratio prevents the rice from absorbing excess water, which is the primary cause of the dreaded "mushy" texture.
- Residual Heat Infusion: The natural release period allows the steam to finish the cook gently, preventing the grains from splitting open.
- Rapid Surface Cooling: Fanning the rice while folding in the vinegar stops the cooking process instantly, which is what gives the rice its signature mirror like gloss.
Pressure vs Rice Cooker Comparison
| Method | Time | Texture | Best For |
|---|---|---|---|
| Instant Pot | 25 minutes | Firm & Glossy | Speed and consistency |
| Stovetop | 40 minutes | Variable | Small batches without gear |
| Rice Cooker | 50 minutes | Soft & Sticky | Traditionalists with time |
Choosing the right tool changes the game for your sushi rice instant pot experience. While a high end Zojirushi is fantastic, the pressure cooker mimics that environment in half the time. It’s brilliant for weeknights when you want that "restaurant" feel without the hour long wait.
Essential Specifications for Your Next Sushi Night
When we talk about making rice instant pot style, we have to be meticulous about the details. This isn't just "cooking rice"; it's preparing a foundation for seafood. If the rice is off, the whole meal feels heavy.
The Starch Gelatinization Factor
The science here is simple: short grain rice is packed with amylopectin, a starch that makes things sticky. By rinsing it thoroughly, we remove the surface starch so the grains don't glue together into a solid block, allowing the "sushi rice" to remain individual yet cohesive.
Pressure vs Rice Cooker
In a pressure cooker, the boiling point of water is higher, meaning the rice cooks at a higher temperature than a standard pot. This allows for a shorter cook time while still achieving full hydration of the grain's core.
| Component | Science Role | Pro Secret |
|---|---|---|
| Short Grain Rice | High Amylopectin | Never use long grain; it won't hold shape |
| Rice Vinegar | Protein Denaturation | Helps the rice stay "bright" and prevents spoilage |
| Granulated Sugar | Moisture Retention | Keeps the rice from drying out as it cools |
Chef's Note: I highly recommend fanning the rice with a piece of cardboard or a traditional fan while you mix in the vinegar. This evaporates the surface moisture rapidly, creating a "shatter proof" glossy coating on every single grain.
Breaking Down the Essential Elements for Seasoned Grains
You only need five things to make this happen, but they have to be the right five things. Don't even think about using that bag of long grain white rice in the back of the pantry; it doesn't have the starch profile to stick together for a roll.
- 2 cups (400g) high-quality short grain Japanese rice: Specifically labeled "Sushi Rice." Why this? The high starch content provides the necessary stickiness.
- Substitute: Calrose rice. It’s a medium grain that acts very similarly if true short grain is unavailable.
- 2 cups (475ml) cold filtered water: Use the best water you have. Why this? The rice absorbs every drop, so flavor matters.
- Substitute: Tap water is fine if it tastes clean, but avoid softened water.
- 1/4 cup (60ml) unseasoned rice vinegar: This is the "acid" component. Why this? It provides the classic tang without being overwhelming.
- Substitute: Apple cider vinegar. Note: Adds a fruity note and a slightly darker color.
- 2 tablespoons granulated sugar: For balance. Why this? It offsets the vinegar and helps the grains shine.
- Substitute: Honey. Note: Will make the rice significantly stickier and more floral.
- 1 teaspoon sea salt: To pop the flavors. Why this? Essential for bringing out the sweetness of the rice.
- Substitute: Kosher salt. Use 1.5 teaspoons as it’s less dense.
Preparing Your Kitchen for Pressure Cooker Success
You don't need a professional sushi kitchen, but a few specific tools make the process much smoother. Using the right vessel to season the rice is just as important as the pot you cook it in. If you are looking for more ways to use your pressure cooker, you might find my How to Cook recipe helpful for mastering basic grains.
- Instant Pot or Pressure Cooker: Any 6 quart or 3 quart model works perfectly.
- Fine Mesh Sieve: For the most important step rinsing.
- Large Non Reactive Bowl: Ideally wood (hangiri) or glass. Avoid metal, as the vinegar can react with it and give the rice a metallic tang.
- Rice Paddle: A plastic or bamboo spatula works best to prevent smashing the grains.
step-by-step Journey to Flawless Seasoned Rice
- Rinse the 2 cups of rice. Place it in a fine mesh sieve and run cold water over it until the water runs clear and loses its milky look. Note: This usually takes about 2-3 minutes of constant agitation.
- Drain thoroughly. Let the rice sit in the sieve for 5 minutes to ensure no extra water is hiding in the grains.
- Combine ingredients. Add the rinsed rice and 2 cups of filtered water to the Instant Pot.
- Seal and cook. Set the valve to "sealing" and select Manual/Pressure Cook on High for 5 minutes.
- Prepare the vinegar. While the rice cooks, whisk the 1/4 cup rice vinegar, 2 tablespoons sugar, and 1 teaspoon salt in a small bowl until the sugar is completely dissolved.
- Natural release. When the timer beeps, let the pressure release naturally for 10 minutes before venting the remaining steam.
- Transfer the rice. Immediately move the hot rice to your large glass or wooden bowl.
- Season with vinegar. Drizzle the vinegar mixture over the rice while it's hot.
- Fold carefully. Use a slicing motion with your rice paddle to mix. Stop when every grain is shimmering and coated. Note: Do not stir or mash, or you'll create a paste.
- Cool down. Cover with a damp towel and let it reach room temperature before using for sushi.
Correcting Common Texture Issues for Better Results
Sometimes, despite our best efforts, the rice doesn't behave. But what about the sogginess? Usually, that's a rinsing or water ratio issue. If you're struggling with the seasoning balance, checking out a dedicated guide on How to Season recipe can really help refine your palate.
Addressing Mushy Texture Issues
If your rice feels like porridge, it usually means the grains were broken during rinsing or there was too much residual water. Next time, be gentler when washing and ensure you drain the sieve completely.
Fixing Underdone Grain Centers
Crunchy rice is often the result of "rice instant pot" seals not being tight or using old rice that has lost its internal moisture. If this happens, you can't really "fix" it by re cooking, but you can use it for fried rice later.
| Problem | Root Cause | Solution |
|---|---|---|
| Rice is too sticky | Surface starch remained | Rinse until water is crystal clear |
| Rice is dry/hard | Natural release was skipped | Always wait 10 minutes before venting |
| Vinegar won't absorb | Rice was too cold | Season immediately while the rice is steaming hot |
Common Mistakes Checklist
- ✓ Never skip the rinse - that cloudy water is the enemy of distinct grains.
- ✓ Don't use the "Rice" button; use the Manual/High Pressure setting for total control.
- ✓ Use a "slicing" motion when mixing, like you're cutting through the rice.
- ✓ Keep the rice covered with a damp cloth while cooling so it doesn't form a crust.
- ✓ Avoid over mixing; once it's glossy, leave it alone.
Adapting Your Grains for Different Dietary Needs
If you’re scaling down for a solo dinner, use 1 cup of rice and 1 cup of water. Keep the cook time the same (5 minutes), but use a smaller 3 quart pot if you have one to ensure the heat is concentrated.
For scaling up, you can double the recipe to 4 cups of rice and 4 cups of water, but I recommend only increasing the spices and vinegar to 1.5x to avoid an overpowering flavor.
sugar-free Adaptation Tips
You can replace the granulated sugar with a monk fruit sweetener or erythritol in a 1:1 ratio. The rice will still have the tang, though it may lose a tiny bit of its signature shine since sugar contributes to that velvety finish.
Brown Rice Transition Guide
If you want to use brown short grain rice, you'll need to increase the water to 2.5 cups and the cook time to 22 minutes. The flavor will be much nuttier and the texture more substantial, which pairs beautifully with roasted vegetables or unagi.
Preserving Freshness and Repurposing Your Leftover Grains
Sushi rice is a bit of a diva it's best the moment it hits room temperature. If you put it in the fridge, the starches undergo "retrogradation," which is a fancy way of saying they turn hard and crumbly.
- Storage: Keep at room temperature for up to 4 hours, covered with a damp towel. If you must refrigerate, it will last 2 days.
- Freezing: You can actually freeze sushi rice! Wrap individual portions tightly in plastic wrap while still slightly warm. It stays good for 1 month.
- Zero Waste: Never throw away the rice that sticks to the bottom of the pot. In Japan, this is called "okage." It's delicious if you fry it in a little oil until crispy and eat it as a snack. Also, the soaking water from your first rinse (called "togijiru") is excellent for watering plants!
Pairing Your Seasoned Rice with Fresh Seafood
Once you've mastered this "instant pot sushi rice recipe", the world is your oyster or your hamachi. The beauty of this rice is its versatility. You can use it as a base for a deconstructed bowl or spend an afternoon rolling classic spicy tuna rolls.
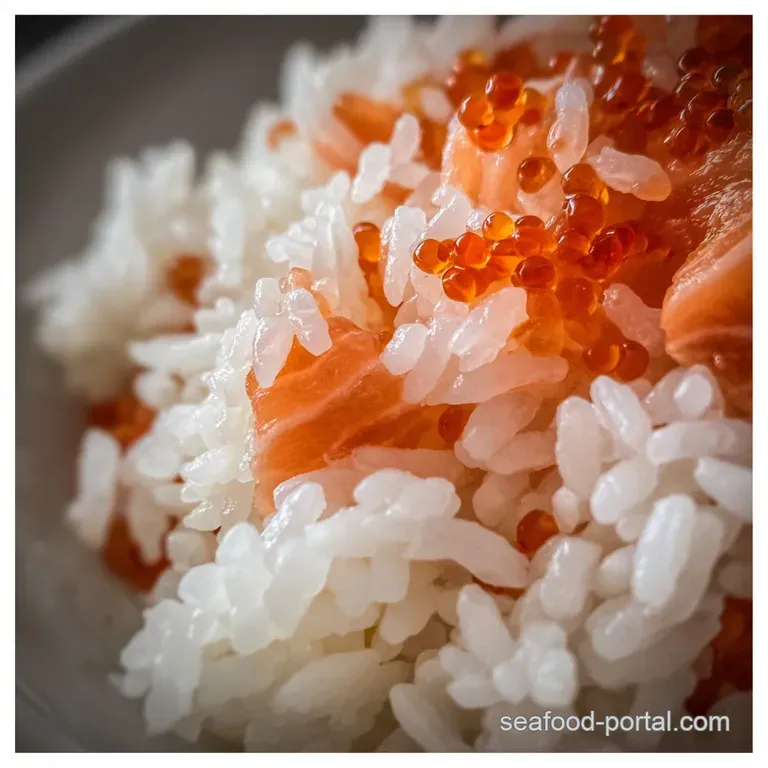
If you're feeling adventurous, try making nigiri. Take a small thumb sized amount of rice, squeeze it gently into an oblong shape, and drape a slice of sashimi grade salmon over the top. The rice should be just compressed enough to hold together, but airy enough that it melts away when you eat it.
Honestly, don't even bother with low-fat toppings; the acidity of this rice cries out for rich, fatty fish like toro or buttery avocado. Right then, let's crack on and get that pressure cooker hiss going!

Sushi Rice FAQs
How long do you cook sushi rice in the Instant Pot?
Cook for 5 minutes on high pressure. After the 5-minute cook time, allow a 10-minute natural pressure release before venting any remaining steam. This ensures the rice is perfectly cooked and retains its ideal texture.
What is the ratio of sushi rice to water in a rice cooker?
A 1:1 ratio of rice to water is standard for sushi rice. For example, use 2 cups of rice and 2 cups of water. This precise measurement prevents excess moisture, which is crucial for achieving the right sticky yet distinct grain texture.
Is Instant Pot good for Japanese rice?
Yes, the Instant Pot is excellent for Japanese short grain rice. Its controlled pressure cooking mimics the ideal conditions for Japanese rice, ensuring even hydration and a perfect texture similar to specialized rice cookers, but often faster. If you enjoyed mastering precise hydration here, see how the same principle applies in our How to Make Shrimp Fried Rice at Home! recipe.
How long to cook rice in Instant Pot pressure cooker?
For sushi rice, aim for 5 minutes on high pressure. This short, intense cooking time, followed by a 10-minute natural release, is key to achieving the correct al dente texture for sushi.
Can I use apple cider vinegar instead of rice vinegar for sushi rice?
Yes, apple cider vinegar is a viable substitute. It will lend a slightly fruitier note and a darker color compared to rice vinegar. For a similar tangy flavor profile in a different dish, consider our Easy Salmon Avocado Sushi Roll: A Flavorful Homemade Delight.
Why is my sushi rice mushy after cooking?
Mushy sushi rice is typically due to too much water or inadequate rinsing. Ensure you rinse the rice until the water runs clear, and use a precise 1:1 rice-to-water ratio. Over stirring after cooking can also break down the grains.
How do I get my sushi rice to be glossy?
Glossy sushi rice comes from fanning it while seasoning. After cooking and while the rice is still hot, gently fold in the seasoned vinegar mixture and fan it vigorously with a piece of cardboard or a fan. This rapid cooling evaporates surface moisture, creating that signature shine.
Sushi Rice Instant Pot

Ingredients:
Instructions:
Nutrition Facts:
| Calories | 385 calories |
|---|---|
| Protein | 6.5g |
| Fat | 0.5g |
| Carbs | 85.3g |
| Fiber | 1g |
| Sugar | 6.3g |
| Sodium | 581mg |
