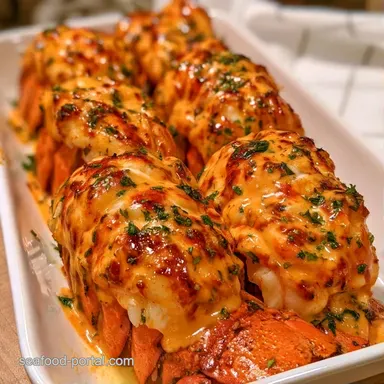
Deviled Lobster Tails: Golden and Buttery
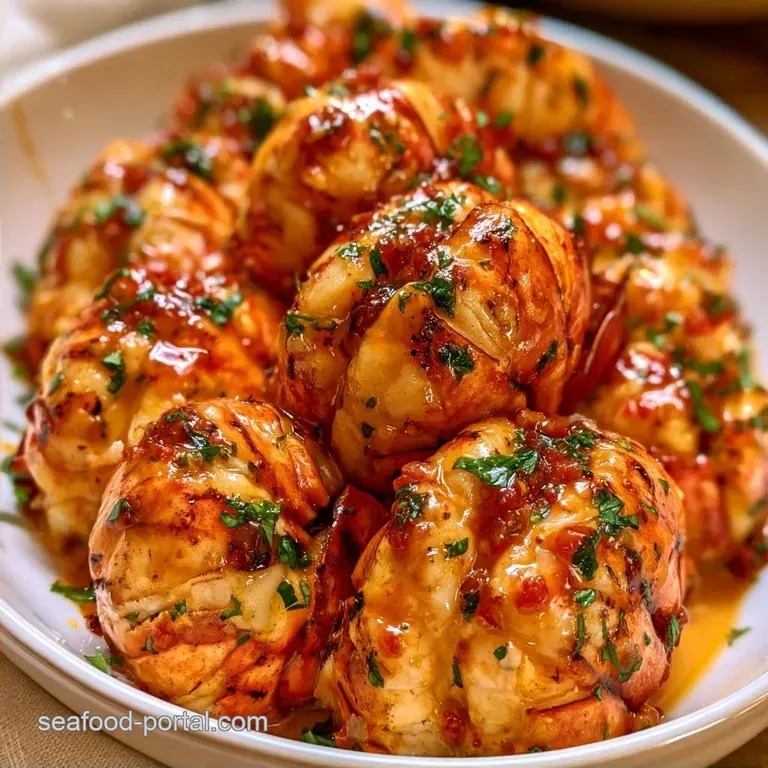
- Prep: 15 min active + 10 min cook
- Taste & Texture: A zesty, golden-brown crust paired with buttery meat
- Best for: Romantic dinners or impressive party starters
Have you ever noticed how lobster in high end restaurants always looks picture perfect? The meat is typically perched atop the shell, almost like it's on a pedestal. While it seems purely decorative, this "butterfly" cut is actually key to achieving an even cook.
Then there's the "deviled" aspect. While we usually associate that term with mustard and eggs, in the context of Deviled Lobster Tails, it refers to a bold, creamy topping that caramelizes under the broiler. It transforms a basic piece of seafood into a truly opulent experience.
The resulting dish strikes a perfect balance between the lobster's innate sweetness and a bright, slightly spicy zing. Despite the minimal effort required, the presentation suggests a level of culinary effort far beyond the actual time spent.
Why Deviled Lobster Tails Actually Work
- The Topping Shield: The mayo and butter mixture protects the lobster from the direct blast of the broiler. This keeps the meat from drying out while the top gets a mahogany crust.
- Acid Balance: Fresh lemon juice cuts through the heavy fats of the butter and mayo. It brightens the whole dish so it doesn't feel too heavy on the palate.
Since lobster is a bit of a splurge, you might want to adjust based on your budget or the type of lobster you found.
| Premium | Budget | Impact | Savings |
|---|---|---|---|
| Cold water Lobster | Frozen Tails | Slightly tougher texture | 30-40% cheaper |
| Fresh Parsley | Dried Parsley | Less "bright" green color | A few dollars |
| Sriracha | Cayenne Pepper | More earthy, less vinegary | Minimal |
Gear You'll Need
While you don't need high end equipment, a few specific tools will streamline the process. Kitchen shears are essential for the shell; attempting this with a knife is a safety risk.
A rimmed baking sheet is ideal for containing the bubbling butter. You'll also need a bowl and a small whisk for the topping. A broiler pan is a great option if available, but a standard baking sheet works perfectly.
The Component Breakdown
Here are the ingredients we'll be using. I like to measure everything out beforehand so I can stay organized while the broiler preheats.
| Ingredient | Role | If You Don't Have It |
|---|---|---|
| Mayonnaise | Binder and moisture | Greek yogurt (tangier) |
| Unsalted Butter | Fat for searing and richness | Ghee or melted margarine |
| Sriracha | Heat and color | Hot sauce or chili paste |
| Lemon Juice | Acid to balance richness | White wine or lime juice |
Quick Recipe Specs
We're using 4 lobster tails for this recipe, weighing approximately 170g each. The aim is a pearlescent interior paired with a golden, bubbling topping.
Keep in mind that broiler intensity varies; I recommend positioning your oven rack exactly 6 inches from the heat source to stop the top from burning before the meat is done.
Chef Note: If your tails are frozen, let them defrost fully in the refrigerator overnight. Cooking from a frozen state often results in uneven heat and a rubbery texture.
Step-by-step Cooking
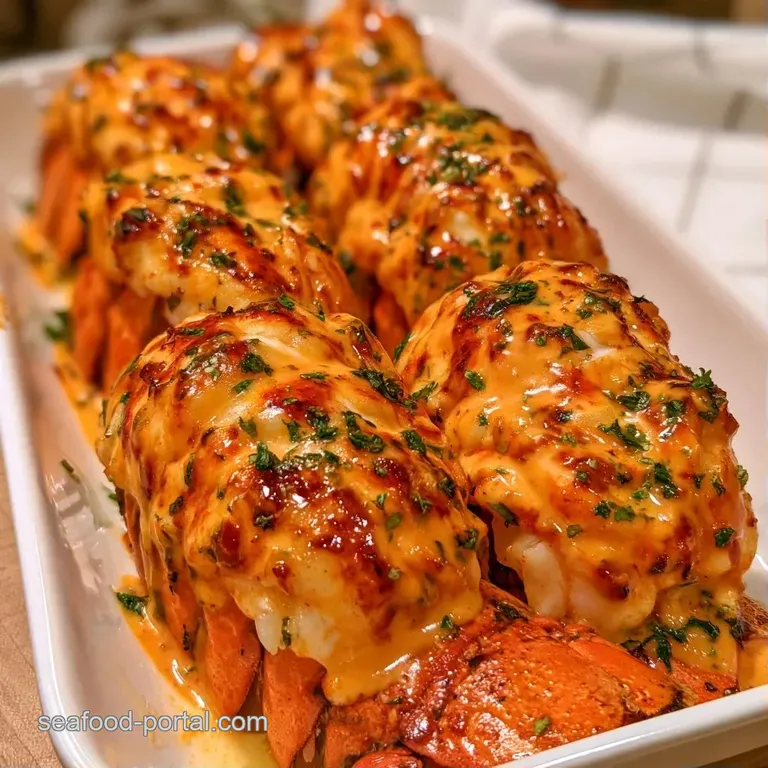
Perfecting the butterfly technique is essential for these Deviled Lobster Tails. Be patient and take your time with the shell work.
Phase 1: Butterflying the Tails
- Position the lobster tails on a cutting board, belly side up.
- Use kitchen shears to slice through the middle of the upper shell, stopping just before the eye socket.
- Carefully pry the shell open and lift the meat so it rests atop the shell.
- Lightly brush the exposed meat with 28g of melted butter.
Phase 2: Mixing the Deviled Compound
- In a small bowl, whisk together 60g mayonnaise, 28g melted butter, 5g sriracha, 15ml lemon juice, 2g garlic powder, and 1g smoked paprika.
- Stir in 4g of finely chopped parsley until the mixture is smooth and velvety.
Phase 3: Broiling to Perfection
- Preheat the broiler to high and set the oven rack 6 inches from the heat.
- Spoon a generous amount of the mixture onto each tail, spreading it to the edges.
- Broil for 8-12 minutes until the meat is opaque and the topping is mahogany colored gold and bubbling.
Fixing Common Issues
The biggest worry people have with seafood is overcooking. Lobster goes from perfect to rubber in about 60 seconds. If you see the meat curling tightly or turning a dull white, pull them out immediately.
Another issue is the topping. If the mayo separates or looks oily, it's usually because the melted butter was too hot when you whisked it in. Let your butter cool for a minute before mixing.
To Fix Rubbery Meat
Pull the tails out as soon as they are opaque. The carryover heat on the tray finishes the job.
To Prevent Burning the Topping
Move the oven rack down an inch if the topping browns too fast.
| Problem | Fix |
|---|---|
| Meat is too chewy | Reduce cook time by 2 minutes |
| Topping is pale | Move rack 1 inch closer to heat |
| Mixture is runny | Add a pinch more garlic powder |
Saving and Reusing Leftovers
To be fair, most people devour these immediately. But if you do have a leftover tail, store it in an airtight jar in the fridge for 2 days.
When reheating, stay away from the microwave, which makes lobster rubbery. Instead, pop them under the broiler for 2-3 minutes to warm them through and crisp up the top.
For a zero waste approach, save the shells. You can simmer them with a carrot and an onion to create a fast seafood stock for soup or risotto.
Different Ways to Make It
If you want something a bit more classic and rich, you can swap the sriracha for a pinch of nutmeg and more butter, similar to a lobster thermidor. It changes the vibe from zesty to elegant.
For those who want less dairy, you can use a vegan mayo. It works surprisingly well since the lobster provides most of the richness. If you like it spicy, double the sriracha or add a dash of cayenne.
You can also adapt these for different seafood. King crab legs or large scallops work with this same topping method. Just adjust the broiling time since scallops cook much faster.
| Goal | What to change |
|---|---|
| Extra Heat | Add 1/2 tsp red pepper flakes |
| Lighter Version | Use Greek yogurt instead of mayo |
| More Garlic | Use 1 tsp fresh minced garlic |
Best Ways to Serve
Deviled Lobster Tails make a killer appetizer, but they're a full meal if you pair them right. I love serving them with a side of charred asparagus or a light arugula salad with a lemon vinaigrette.
If you're feeling fancy, serve them alongside some buttered noodles tossed in a creamy lobster sauce. The creaminess of the pasta complements the zesty topping of the tails.
For a high impact presentation, place each tail on a bed of rock salt. It keeps them stable on the plate and looks like something you'd get at a high end steakhouse. Top with a fresh wedge of lemon for a pop of color and a final squeeze of juice right before eating.
Right then, that's how you handle Deviled Lobster Tails without the stress. It's all about that protective topping and watching the clock. Give it a shot next time you want to impress someone without spending four hours in the kitchen.
Recipe FAQs
How to butterfly the lobster tails?
Cut straight down the center of the top shell with kitchen shears, stopping before the eye socket. Gently pry the shell open and lift the meat upward to create a butterfly effect.
Is it true that boiling is better than broiling for this recipe?
No, and here's why. Broiling allows the topping to become mahogany colored gold and bubbling while the meat remains tender.
Which rack position works best?
Place the oven rack approximately 6 inches from the heat source. This ensures the topping browns perfectly within 8 to 12 minutes.
Can frozen lobster tails be used?
Use thawed cold water lobster tails for the most consistent results. If you enjoy these rich shellfish flavors, you might also like our silky lobster bisque.
What indicates the meat is done?
Wait until the lobster meat turns opaque. The topping should also be mahogany colored gold and bubbling.
Deviled Lobster Tails