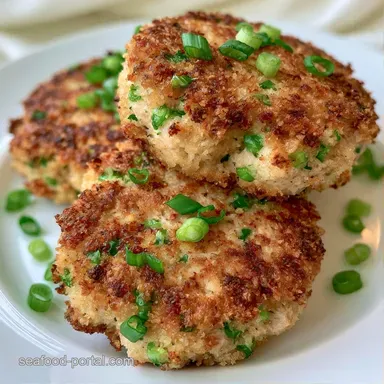
Crispy Tuna Patties with Green Onions
- Time: 10 min active + 15 min cook
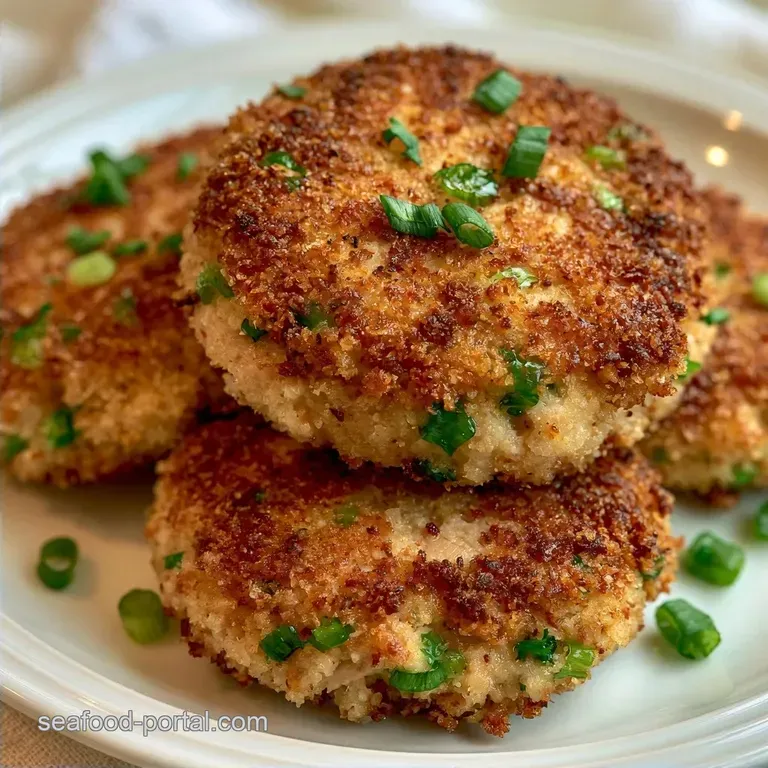
- Flavor/Texture Hook: Mahogany colored crust with a tender, onion laced center
- Perfect for: Quick weeknight dinner or high protein meal prep
- Tuna Patties with Green Onions Logic
- Ingredient Deep Dive
- Simple Ingredient List
- Essential Kitchen Tools
- Step by Step Method
- Fixing Common Issues
- Troubleshooting Common Issues
- Adjusting the Batch Size
- Debunking Common Myths
- Storage and Freezing
- Serving and Pairing
- Tasty Flavor Swaps
- Recipe FAQs
- 📝 Recipe Card
That sharp, aggressive sizzle when the patty hits the hot oil is the best part. I remember the first time I tried making these for a crowd. I got impatient and mashed the tuna into a paste, thinking a smoother mix would hold better.
Instead, I ended up with something that felt like wet cardboard and fell apart the second it touched the pan. It was a disaster.
I learned the hard way that texture is everything here. You want distinct flakes of tuna and pops of green onion, not a uniform mush. When you get the ratio of Panko to mayo just right, the patties develop a crust that actually cracks when you bite into it.
These Tuna Patties with Green Onions are a relief for anyone who thinks canned fish is boring. They're salty, tangy, and hit that craving for something fried without requiring a deep fryer. Trust me on this, once you stop over mixing, these become a staple.
Tuna Patties with Green Onions Logic
The goal here is a contrast between the outer shell and the inside. We use a over high heat sear to create a rigid, browned exterior while keeping the interior moist. The green onions add a sharp, fresh bite that cuts through the richness of the mayonnaise.
What keeps them together Egg and breadcrumbs create a protein starch matrix that holds the tuna in place. Mayo adds fat, which prevents the fish from drying out during the sear.
| Style | Prep Effort | Texture | Best For |
|---|---|---|---|
| Quick Sear | Low | Crispy edges, moist center | Weeknight meals |
| Classic Bake | Medium | Uniform, softer crust | Large crowds |
| air fried | Low | Dry, crunchy exterior | Healthier option |
Ingredient Deep Dive
Before we get into the list, it's worth noting how each part contributes. I've found that using Panko instead of standard breadcrumbs makes a huge difference because the larger flakes create more air pockets. According to Serious Eats, Panko is more porous, which helps the oil brown the surface more efficiently.
| Ingredient | What It Does | Best Swap |
|---|---|---|
| Canned Tuna | Provides the protein base | Fresh cooked tuna (Tastier, more expensive) |
| Panko | Binds and adds crunch | Almond flour (Low carb, denser) |
| Mayonnaise | Adds moisture and richness | Greek yogurt (Tangier, lower calorie) |
| Green Onions | Adds brightness and color | Chives (Milder flavor) |
Simple Ingredient List
Gather everything before you start. It's a fast process, and you don't want to be chopping onions while your oil is already shimmering in the pan.
- 2 cans (10 oz / 283g) canned tuna, drained well Why this? Draining prevents soggy patties
- 1 large (50g) egg, lightly beaten Why this? Essential for binding
- 1/2 cup (60g) Panko or plain breadcrumbs Why this? Absorbs moisture for structure
- 3 tbsp (45g) mayonnaise Why this? Keeps the fish tender
- 1/4 cup (15g) green onions, finely sliced Why this? Fresh, sharp contrast
- 1 tbsp (15ml) lemon juice Why this? Cuts the fishiness
- 1/2 tsp (3g) garlic powder Why this? Adds depth without raw garlic bite
- 1/4 tsp (1.5g) salt Why this? Enhances all other flavors
- 1/4 tsp (1g) black pepper Why this? Subtle warmth
- 2 tbsp (30ml) vegetable or canola oil Why this? High smoke point for searing
Essential Kitchen Tools
You don't need a fancy setup for this. A large mixing bowl and a sturdy fork are your primary tools. I prefer a heavy bottomed stainless steel or cast iron skillet because they hold heat better than non stick pans, which means you get a better crust.
Chef Note: If you don't have a slotted spoon, just use a wide spatula. It's easier to flip the patties without breaking them if you have a wide surface area.
Step by step Method
Right then, let's get into it. The process is simple, but the details matter.
- Drain the tuna. Press the lid down hard to get every last drop of water or oil out.
- Combine the drained tuna, beaten egg, breadcrumbs, mayonnaise, sliced green onions, lemon juice, and seasonings in a bowl.
- Use a fork to flake the tuna. Fold in the ingredients gently. Mix until just combined. Note: Over mixing leads to dense, mushy patties.
- Scoop about 2 tablespoons of the mixture per patty.
- Gently press them into discs roughly 1 inch thick. Don't pack them too tightly.
- Heat the oil in a skillet over medium high heat. Wait until the oil shimmers but isn't smoking.
- Carefully place the patties in the pan. Leave space between them so they sear instead of steam.
- Cook for 3–4 minutes per side. Do not move them during this time.
- Flip once until they develop a mahogany colored crust.
- Cook the second side for another 3–4 minutes until the edges are crisp and the center is heated through.
Fixing Common Issues
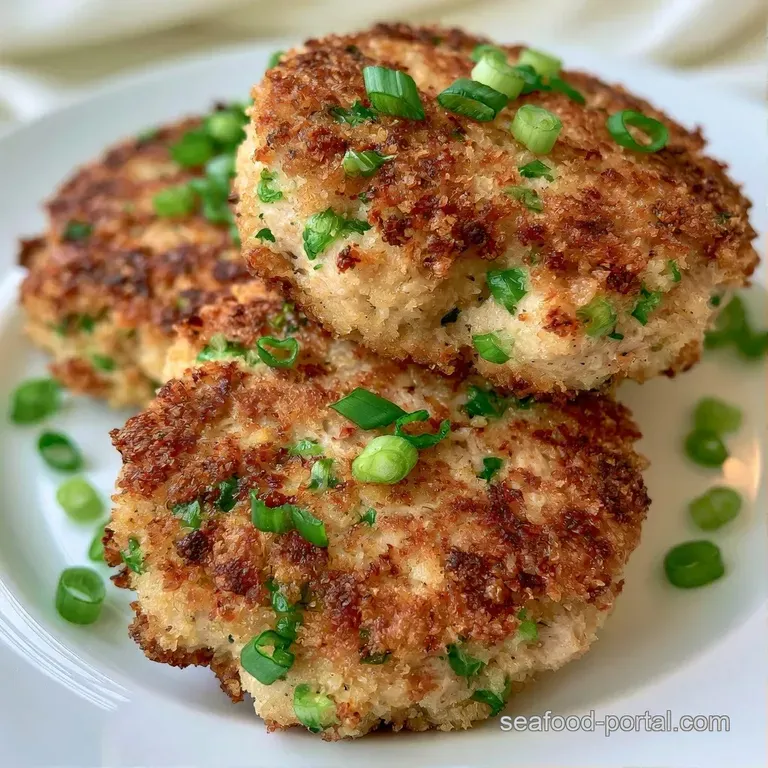
Even with a simple recipe, things can go sideways. Most problems with these patties stem from moisture levels. If your tuna wasn't drained enough, the patties will struggle to brown and might slide apart.
Troubleshooting Common Issues
| Issue | Solution |
|---|---|
| Why Your Patties Fall Apart | This usually happens if the binder (egg and Panko) didn't have time to set or if there was too much moisture. If the mix feels too wet to hold a shape, add one extra tablespoon of Panko. |
| Why Your Patties Are Mushy | Over mixing is the culprit. If you stir the tuna until it looks like a paste, you lose the texture. Keep the flakes intact for a better mouthfeel. |
| Why Your Patties Burn | Medium high heat is the target, but some stoves run hot. If the outside is black but the inside is cold, drop the heat to medium and cook for an extra minute per side. |
Adjusting the Batch Size
If you're cooking for just yourself or a whole party, you can easily change the scale of this recipe.
Scaling Down (Half Batch) For a half batch, use one can of tuna and 1/4 cup Panko. Since you can't easily halve an egg, beat one egg in a small bowl and use half of it. You'll likely use a smaller skillet, so keep an eye on the heat as it can spike faster.
Scaling Up (Double or Triple Batch) When doubling, don't double the salt and garlic powder exactly. Start with 1.5x the seasoning and taste a small bit of the mix. Work in batches in the pan.
If you crowd the skillet, the temperature drops and you'll end up boiling the patties in oil rather than searing them.
Debunking Common Myths
The Searing Myth You'll often hear that searing "seals in the juices." This isn't true. Searing creates flavor and texture through browning, but it doesn't create a waterproof barrier. The goal is the crust, not juice retention.
The Oil Packed Tuna Myth Some people think oil packed tuna is always better. While it can be more flavorful, it's much harder to drain. For these patties, water packed tuna is often easier to work with because you can get it bone dry, leading to a crispier patty.
Storage and Freezing
These are great for meal prep. Once cooked, let them cool completely on a wire rack so the bottoms don't get soggy from steam.
Fridge Storage Store them in an airtight container for up to 3 days. They're actually quite good cold in a salad, but most people prefer them warm.
Freezing for Later You can freeze these either raw or cooked. If freezing raw, shape them and flash freeze on a baking sheet for 1 hour before transferring to a freezer bag. They'll last 2 months. If frozen cooked, wrap them individually in parchment paper.
Zero Waste Tip Don't throw away the white parts of the green onions. Chop them up and sauté them with your rice or pasta for a mild onion flavor.
Serving and Pairing
To keep the meal balanced, pair the richness of the fried patty with something acidic or fresh. A simple arugula salad with a lemon vinaigrette works perfectly. If you want something heartier, these make a great base for a "tuna burger" on a toasted brioche bun with sliced tomato and tartar sauce.
For a side, a quick coleslaw provides a crunch that complements the tender center of the patty. If you're looking for other ways to use your canned tuna, you might enjoy my Homemade Creamy Tuna Casserole for a more comforting, oven baked meal.
Tasty Flavor Swaps
Once you've got the basic technique down, you can play with the flavors. The base of these Tuna Patties with Green Onions is very versatile.
Spicing It Up
Add a teaspoon of Sriracha or a pinch of cayenne pepper to the mix. If you love a kick, serve them with a spicy mayo dip. This reminds me of a Spicy Tuna recipe but a warm, crispy twist.
The Cheesy Twist
Fold in 1/4 cup of grated Parmesan or sharp cheddar. The cheese will melt and create lacy, crispy edges around the patty during the sear.
Low Mayo Option
Swap the mayo for plain Greek yogurt or a touch of sour cream. You'll lose some of the richness, but you'll gain a tangier flavor that works well with the lemon juice.
Going gluten-free
Replace the Panko with almond flour or crushed gluten-free crackers. Note that almond flour makes the patty slightly denser and softer, so be extra careful not to over mix.
Recipe FAQs
Is it possible to make tuna cakes like crab cakes?
Yes, these follow a similar profile. By using breadcrumbs and egg as binders, you achieve the same structured, pan-seared texture found in classic crab cakes.
How to make tuna patties?
Combine drained tuna, beaten egg, breadcrumbs, mayonnaise, sliced green onions, lemon juice, and seasonings. Mix until just combined, shape into 1-inch thick discs, and fry in shimmering oil for 3–4 minutes per side until a mahogany crust forms.
What to serve with tuna patties?
Pair them with a crisp garden salad or a zesty dipping sauce. A creamy and zesty sauce provides a bright contrast to the savory richness of the patties.
Why do my tuna patties fall apart in the pan?
Check your binder ratio. This usually happens if the egg and Panko didn't have time to set or if there is too much moisture; add one extra tablespoon of Panko if the mix feels too wet to hold a shape.
Why are my patties mushy instead of flaky?
Avoid over-mixing the ingredients. Stirring the tuna until it becomes a paste ruins the mouthfeel, so fold the ingredients gently to keep the tuna flakes intact.
Can I freeze these patties for later?
Yes, you can freeze them raw or cooked. Flash freeze raw shaped patties on a baking sheet for one hour before bagging, or wrap cooked patties individually in parchment paper.
Is it true that over-mixing the mixture makes the patties better?
No, this is a common misconception. Over-working the mixture actually makes the patties dense and mushy rather than light and flaky.
Tuna Patties with Green Onions: Crispy