Sous Vide Halibut: Velvety with Lemon Butter

- Time: 10 min active + 45 min cooking = Total 55 mins
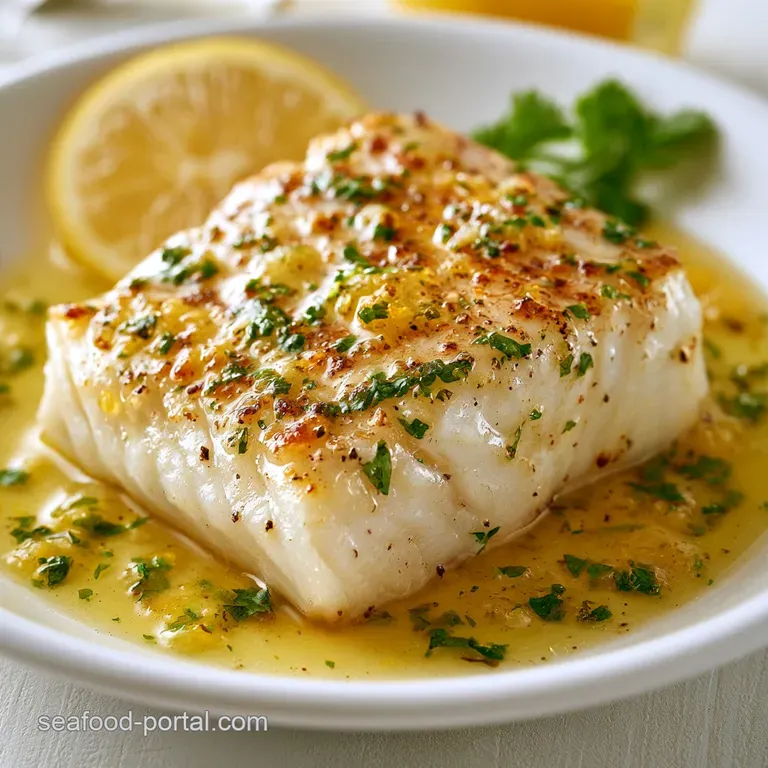
- Flavor/Texture Hook: Velvety, buttery interior with a golden, shatter crisp crust
- Perfect for: An impressive date night or a high end dinner party that doesn't require you to hover over the stove
- Sous Vide Halibut Step by Step Recipe with Lemon Butter
- The Secret to the Texture
- Component Analysis
- Essential Ingredients List
- Required Kitchen Gear
- Guide to the Process
- Fixing Common Mistakes
- Creative Flavor Twists
- Scaling and Adjustments
- Storage and Waste Tips
- Best Sides for Fish
- Recipe FAQs
- 📝 Recipe Card
Sous Vide Halibut step by step Recipe with Lemon Butter
That loud, aggressive sizzle when the fish hits a ripping hot pan is the best sound in the kitchen. But let's be real, halibut is terrifying to cook. I've had too many nights where I thought I had it timed just right, only to cut into a fillet that felt like a piece of damp chalk.
It's a lean fish, which means there is zero room for error. One minute too long and you've ruined a very expensive piece of seafood.
The fix is removing the guesswork entirely. By using a water bath, we stop the proteins from tightening up and pushing out all the juices. Follow this Sous Vide Halibut step by step Recipe with Lemon Butter for a perfectly tender, restaurant quality meal.
You get that buttery, flaky texture every single time, and the lemon butter finish adds a brightness that cuts right through the richness.
Trust me, once you see how the fish just flakes apart under a fork without being dry, you'll never go back to the "guess and check" method. It's about getting that contrast - a velvety center and a crust that actually has some bite to it. Let's get into how to actually make this happen without the stress.
The Secret to the Texture
When we cook fish in a pan, the outside gets way hotter than the inside. This creates a gradient where the edges are overcooked before the center is even warm. Sous vide fixes this by keeping the entire fillet at one exact temperature.
- Protein Stability
- At 131°F, the muscle fibers relax instead of contracting, which keeps the moisture locked inside.
- Fat Distribution
- The olive oil in the bag helps conduct heat evenly and keeps the surface from sticking.
- Controlled Flaking
- The connective tissue breaks down slowly, creating those distinct, clean flakes we love.
- Flavor Infusion
- Cooking in a vacuum forces the seasoning into the flesh rather than it just sitting on top.
| Method | Time | Texture | Best For |
|---|---|---|---|
| Classic Pan Sear | 10 mins | Risk of dryness | Quick lunch |
| Oven Baked | 20 mins | Uniform but bland | Large crowds |
| Sous Vide | 45 mins | Velvety & Juicy | Special occasions |
Component Analysis
Understanding what each ingredient does helps you tweak the recipe if you're missing something. Halibut is a mild fish, so the supporting cast does a lot of the heavy lifting here.
| Ingredient | Science Role | Pro Secret |
|---|---|---|
| Halibut | Main Protein | Choose center cut fillets for even cooking |
| Unsalted Butter | Emulsifier | Use European style butter for a silkier sauce |
| Lemon Juice | Acid Balance | Add at the very end to keep the flavor bright |
| Olive Oil | Heat Transfer | Use a neutral oil for the sear to avoid burning |
Essential Ingredients List
Grab these items before you start. Make sure your butter is cold when you're ready for the final basting step.
- 1.5 lbs halibut fillets, cut into 4 equal portions Why this? Thick cuts handle the sous vide process best
- 1 tsp kosher salt Why this? Coarser grains distribute more evenly
- 1/2 tsp freshly ground black pepper Why this? Fresh pepper has more aromatic oils
- 1 tbsp extra virgin olive oil Why this? Adds a subtle fruity note to the bag
- 2 tbsp unsalted butter, cubed Why this? Allows for better control during the emulsion
- 1 tbsp fresh lemon juice Why this? Fresh juice is far more vibrant than bottled
- 1 tsp lemon zest, finely grated Why this? The oils in the zest provide the "lemon" aroma
- 1 clove garlic, minced Why this? Adds a savory depth to the butter
- 1 tbsp fresh parsley, finely chopped Why this? Adds a fresh, herbal finish
- 1 pinch sea salt Why this? Final seasoning to make flavors pop
Substitution Options
| Original Ingredient | Substitute | Why It Works |
|---|---|---|
| Halibut | Cod or Sea Bass | Similar lean white fish. Note: Cod is softer and flakes more easily |
| Unsalted Butter | Ghee | Higher smoke point. Note: Lacks the milky richness of butter |
| Fresh Parsley | Fresh Chives | Similar mild green flavor. Note: Adds a slight oniony note |
Required Kitchen Gear
You don't need a professional kitchen, but a few specific tools make this much easier. If you don't have a vacuum sealer, the "water displacement method" works just fine - just slowly lower the Ziploc bag into the water to push the air out.
For the sear, I highly recommend a stainless steel or cast iron skillet. Non stick pans can't handle the high heat needed to get that golden brown crust. If you're looking for other ways to prepare fish, you might like this baked white fish guide for when you don't have your immersion circulator handy.
Guide to the Process
Right then, let's get cooking. The key to the "wow" factor here is the transition from the water bath to the pan. If the fish is wet, it won't sear - it will steam.
Step 1: Season and Bag
Pat the halibut fillets completely dry with paper towels. Season both sides evenly with salt and pepper. Place the fillets in a vacuum sealer bag or heavy duty Ziploc with the olive oil. Remove all air using a vacuum sealer or the water displacement method.
Note: Removing air ensures the fish doesn't float
Step 2: The Precision Bath
Preheat the water bath to 131°F (55°C). Carefully lower the bag into the water and cook for 45 minutes. Until the timer hits zero, leave it alone. Don't peek, or you'll lose heat.
Step 3: The Drying Phase
Remove the fillets from the bag and pat the fish extremely dry with paper towels. I mean extremely dry. If there is any moisture left on the surface, you'll get a greyish color instead of a golden sear.
Step 4: The over High heat Sear
Heat a skillet over high heat with a thin layer of oil until it begins to smoke. Sear the fillets for 60 seconds per side until a golden brown crust forms. Keep it moving slightly so it doesn't stick.
Step 5: The Light Lemon Butter Finish
Reduce heat to medium. Add the butter and minced garlic. Once the butter foams, stir in the lemon juice, zest, and parsley. Spoon the emulsion over the fillets for 30 seconds before plating. Note: This "basting" adds a velvety layer of flavor
Chef's Note: If you want an even deeper crust, try dusting the fish with a tiny pinch of cornstarch right before searing. It absorbs remaining moisture and creates a shatter crisp exterior.
Fixing Common Mistakes
Even with a precision cooker, things can go sideways. Most issues happen during the searing phase or the final sauce emulsion.
If the Fish is "Too Soft"
Some people find sous vide fish feels too "tender" or almost raw. This is usually because they aren't searing it long enough. The high heat of the pan firms up the exterior and creates the structural contrast needed.
If the Sear is Sticking
This happens when the pan isn't hot enough or the fish was put in too early. Wait for the oil to shimmer or just start smoking. Once the fish hits the pan, don't touch it for at least 45 seconds; it will naturally release once the crust has formed.
If the Butter Sauce Separates
Butter emulsions can break if the heat is too high. If your sauce looks oily rather than creamy, remove the pan from the heat for a few seconds and whisk in a teaspoon of water or more lemon juice to bring it back together.
| Problem | Root Cause | Solution |
|---|---|---|
| Grey Fish | Pan not hot enough | Heat until oil smokes |
| Rubbery Texture | Overcooked in sear | Keep sear to 60s per side |
| Bland Taste | Under seasoned | Add a pinch of sea salt at end |
Common Mistakes Checklist
- ✓ Did you pat the fish dry twice (before and after the bag)?
- ✓ Is your skillet smoking before the fish goes in?
- ✓ Did you use cold, cubed butter for the basting?
- ✓ Did you avoid over searing the fish after the 45 minute bath?
- ✓ Was the water bath exactly 131°F (55°C)?
Creative Flavor Twists
Once you've nailed the basic Sous Vide Halibut step by step Recipe with Lemon Butter, you can start playing with the aromatics in the bag.
For a Mediterranean Twist Swap the parsley for fresh oregano and add a sliced kalamata olive and a strip of lemon peel inside the vacuum bag. This infuses the fish with a salty, briny depth during the 45 minute cook.
For a Zesty Asian Flare Replace the olive oil with toasted sesame oil and add a thin slice of ginger to the bag. When you get to the butter stage, swap the butter for a mix of butter and a splash of soy sauce.
To Make it dairy-free Use a high-quality vegan butter or a drizzle of extra virgin olive oil combined with the lemon juice. According to Serious Eats, using a fat with a high smoke point is key when avoiding butter for searing.
If you're in the mood for something with a bit more kick, my garlic scampi sauce works beautifully as a replacement for the lemon butter finish.
Scaling and Adjustments
Cooking for a crowd with sous vide is actually easier than traditional methods because you can cook multiple bags at once.
Scaling Down (2 Servings) Use a smaller vessel for the water bath to save energy. The cooking time remains 45 minutes, but ensure the fillets aren't overlapping in the bag, as this will create cold spots.
Scaling Up (8+ Servings) Work in batches if your water bath is small. If you have a large tank, you can do all 8 fillets, but remember that adding cold fish can drop the water temperature. Give the bath 5-10 minutes to recover its heat before starting the timer.
For the sear, you'll need to work in batches of 2-3 fillets. If you crowd the pan, the temperature drops and the fish will steam instead of sear.
Sous Vide Halibut from Frozen You can actually do this! Just add about 15-20 minutes to the total cook time. Start with the water at 131°F and cook for 60-65 minutes instead of 45. The result is practically identical to using fresh fish.
Storage and Waste Tips
Halibut is best eaten immediately, but if you have leftovers, you can store them carefully.
Storage Guidelines Place the cooked fish in an airtight container and refrigerate for up to 2 days. Avoid the freezer for cooked halibut, as the texture often becomes mealy upon thawing.
Reheating without Ruining Do not microwave it. The quickest way to turn your velvety fish back into chalk is a microwave. Instead, gently warm it in a pan with a knob of butter over low heat for 2-3 minutes just to take the chill off.
Zero Waste Tips If you have leftover lemon zest or parsley stems, don't toss them. Toss the stems into a freezer bag for your next batch of fish stock. Any leftover lemon butter sauce can be drizzled over steamed asparagus or sautéed spinach for a quick side dish.
Best Sides for Fish
Since this recipe is rich and buttery, you need sides that offer a bit of crunch or acidity to balance the plate.
Fresh and Green Sautéed baby spinach with a squeeze of lime or roasted asparagus are classic choices. The earthiness of the greens complements the mildness of the halibut.
Starchy Bases A bed of wild rice or a creamy cauliflower puree works wonders. If you want something a bit more indulgent, a light lemon parsley couscous mirrors the flavors of the sauce.
Acidic Contrast A simple arugula salad with a champagne vinaigrette provides a peppery bite that cuts through the lemon butter emulsion, making every bite of the fish feel fresh.
Recipe FAQs
What temperature should I set my sous vide device to?
131°F (55°C). This precise temperature ensures the halibut remains moist and flaky without overcooking.
How long does it take to sous vide halibut?
Cook for 45 minutes. This timing allows the heat to penetrate the fillets evenly to achieve a velvety texture.
How do I ensure the halibut has a nice brown crust?
Pat the fillets extremely dry with paper towels before searing. Surface moisture creates steam, which prevents the fish from developing a golden brown crust in the hot skillet.
What is the best seasoning to put on halibut?
Kosher salt and freshly ground black pepper. Simple seasoning prevents the delicate fish from being overwhelmed and allows the final lemon butter emulsion to stand out.
How do you cook fish in a sous vide?
Seal the fish in a bag with oil and immerse it in a temperature controlled water bath. Once the timer finishes, sear the fish in a smoking hot pan to add color and flavor.
Can I add other flavors to the vacuum sealed bag?
No, stick to the olive oil in the bag. Strong aromatics can overpower the halibut during the water bath; save the lemon, garlic, and parsley for the butter basting step.
What can I serve with Sous Vide Butterbasted Halibut?
Pair it with steamed asparagus or a light quinoa salad. If you loved the bright, acidic balance of the lemon butter here, see how we use a similar profile in our lemon caper sauce.
Sous Vide Halibut Lemon Butter

