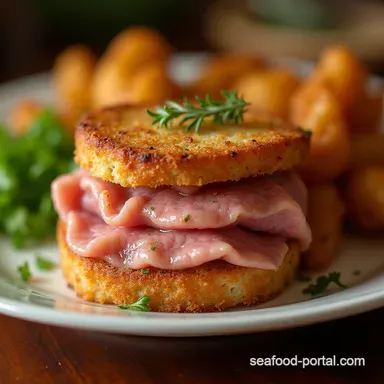
The Definitive Proper Job Tuna Melt Crispy Exterior Creamy Heart
- Banish Bland Sandwiches: Introducing Our Signature Tuna Melt Formula
- Why This Isn't Your Grandma's Standard Diner Fare
- Assembling the Pantheon of Components for Your Tuna Melt
- Sourcing Superior Elements: Quality Over Compromise
- The Methodical Construction: Step-by-Step Guide to Perfection
- Executing the Cook: Achieving Controlled Browning
- Elevating the Experience: Serving Suggestions Beyond the Plate
- Recipe FAQs
- 📝 Recipe Card
Banish Bland Sandwiches: Introducing Our Signature Tuna Melt Formula
There are sandwiches, and then there are moments . The Tuna Melt falls squarely into the latter category a nostalgic comfort food elevated by precision cooking and thoughtful flavour layering.
Forget the soggy, lukewarm excuses you might have encountered lurking in dimly lit diners. We are diving deep into the architecture of what makes a truly magnificent Tuna Melt Sandwich Recipe : a perfectly golden, impossibly crisp exterior yielding to a warm, savoury, and beautifully textured interior.
This isn't just lunch; it’s an achievement in simple, delicious cooking, manageable for any home cook ready to master the fundamentals.
Why This Isn't Your Grandma's Standard Diner Fare
While we adore tradition, our goal here is refinement. We want every element from the crunch of the celery to the pull of the melted cheese to sing in harmony. The difference between an adequate melt and the Best Tuna Melt Recipe lies in two core principles: ingredient quality and heat management.
We’ve constructed this approach, which we affectionately call the "Proper Job" method, to eliminate common pitfalls like bread saturation and under melted cheese.
The Culinary Mission: Achieving Peak Golden Brown Exterior
The crust is non-negotiable. A great Grilled Tuna Melt demands a buttered landscape that toasts evenly to a rich, deep amber colour without transferring excessive grease to the filling. Achieving this requires softened, edge-to-edge butter application and the disciplined use of low heat.
We are coaxing the bread into crispness, not searing it into carbon.
Setting Expectations: The Perfect Ratio of Crunch to Creaminess
A successful Tuna Melt hinges on textural contrast. The filling itself needs body; it should be creamy enough to bind but studded with enough sharp, crisp elements (like celery and onion) to provide necessary resistance when you bite down.
The final product should never require a fork to manage the contents, nor should it fall apart under its own weight.
Understanding the 'Proper Job' Philosophy
This philosophy dictates that even the simplest dish deserves your full attention regarding preparation. For this Tuna Melt Recipe , it means ensuring the tuna is adequately drained, the mayonnaise is high-quality, and you use sturdy bread capable of holding up to the hot, moist filling.
It’s about respect for the components, resulting in extraordinary Tuna Melts .
Assembling the Pantheon of Components for Your Tuna Melt
Before we even think about hitting the heat, we must curate the building blocks. For a dish this straightforward, the quality of your Tuna Melt Ingredients directly correlates with the final outcome.
Related Recipes Worth Trying
- Golden Gooey Crispy Tuna Melt Patties Recipe — Ditch the sandwich These easy Tuna Melt Patties are panfried until golden and packed with sharp cheddar A pure comfort food fix in 30 minutes
- The Best Grilled Cheese Sandwich Buttery Bliss Gooey Melt — Master the Best Grilled Cheese Recipe using three cheeses for a foolproof gooey centre and that perfect shattering golden crust A classic comfort food sandwich
- Bright LemonDill Tuna Pasta Salad Recipe No Soggy Bottoms — Toss out the dull versions This bright zesty Tuna Pasta Salad uses orzo and a homemade lemondill vinaigrette Perfect for healthy meal prep
Sourcing Superior Elements: Quality Over Compromise
We are utilizing a recipe that yields two generous sandwiches, requiring about 15 minutes of active prep time before the 8– 10 minutes of cooking time.
This efficiency ensures you can enjoy this elevated comfort food in roughly 25 minutes total.
The Essential Trio: Tuna, Binder, and Aromatic Boosters
Start with premium ingredients. For the tuna, opt for high-quality tuna packed in oil; the slight residual oil contributes a richness that water packed simply cannot replicate, provided you drain it extremely well. The binder should be full fat mayonnaise this is not the time for austerity.
To elevate the profile beyond the standard, we incorporate textural crunch from finely diced celery and a necessary acidic lift from minced red onion and a squeeze of fresh lemon juice.
A touch of Dijon mustard adds depth, and a sprinkle of fresh dill, if available, offers a bright, herbaceous counterpoint to the richness. Seasoning assertively with salt and pepper is vital here, as this is where the flavour foundation is laid.
Choosing Your Bread Canvas: Thickness and Texture Considerations
The bread acts as the structural foundation for your Tuna Melt Sandwich . Thin, floppy sandwich bread will inevitably succumb to moisture, leading to a soggy mess. We strongly advocate for slices of robust sourdough or a good quality, medium thick white bread.
These options possess the structural integrity necessary to crisp up beautifully while supporting the generous filling inside.
Melting Mastery: Selecting Cheeses with Optimal Stretch and Flavour
The cheese must perform dual duties: providing flavour complexity and achieving that legendary ‘cheese pull.’ Sharp Cheddar offers a wonderful tang that complements the tuna beautifully, but if you prefer a milder, supreme stretch, consider Gruyère.
The secret to maximising melt is layering: place a blanket of cheese both under and over the tuna mixture. This acts as a delicious moisture barrier, protecting the bread while ensuring every bite has gooey cheese integration.
Essential Utensils for Unlocking Peak Melt Potential
While the list is simple a mixing bowl, a good spatula, and a sharp knife the crucial piece of equipment is a heavy bottomed, non-stick skillet or flat griddle. This surface distributes heat most evenly, which is the key to achieving uniform browning on the bread while allowing the trapped heat to work its magic on the cheese.
The Methodical Construction: step-by-step Guide to Perfection
Once your components are prepped, assembly is swift. Gently fold your seasoned tuna components together, taking care not to mash the mixture into a paste; texture is paramount. Then, take your sturdy bread slices.
The critical step here is preparation for grilling: generously spread softened, unsalted butter from edge to edge on one side of all four slices. These buttered sides will become the exterior crust of your Tuna Melt .
On the unbuttered side of two slices, layer half your grated cheese, followed by half the tuna mixture, and finally the remaining cheese. Cap it with the remaining two slices, butter side facing up.
Executing the Cook: Achieving Controlled Browning
This is where the transformation happens. Patience during cooking separates the casual cook from the maestro of the Tuna Melt .
Phase One: Crafting the Impeccably Seasoned Tuna Base
If you haven’t already, ensure your tuna salad tastes vibrant and perfectly seasoned before it meets the bread. This filling cannot be seasoned sufficiently once it’s encased in bread and cheese; what you taste now is what you get in the finished product.
Butter Application Secrets for an Unforgettable Crust
Use real, softened butter not margarine or oil sprayed directly into the pan. Softened butter, spread evenly, creates a superior, flavourful barrier that browns uniformly, delivering that signature, slightly salty, crisp exterior crucial for any great Tuna Melt Sandwich .
The Grilling Sequence: Low Heat, High Reward
Place your assembled sandwiches onto a dry skillet set over medium low heat . Resist the urge to crank the heat up, thinking you can speed up the process. If the heat is too high, the bread will burn before the internal cheese has begun to liquefy.
Allow the first side to cook undisturbed for 4 to 5 minutes until you confirm a deep, satisfying golden hue when you peek underneath.
The Crucial Waiting Game: Allowing the Cheese to Fully Integrate
Flip the sandwich carefully. Now, immediately reduce the heat to low . To guarantee the cheese melts thoroughly without burning the second side of the bread, cover the skillet immediately with a tight fitting lid or even a metal bowl tented over the sandwich.
Let this steam assist cycle run for 3 to 4 minutes. This trapped heat forces the internal temperature up, melting the cheese perfectly against the hot filling. Finish by removing the lid for one final minute, if needed, to crisp up the second side.
Slice diagonally and serve immediately to enjoy this fantastic Classic Tuna Melt .
Elevating the Experience: Serving Suggestions Beyond the Plate
While the Tuna Melt is a star in its own right, its richness benefits immensely from sharp, bright, or comforting accompaniments.
Tangy Counterpoints: The Best Side Dishes for a Rich Tuna Melt
The unparalleled partner for any rich, cheesy melt is a bowl of warm, creamy Tomato Soup perfect for dipping and cutting through the fat. Alternatively, a handful of crisp dill pickle spears or a side of sharply vinegary pickled red onions provides a necessary acidic punch to cleanse the palate between rich bites.
Adventurous Tweaks: Customizing Your Filling Profile
If you wish to move beyond the standard Tuna Melt Recipe , consider heat: mixing a dash of Sriracha or a pinch of smoked paprika into the tuna salad transforms it instantly.
For a less traditional but delightful flavour, swap the Cheddar for Swiss or Monterey Jack, which offer a nuttier or milder profile, respectively.
Storage Protocols: Maintaining Freshness Post Assembly
Truthfully, the Tuna Melt Sandwich is best enjoyed seconds after it leaves the pan. If you must store leftovers, do not store them assembled. Cool any leftover tuna salad and refrigerate it separately. Reheating a fully cooked, greasy melt almost always results in disappointment.
Troubleshooting Common Melt Mishaps (Soggy Bread Prevention)
The primary enemy is moisture. If your bread seems heavy or is not browning, it usually means your tuna was insufficiently drained or you used too much mayonnaise. On top of that,, ensure you are patting the bread dry on the exterior surfaces just before buttering, ensuring only the butter is making contact with the hot pan surface, guaranteeing a supreme Air Fryer Tuna Melt competitor texture, even on the stovetop.
Recipe FAQs
My Tuna Melt always ends up soggy! What’s the secret to that perfect crispy bread?
That’s a common blunder, mate! The trick lies in two things: draining the tuna properly and controlling your heat. Make sure you press out excess moisture from the tuna mix before assembling.
Then, when cooking, spread softened butter right to the edges of the bread and start on a medium low heat; if it sizzles too aggressively, you’ll burn the outside before the inside warms up.
How can I ensure the cheese melts completely on my Tuna Melt without incinerating the toast?
Ah, the classic low-and-slow challenge! After you flip the sandwich to grill the second side, immediately reduce the heat to low and cover the pan with a lid for about three to four minutes.
This traps the ambient heat, turning your pan into a mini oven, which guarantees a molten centre, just like a proper cheesy jacket potato.
I’m not a massive fan of celery; what can I use instead in the tuna salad mix?
No worries, we can easily swap that out! If you want to keep the crunch, try adding finely diced water chestnuts or perhaps some finely chopped cornichons (gherkins) for a nice sour pop.
If you prefer a softer texture, just omit the crunchy element entirely and perhaps add an extra tablespoon of finely minced red onion for flavour instead.
Can I make the tuna salad filling ahead of time for a quick lunch later in the week?
Absolutely, preparing the filling early is a fantastic time saver! You can mix the tuna salad up a day or two in advance and keep it tightly covered in the fridge. However, for the absolute best results, try to assemble and grill the actual sandwich fresh; mayo based salads tend to get a bit looser overnight.
Is there a way to make this Tuna Melt a bit healthier, or should I just embrace the indulgence?
You can certainly lighten it up without sacrificing all the fun! Swap out half the mayonnaise for plain Greek yoghurt for a protein boost and less fat. For an even cleaner result, try grilling the assembled sandwich in a sandwich press or air fryer instead of buttering the bread and frying in a skillet.
What cheese works best if I don't have sharp Cheddar on hand?
If Cheddar’s gone AWOL, you have some brilliant alternatives! Gruyère is a top-tier choice; it melts beautifully and adds a lovely nutty complexity. Alternatively, Monterey Jack melts like a dream and is milder, or even a good mature Swiss cheese works wonders for that satisfying, stretchy pull we all crave.
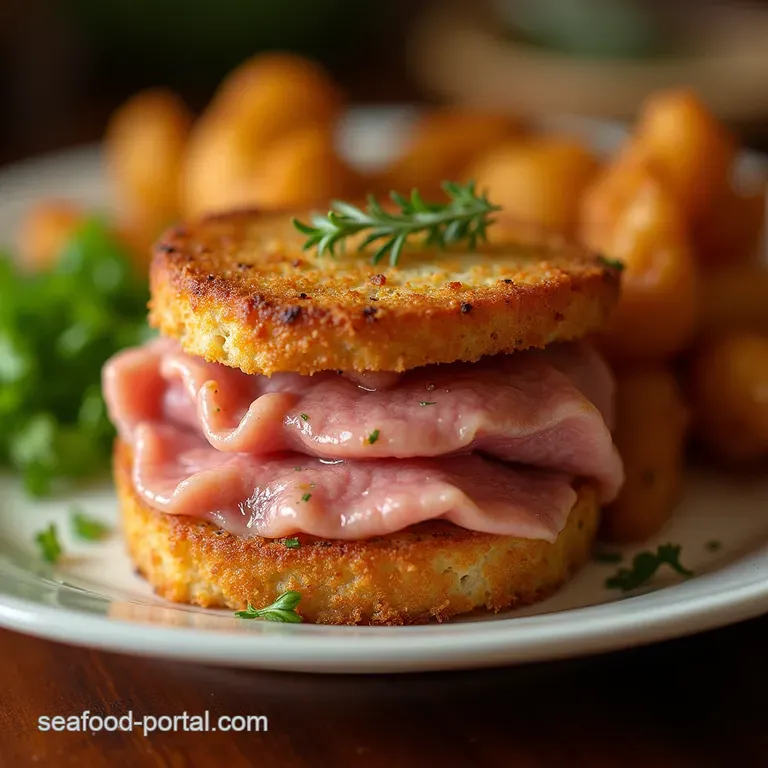
Proper Job Tuna Melt