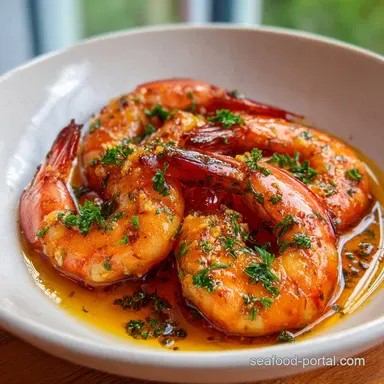
Garlic Butter Shrimp: Tender and Golden
- Time:10 minutes prep + 10 minutes cook = Total 20 minutes
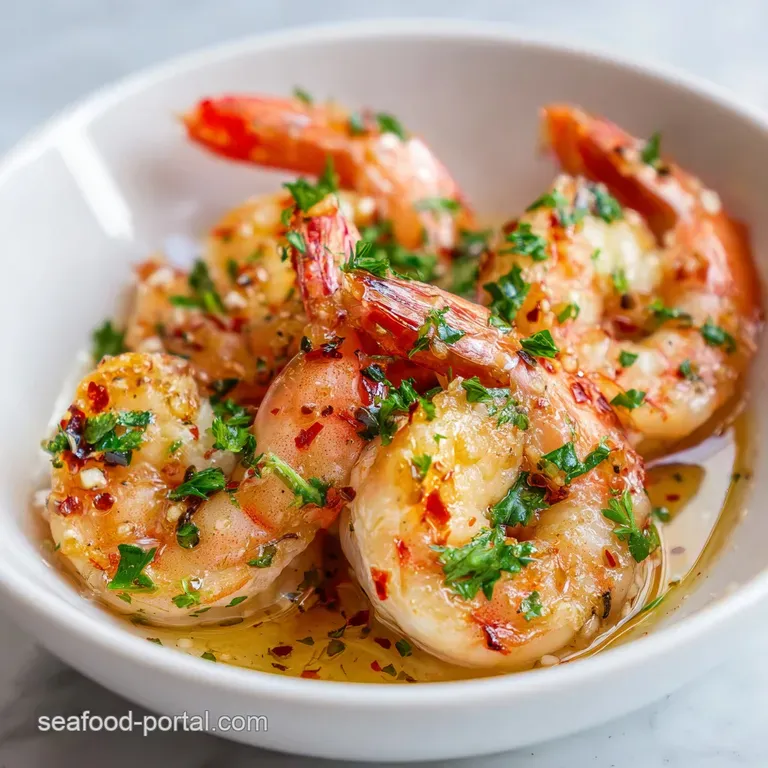
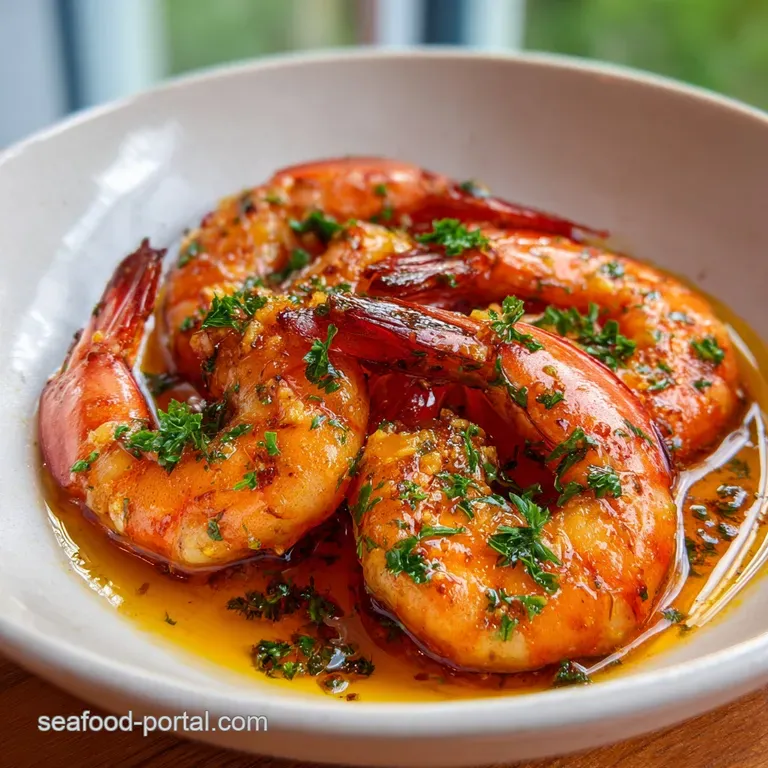
- Flavor/Texture Hook: Velvety garlic sauce with tender, snappy shrimp
- Perfect for: Impromptu date nights or a fast weeknight win
The Best Garlic Butter Shrimp Recipe
That first sizzle when the cold shrimp hit the hot butter is the sound of a win. I remember the first time I tried to make this for a guest who arrived way too early. I was panicking, tossing things in the pan without a plan, and I ended up with grey, rubbery shrimp and garlic that looked like charcoal.
It was a disaster, but it taught me that seafood isn't about complexity, it's about timing.
Once I stopped treating the pan like a suggestion and started treating it like a clock, everything changed. This dish is all about the contrast, the rich, heavy butter meeting the sharp, bright hit of fresh lemon.
It's the kind of meal that feels like you spent hours in the kitchen when you actually just spent twenty minutes.
You can expect a sauce that clings to the shrimp rather than pooling at the bottom of the plate. We're aiming for that gold standard glaze that makes every bite feel luxurious. Trust me, once you get the searing part right, you'll never go back to those steamed, bland versions.
Why This Flavor Works
Dry Surface: Patting the shrimp removes excess moisture, allowing them to sear instead of steaming in their own juices.
Fat Infusion: Butter carries the flavor of the garlic and red pepper flakes, distributing the heat and aroma evenly across the protein.
Acid Balance: The lemon juice cuts through the richness of the butter, brightening the overall taste.
Carryover Heat: Removing the shrimp before they are fully firm prevents them from becoming rubbery while they rest.
| Method | Time | Texture | Best For |
|---|---|---|---|
| Stovetop | 20 min | Snappy & Glazed | Quick weeknights |
| Oven Baked | 15 min | Tender & Uniform | Large crowds |
| Air Fryer | 12 min | Charred edges | Low oil option |
Right then, let's look at what's actually happening in the pan. Most people just throw everything in at once, but the sequence is what creates that velvety finish.
The Essential Ingredient List
Component Analysis
| Ingredient | Science Role | Pro Secret |
|---|---|---|
| Unsalted Butter | Flavor Carrier | Use high fat European style for more richness |
| Fresh Lemon | Acid Balance | Zest the lemon first for an extra punch |
| Garlic | Aromatic Base | Mince by hand, don't use the jarred stuff |
| Large Shrimp | Main Protein | Look for "wild caught" for a cleaner taste |
For the best results, get your ingredients ready before you even turn on the stove. Shrimp cook so fast that if you're still chopping parsley while they're in the pan, you've already overcooked them.
- 1 lb (450g) large shrimp, peeled and deveined Why this? Consistent size ensures they all cook at the same rate
- 4 tbsp (57g) unsalted butter Why this? Unsalted lets you control the seasoning exactly
- 4 cloves (12g) garlic, minced Why this? Fresh garlic provides a sharp, pungent contrast
- 1/4 tsp (1.5g) red pepper flakes Why this? Adds a subtle background warmth, not intense heat
- 1 tbsp (15ml) fresh lemon juice Why this? Fresh is non negotiable for that bright finish
- 2 tbsp (8g) fresh parsley, chopped Why this? Adds a grassy, fresh note to balance the fat
- 1/2 tsp (3g) kosher salt Why this? Larger grains make it harder to over salt
- 1/4 tsp (1g) black pepper Why this? Adds a woody depth to the butter
| Original Ingredient | Substitute | Why It Works |
|---|---|---|
| Unsalted Butter | Ghee | Higher smoke point. Note: Slightly nuttier flavor |
| Lemon Juice | White Wine | Adds acidity and depth. Note: Less "bright" than lemon |
| Fresh Parsley | Fresh Cilantro | Fresh herb profile. Note: Changes flavor to a more citrusy/earthy vibe |
| Red Pepper Flakes | Paprika | Mild warmth. Note: Loses the spicy kick, adds color |
If you're looking for something even more indulgent, you might want to try a Garlic Shrimp Scampi which uses a similar base but often adds a splash of white wine for extra depth.
Gather Your Kitchen Tools
You don't need a professional setup for this, but the right pan makes a huge difference. I always reach for a wide stainless steel or cast iron skillet. Why? Because you need enough surface area so the shrimp aren't crowded.
If they're on top of each other, they release water, and suddenly you're boiling your shrimp instead of searing them.
A good fish spatula or a pair of tongs is also essential. You want to be able to flip each shrimp quickly without tearing the delicate flesh. I also keep a small bowl of cold water nearby for my fingers if I'm handling the red pepper flakes, as they love to migrate to your eyes at the worst possible moment.
Finally,, have your paper towels ready. I cannot stress this enough, the drying process is the difference between a grey, sad shrimp and a golden, snappy one.
Step-by-step Cooking Guide
Phase 1: The Prep
Pat the shrimp completely dry with paper towels. This is where the magic starts, as moisture is the enemy of a good sear. Season them lightly with salt and pepper, but don't go overboard since the butter sauce will add its own richness.
Phase 2: The Sear
Heat a skillet over medium high heat and add 1 tablespoon of butter. Wait for it to start bubbling, then add the shrimp in a single layer. Cook for 2 minutes per side until they are opaque and light pink. Immediately remove them from the pan and set them aside on a plate.
If you leave them in while you do the garlic, they will turn into rubber bands.
Phase 3: The Glaze
Reduce the heat to medium. Add the remaining 3 tablespoons of butter. Once melted, stir in the minced garlic and red pepper flakes. Sauté for 30-60 seconds until the garlic is fragrant but not brown.
Phase 4: The Finish
Stir in the lemon juice, then return the shrimp to the pan. Toss everything for 1 minute until the sauce glazes the shrimp in a velvety coating. Turn off the heat and garnish with fresh parsley.
Chef Note: If the sauce looks too thick, add a teaspoon of water or more lemon juice to loosen it up. The goal is a coating, not a soup.
Fixing Common Shrimp Issues
Why Your Shrimp Is Rubbery
This is usually a result of overcooking. Shrimp are high protein and low-fat, meaning they tighten up incredibly fast once they hit a certain temperature. If you see them curling into a tight "O" shape, they're overdone. You want a loose "C" shape.
Why Your Garlic Burned
Garlic has a very low burn point compared to the shrimp. If you add it to the pan while the heat is still on "high" from the searing phase, it will turn bitter and brown in seconds. Always drop the heat to medium before adding your aromatics.
| Problem | Root Cause | Solution |
|---|---|---|
| Shrimp released water | Pan too crowded | Cook in batches |
| Sauce is broken/oily | Heat too high | Remove from heat immediately |
| Bland flavor | Under seasoned | Add a pinch more salt and lemon at the end |
To make sure your next batch is spot on, keep this checklist handy while you're at the stove.
- ✓ Pat shrimp bone dry before seasoning
- ✓ Use a large enough pan to avoid crowding
- ✓ Remove shrimp from the pan the moment they turn pink
- ✓ Lower the heat before adding garlic
- ✓ Toss with lemon juice at the very end to keep the flavor bright
Customizing Your Shrimp Dish
If you're feeling adventurous, you can take this base and move it in a few different directions. For a more rustic vibe, I love adding a handful of halved cherry tomatoes during the garlic phase. They burst and create a natural sauce that blends with the butter.
For those who prefer a bit more heat, don't be afraid to double the red pepper flakes or add a pinch of cayenne. If you want a richer, heavier version, you could stir in a tablespoon of heavy cream at the very end for a Creamy Garlic Shrimp Sauce style finish.
Dairy-free Options
You can swap the butter for a high-quality vegan butter or extra virgin olive oil. Olive oil won't give you that same velvety mouthfeel, but it brings a lovely fruitiness that pairs well with the lemon.
Low Carb Options
This recipe is naturally keto friendly. To keep it that way, avoid serving it with bread or pasta. Instead, serve it over a bed of sautéed spinach or cauliflower rice.
Keeping Leftovers Fresh
Storage Guidelines
Store any leftover shrimp in an airtight container in the fridge for up to 2 days. Be aware that the butter sauce will solidify when cold, which can look a bit strange, but it's perfectly normal.
Freezing Tips
I don't usually recommend freezing cooked shrimp because the texture can become mealy. However, if you must, freeze them in a vacuum sealed bag for up to 1 month. Thaw them slowly in the fridge before reheating.
Zero Waste Ideas
Don't toss the shrimp shells if you bought them head on! Roast the shells in the oven for 10 minutes, then simmer them in water with an onion and carrot for an hour. Strain it, and you have a homemade seafood stock that will make your next risotto taste like it came from a restaurant.
The Best Serving Ideas
The beauty of this dish is its versatility. If you want something comforting, toss the shrimp and all that butter sauce into a bowl of linguine or angel hair pasta. The noodles soak up the garlic butter, and the result is pure heaven. For the full experience, serve it with a toasted baguette.
There is nothing more satisfying than the shatter of a crusty piece of bread as you use it to swipe up the remaining sauce from the plate.
If you're looking for a lighter meal, serve the shrimp over steamed asparagus or sautéed kale. The bitterness of the greens cuts through the richness of the butter beautifully. For a party appetizer, put a single shrimp on a toothpick with a small cube of feta cheese and a slice of cornichon.
Finally, don't forget a wedge of extra lemon on the side. A final squeeze of fresh juice right before eating wakes up all the flavors and makes the dish feel fresh and vibrant.
Recipe FAQs
What are the ingredients of Garlic Butter Shrimp?
Shrimp, butter, garlic, red pepper flakes, lemon juice, parsley, salt, and pepper. These few components balance rich fats with bright acidity and a hint of heat.
How to cook shrimp for diabetics?
Sauté using the standard recipe method. Since the official ingredients are naturally low-carb and contain no added sugars, this dish is generally suitable for diabetic diets.
What's the best way to cook garlic shrimp?
Sear them in a skillet over medium high heat. Patting the shrimp dry first ensures a better crust, followed by a quick 2-minute sear per side to keep them tender.
Is it better to saute shrimp in butter or olive oil?
Butter is the better choice for this recipe. While olive oil has a higher smoke point, butter provides the essential richness and emulsification needed for the garlic sauce.
Why is my shrimp rubbery?
You likely overcooked them. Shrimp only require 2 minutes per side; remove them from the pan immediately once they turn opaque and light pink.
Can I use this searing technique for other seafood?
Yes, this high heat sear works for most shellfish. If you mastered the timing here, apply the same principle to shrimp scampi for a similar result.
How long can I store leftovers in the fridge?
Store them in an airtight container for up to 2 days. The butter sauce will solidify when cold, but it will melt back into a glaze once reheated.
Garlic Butter Shrimp Recipe