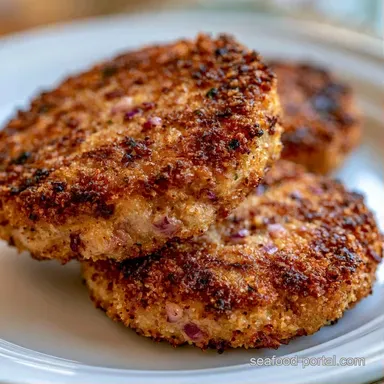
Crispy Healthy Canned Tuna Patties
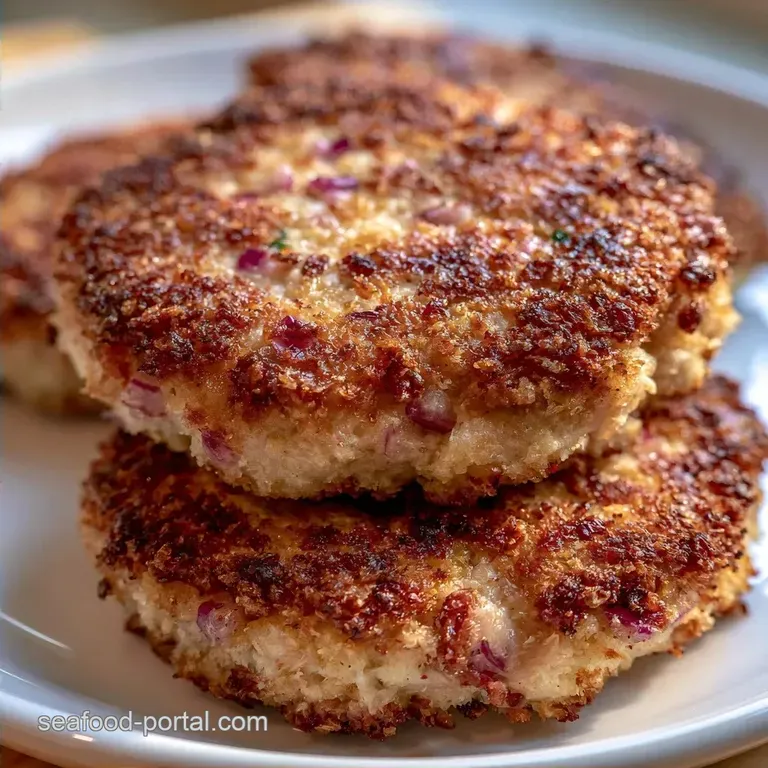
- Prep/Cook: 10 min active + 10 min cooking
- The Appeal: A crisp, mahogany exterior with a tender interior
- Ideal for: Protein-rich weekday meals or rapid meal prep
Stop thinking of canned fish as nothing more than a bland office lunch. You don't need an expensive fillet or professional cutlery to make a high-quality fish cake; a few tins from the cupboard can yield a sophisticated result.
The real magic begins with that aggressive sizzle when the patties hit the oil. That sound means a crust is forming, turning basic tuna into something truly indulgent. In the past, I would flip them too frequently, which only resulted in a mushy texture.
Once you nail the heat, these Tuna Patties become an essential. They're lean, flavorful, and take less than 30 minutes from start to finish. Trust me, once you see that dark brown sear, you'll forget all about sandwich bread.
Easy Canned Tuna Patties
The Binding Sequence: Mixing the egg and crumbs first creates a glue that holds the Tuna Patties together. This prevents the fish from splitting when you flip them.
Greek Yogurt Addition: The yogurt adds a tangy moisture that stops the patties from drying out. It makes the interior feel silky without adding heavy creams.
Recipe Quick Specs
This recipe focuses on speed and protein. We're looking at a total time of 20 minutes, with 10 minutes spent on prep and 10 minutes on the stove. You'll get 8 Tuna Patties from this batch, each roughly 1 inch thick.
The goal is a over high heat sear. According to the techniques at Serious Eats, leaving the protein untouched in the pan is what allows the crust to develop fully. If you move them, you lose that mahogany color.
The Grocery List
We start with canned tuna in water for the base. It is important to drain it thoroughly; if the tuna remains too wet, the Tuna Patties will be too soft to sear effectively.
Panko is used to achieve a crispy crust. If panko isn't available, standard breadcrumbs are a viable alternative, though they will produce a denser result. Greek yogurt is the secret to the texture, offering a creamy interior that contrasts beautifully with the crunchy exterior.
Main Ingredients
- 2 (142g) cans tuna in water, well-drainedWhy this? A lean protein foundation that carries flavors well
- 1 large egg, beatenWhy this? The main binding agent for stability
- 40g panko breadcrumbsWhy this? Ensures a light, golden crunch
- 30g plain Greek yogurtWhy this? Provides creaminess and a touch of acidity
- 15ml fresh lemon juiceWhy this? Balances the richness of the fish
- 30g red onion, diced smallWhy this? Adds a sharp flavor profile
- 15g fresh parsley, choppedWhy this? Gives a bright, earthy note
- 5g Dijon mustardWhy this? Deepens the flavor and helps the binder emulsify
- 3g garlic powderWhy this? Adds an even, savory undertone
- 1.5g saltWhy this? Magnifies all the seasoning
- 1.5g cracked black pepperWhy this? A hint of warmth
- 30ml avocado oilWhy this? Ideal for searing due to its high smoke point
Substitution Options
| Original Ingredient | Substitute | Why It Works |
|---|---|---|
| Panko Breadcrumbs | Almond Flour | A low-carb swap. Note: Texture is denser |
| Greek Yogurt | Mayonnaise | Offers similar fat levels. Note: Heavier and less zesty |
| Avocado Oil | Grapeseed Oil | Also has a high smoke point. Note: Neutral flavor |
| Red Onion | Shallots | A gentler onion alternative. Note: More subtle flavor |
Gear You Need
Simple kitchen tools are all you need. A large mixing bowl is essential for folding in the ingredients without smashing the tuna, while a fork or whisk works well for the binder.
The most critical piece of equipment is a heavy skillet; cast iron or stainless steel is ideal. Non-stick pans work, but they don't produce the same crust. A fish spatula is also recommended for flipping the Tuna Patties without them breaking.
Step by step Guide
Phase 1: The Binding Paste
In a large bowl, whisk the beaten egg, Greek yogurt, lemon juice, Dijon mustard, garlic powder, salt, and pepper. Stir in the panko breadcrumbs and let the mixture rest for 2 minutes. Note: This hydration step stops the Tuna Patties from cracking during frying.
Phase 2: Folding and Shaping
Gently fold in the drained tuna, minced onion, and parsley. Use a spatula to mix until just combined; avoid overworking the batter to prevent the Tuna Patties from becoming too dense. Form the mixture into 1 inch thick discs, using roughly 30g per patty.
Phase 3: The over High heat Sear
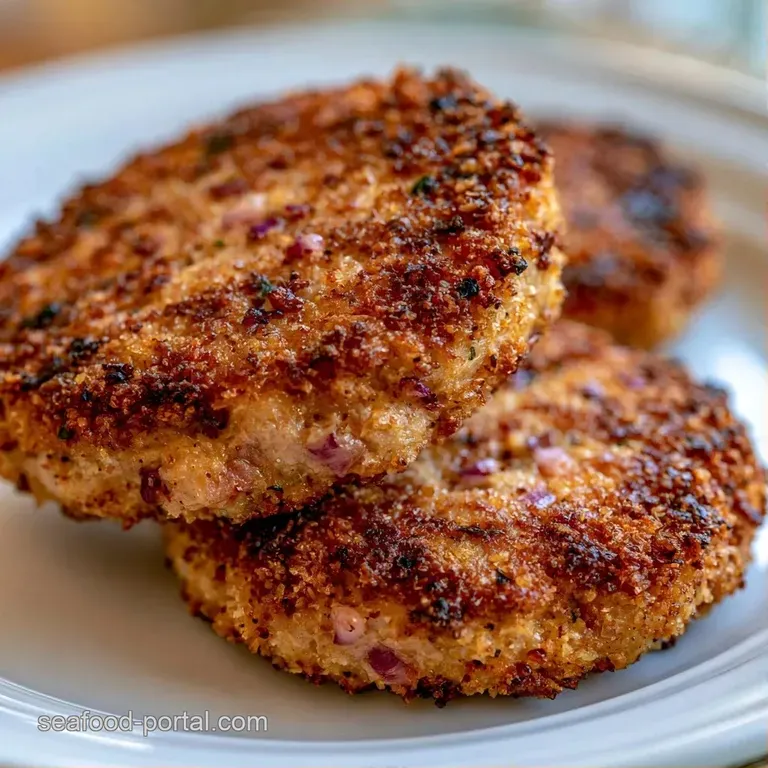
Bring avocado oil to a shimmer in a skillet over medium high heat. Add the patties to the pan and cook for 3-4 minutes on each side. Wait until a deep mahogany colored crust develops before flipping. To maintain their structure, flip the patties only once.
Chef Note: If the oil begins to smoke excessively, lower the heat slightly. You are looking for a sizzle, not a burn.
Solving Common Issues
Preventing the Crumble
If your Tuna Patties break apart, excess moisture is typically the culprit. This occurs when the tuna isn't sufficiently drained or the yogurt is too thin. Should the mixture seem loose, mix in an additional tablespoon of panko.
Additionally, avoid flipping them too quickly, as the crust serves as the "shell" that maintains the patty's structure.
Fixing Burnt Exteriors
If the exterior browns too quickly while the center remains cold, your pan is likely too hot. This is common with pans that have thin bases. Reduce the heat to medium and allow the patties an extra minute on each side. You need consistent heat to reach the center while achieving a golden-brown finish.
Stopping Pan Sticking
Patties tend to stick if the pan is too cold or the oil hasn't reached a shimmer. Make sure the oil is hot before adding the first patty. If they still cling to the pan, use a thin metal spatula to carefully lift the edge; if it doesn't release, let it sear for another 30 seconds.
Custom Flavor Options
You can easily pivot the flavor of these Tuna Patties to fit your mood. For a kick, add a teaspoon of sriracha or chopped jalapeños to the binder. This makes them feel more like the spicy tuna tartare style of flavor but in a warm, crispy form.
If you're skipping the breadcrumbs for a keto version, use almond flour. It changes the crunch slightly but keeps the protein high. For a more traditional vibe, you could serve these with a tuna cakes with lemon dill sauce to add a creamy, herbal element.
Customization Guide
| Goal | What to change |
|---|---|
| More Heat | Add 1 tsp sriracha |
| Low Carb | Swap panko for almond flour |
| Brighter Taste | Double the lemon juice |
Fridge and Freezer Tips
Store any left over Tuna Patties in a sealed glass tub. They'll stay fresh in the cooler for about 72 hours. When you're ready to eat them again, avoid the microwave. A microwave makes them rubbery.
Instead, throw them back in a hot pan with a teaspoon of oil for 2 minutes per side. This brings back the crust. If you want to freeze them, shape the raw Tuna Patties and freeze them on a baking sheet first. Once they're hard, move them into a freezer safe bag. They'll last for 2 months.
To cook from frozen, just put them straight into the pan on medium heat. It takes a few extra minutes to heat through the center, so go slow.
Top Meal Pairings
These Tuna Patties are lean, so they pair well with something fresh. A simple arugula salad with a lemon vinaigrette balances the fried exterior. If you want something more filling, a side of steamed asparagus or sautéed spinach works great.
For a full meal, try serving them on a bed of quinoa or a side of sliced avocado. The creaminess of the avocado complements the tang of the Greek yogurt. Since they're so fast to make, they're a great alternative to heavier seafood dishes.
Right then, you've got a protein heavy meal that doesn't require a trip to the fish market. Just remember to drain that tuna well and let the binder hydrate. Once you nail that sear, these Tuna Patties will be on your regular rotation. Trust the process, watch for the mahogany color, and enjoy the crunch.
Recipe FAQs
How do I make these tuna patties?
Whisk the wet ingredients and panko, then fold in the drained tuna and minced onion. Shape them into one-inch discs and sear in a skillet for 3-4 minutes per side.
Why are my patties falling apart?
Let the breadcrumbs hydrate in the wet mixture for two minutes before adding the tuna. This creates a stronger bind so the cakes hold their shape during searing.
What are the basic ingredients?
The base consists of canned tuna, panko breadcrumbs, egg, and Greek yogurt. We flavor the mixture with red onion, parsley, lemon juice, and Dijon mustard.
Can I make these like crab cakes?
Follow the same binding and searing process to achieve that classic seafood cake style. You can also apply this approach to make our salmon cakes for a different flavor.
What should I serve as a side?
Fresh greens or a crisp cucumber salad balance the richness of the fried patties. They also pair perfectly with a dollop of spicy mayo for extra kick.
Is it true canned tuna needs to be fully cooked for safety?
That's a myth. Canned tuna is already cooked during the canning process, so you are simply browning the outside for flavor.
Tuna Patties in 20 Minutes