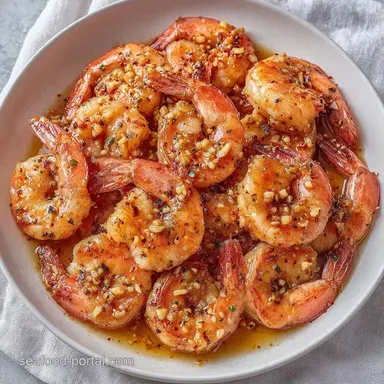
Roasted Garlic Shrimp: Buttery and Charred
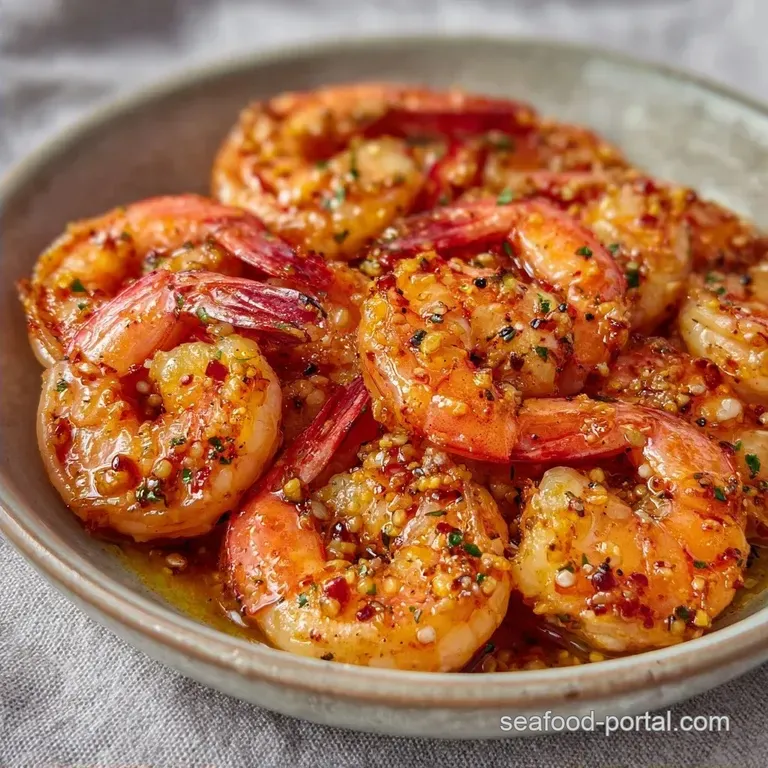
- Time: 10 min prep + 8 min cook
- Flavor/Texture Hook: Buttery, sharp garlic with a slight charred edge
- Perfect for: Quick weeknight dinners or an impressive appetizer
- Ways to Nail Roasted Garlic Shrimp
- The Logic Behind the Method
- Ingredient Choices and Secrets
- Shopping List Breakdown
- Necessary Kitchen Gear
- The Complete Cooking Process
- Solving Common Shrimp Problems
- Flavor Variations and Substitutes
- Adjustment Guidelines
- Debunking Shrimp Myths
- Storage and Zero Waste Tips
- Serving and Pairing Ideas
- Recipe FAQs
- 📝 Recipe Card
The sound of butter sizzling against a hot baking sheet is one of the best things in a kitchen. I used to think that the only way to get that classic garlic shrimp flavor was to stand over a skillet, frantically tossing the pan to make sure the garlic didn't burn.
It was stressful, and half the time, I'd end up with either raw shrimp or bitter, black garlic bits.
Then I tried moving the whole process to the oven. It turns out that when you coat the shrimp in a fat buffer of butter and oil, the garlic roasts gently instead of frying violently. You get a deeper, more mellow flavor that clings to the shrimp, and you don't have to babysit the pan every single second.
This Roasted Garlic Shrimp isn't about fancy techniques. It's about letting the oven do the heavy lifting so you can actually enjoy your evening. You can expect a dish that's succulent and punchy, with a brightness from the lemon that cuts right through the richness of the butter.
Ways to Nail Roasted Garlic Shrimp
The biggest hurdle with shrimp is the window of doneness. It's tiny. One minute they're raw, and two minutes later they're rubber balls. The key to this recipe is the "C shape." When shrimp curl into a tight "O," they're overdone. You want a relaxed "C."
Another thing I've learned the hard way: dry your shrimp. If you put wet shrimp on a pan, they'll steam in their own juices. You won't get that charred, roasted edge, and the sauce will become watery. Grab a stack of paper towels and pat them until they're bone dry before the salt and pepper hit.
Finally, don't crowd the pan. If the shrimp are touching or overlapping, they'll release moisture and boil instead of roast. Give them room to breathe so the hot air can circulate around each piece.
The Logic Behind the Method
Surface Moisture: Water creates steam, which prevents the shrimp from browning. Drying them ensures the garlic butter sticks and the heat hits the protein directly.
The Fat Buffer: Mixing butter with olive oil raises the smoke point. This protects the minced garlic from scorching at 400°F, allowing it to brown slowly and develop a nutty taste.
Protein Tightening: As shrimp heat up, their muscle fibers contract. According to the guidelines on protein denaturation at Serious Eats, this process happens quickly, which is why the 8 minute mark is the danger zone.
Acid Timing: Adding lemon juice after roasting prevents the acid from "cooking" the shrimp (like ceviche) and keeps the flavor bright and fresh.
| Method | Time | Texture | Best For |
|---|---|---|---|
| Stovetop | 5-7 mins | Seared/Snappy | Single servings |
| Oven Roast | 8 mins | Tender/Uniform | Large crowds |
| Air Fryer | 6-8 mins | Slightly Crispier | Appetizers |
Ingredient Choices and Secrets
| Ingredient | Science Role | Pro Secret |
|---|---|---|
| Large Shrimp | Main Protein | Use "peeled and deveined" to save 15 mins of prep |
| Fresh Garlic | Aromatic Base | Mince by hand for a more pungent, uneven texture |
| Unsalted Butter | Fat & Flavor | Melt slowly to avoid separating the milk solids |
| Lemon Zest | Essential Oil | Zest before juicing; it's much easier to grate |
Shopping List Breakdown
For the best result, stick to these specifics. I've found that using "garlic salt" instead of kosher salt makes the dish far too salty without adding actual garlic depth.
- 1.5 lbs large shrimp, peeled and deveined Why this? Large shrimp don't overcook as fast as small ones
- 1/2 tsp kosher salt Why this? Bigger grains prevent over salting
- 1/4 tsp cracked black pepper Why this? Coarse pepper adds a nice bite
- 4 tbsp unsalted butter, melted Why this? Controls the salt level of the dish
- 2 tbsp extra virgin olive oil Why this? Prevents butter from burning
- 5 cloves fresh garlic, minced fine Why this? Fresh has a sharper, cleaner taste than jarred
- 1 tsp dried oregano Why this? Adds an earthy, herbal backbone
- 1/2 tsp red pepper flakes Why this? Subtle heat that doesn't overwhelm
- 1 tbsp fresh parsley, chopped Why this? Adds a fresh, grassy finish
- 1 medium lemon, juiced and zested Why this? Fresh citrus is non negotiable here
If you're missing something, don't panic. You can swap the oregano for dried thyme, or if you're out of parsley, cilantro works in a pinch for a more zesty vibe.
Necessary Kitchen Gear
You don't need a professional kitchen for this. A standard rimmed baking sheet is the most important part. The rim prevents the melted garlic butter from dripping into your oven and causing a smoke alarm situation.
I highly recommend using parchment paper. Not only does it make cleanup a breeze, but it also creates a slight barrier that stops the shrimp from sticking to the metal. If you have a large mixing bowl, that's where you'll do all your tossing.
For the garlic, a sharp chef's knife is better than a press. When you mince garlic with a knife, you control the size of the pieces. Some very small bits melt into the sauce, while slightly larger pieces roast and become sweet.
The Complete Cooking Process
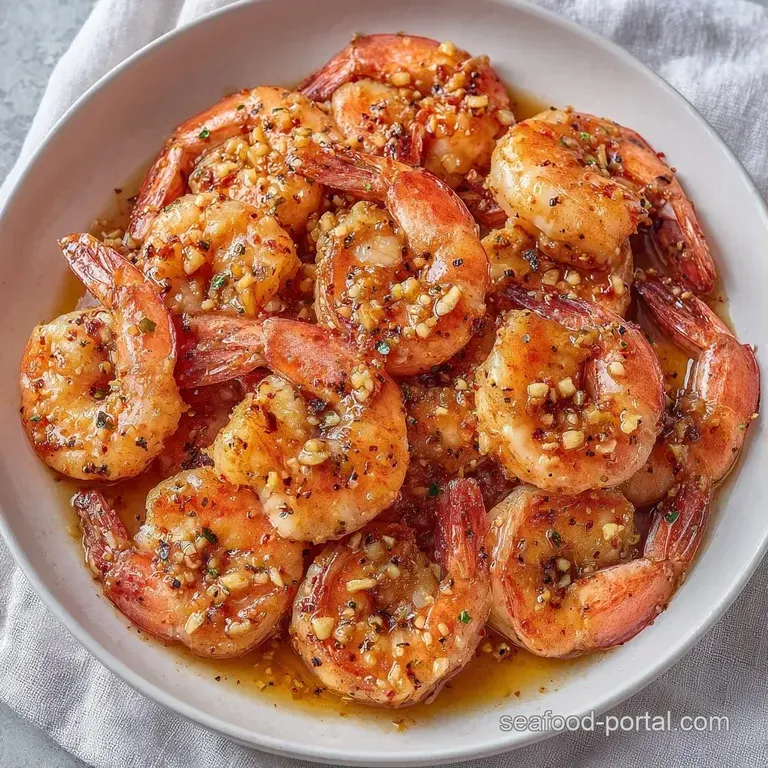
Phase 1: The Dry & Season Prep
Preheat your oven to 400°F (200°C). Line your baking sheet with parchment paper. Pat the shrimp thoroughly with paper towels to remove all surface moisture. In a large mixing bowl, toss the shrimp with the salt and pepper.
Phase 2: The Garlic Infusion
Whisk together the melted butter, olive oil, minced garlic, dried oregano, and red pepper flakes until the mixture is smooth. Pour this garlic butter over the seasoned shrimp and toss until every piece is coated. Note: Make sure the garlic isn't clumped on just one or two shrimp.
Phase 3: The over High heat Roast
Spread the shrimp in a single layer on the baking sheet. Ensure they aren't crowding. Roast for 6–8 minutes. Remove them as soon as they turn opaque and curl into a "C" shape.
Phase 4: The Finishing Touch
Immediately drizzle the fresh lemon juice over the pan. Sprinkle with the lemon zest and chopped parsley while the shrimp are still sizzling. The residual heat will wake up the oils in the zest and parsley.
Solving Common Shrimp Problems
The most frustrating part of cooking seafood is when the texture goes wrong. Usually, it's a heat or moisture issue. If your shrimp are releasing too much water on the pan, you likely didn't dry them enough or you crowded the sheet.
If the garlic tastes bitter, it means the oven was too hot or the garlic was minced too finely. Using a mix of mince and sliced garlic can prevent this, as the larger pieces hold up better under heat.
| Problem | Root Cause | Solution |
|---|---|---|
| Rubbery Texture | Overcooked | Pull from oven 1 min earlier |
| Bitter Garlic | Burnt bits | Add a bit more olive oil |
| Watery Sauce | Wet shrimp | Pat dry with more towels |
Quick Checklist for Success:
- ✓ Shrimp are patted completely dry.
- ✓ Baking sheet is not overcrowded.
- ✓ Oven is fully preheated to 400°F.
- ✓ Shrimp removed at the "C" curl stage.
- ✓ Lemon juice added after roasting.
Flavor Variations and Substitutes
Depending on what's in your fridge, you can tweak this to fit your mood. If you want something with a bit more kick, you can double the red pepper flakes or add a pinch of cayenne.
For a creamier version, you can turn this into Roasted Garlic Shrimp Alfredo by tossing the finished shrimp and their pan juices into a homemade alfredo sauce. If you prefer a different style of shrimp entirely, my Bang Bang Shrimp recipe is a great choice for those who love a spicy, fried texture.
| Original Ingredient | Substitute | Why It Works |
|---|---|---|
| Unsalted Butter | Ghee (Clarified Butter) | Higher smoke point. Note: Slightly nuttier flavor |
| Dried Oregano | Dried Thyme | Similar earthy profile. Note: Milder than oregano |
| Lemon Juice | Lime Juice | Similar acidity. Note: Gives a more tropical/Mexican vibe |
| Large Shrimp | Jumbo Shrimp | Same flavor. Note: May need 1-2 extra mins of roasting |
If you're keeping it low carb or keto, this recipe is already there. Just serve it over sautéed spinach or cauliflower rice. The butter and olive oil provide the healthy fats needed to make the meal satisfying.
Adjustment Guidelines
When you're cooking for a crowd, it's tempting to just dump more shrimp on one pan. Don't do it. If you double the recipe (3 lbs of shrimp), use two separate baking sheets.
For larger batches, only increase the salt and spices to 1.5x instead of 2x. Spices can become overpowering when scaled linearly. I usually find that 1.5x is the sweet spot for flavor balance.
If you're making a small batch (half a pound), reduce the roasting time by about 20%. Keep a close eye on them starting at the 5 minute mark. Smaller amounts of food don't absorb the oven's heat in the same way as a full pan.
Debunking Shrimp Myths
You might have heard that searing meat or seafood "seals in the juices." This is a myth. Moisture loss happens regardless of how you start the cook. The roasting process is about creating flavor through browning, not trapping water.
Another common misconception is that frozen shrimp are always inferior. In reality, most "fresh" shrimp at the counter were frozen at sea. As long as you thaw them slowly in the fridge and pat them dry, the quality is virtually identical to fresh.
Storage and Zero Waste Tips
Store any leftovers in an airtight container in the fridge for up to 3 days. When reheating, avoid the microwave if possible, as it makes shrimp rubbery. Instead, toss them in a pan over medium heat for 2 minutes just to warm through.
This dish doesn't freeze well because the texture of the shrimp changes. I'd recommend eating them fresh or within a few days.
To avoid waste, don't throw away the shrimp shells if you bought them head on or shell on. Simmer the shells with some onion and celery to make a quick seafood stock. This stock is brilliant for risotto or a seafood stew.
Serving and Pairing Ideas
The versatility of Roasted Garlic Shrimp is where it really shines. I love serving them over a bed of linguine or angel hair pasta. The butter from the pan becomes a natural sauce that coats the noodles.
If you're using these as an appetizer, serve them on a platter with a side of creamy fish taco sauce for dipping. The zestiness of the sauce pairs perfectly with the roasted garlic.
For a lighter meal, try them over a grilled romaine salad or with roasted asparagus. The charred flavor of the shrimp complements the smokiness of grilled vegetables. Just remember to pour all the extra garlic butter from the parchment paper over whatever you're serving.
Recipe FAQs
What temperature is best for roasted shrimp?
400°F (200°C). This high heat ensures the shrimp sear quickly and develop flavor without overcooking the centers.
How do I know when the shrimp are done?
Look for an opaque color and a 'C' shape. If the shrimp curl into a tight 'O', they are overcooked and will be rubbery.
How to make frozen shrimp taste better in this recipe?
Thaw completely and pat thoroughly with paper towels. Removing surface moisture prevents the shrimp from steaming and allows the garlic butter to adhere properly.
Can a diabetic eat this roasted garlic shrimp?
Yes, this recipe is diabetic-friendly. It uses fresh aromatics and healthy fats without adding sugars or flour. If you enjoy these clean flavors, you can also use a similar garlic scampi sauce for other lean proteins.
What's the best way to cook garlic shrimp?
Roasting on a parchment-lined baking sheet. This method ensures the shrimp are evenly coated in butter and garlic while cooking uniformly in a single layer.
Is it true that shrimp should be roasted until they curl into a tight 'O' shape?
No, this is a common misconception. Shrimp are perfectly cooked when they form a relaxed 'C' shape; a tight 'O' is a sign of overcooking.
How to prevent shrimp from becoming rubbery when reheating?
Toss them in a pan over medium heat for 8 minutes. Avoid using the microwave, as it heats unevenly and toughens the protein.
Roasted Garlic Shrimp in 18 Minutes