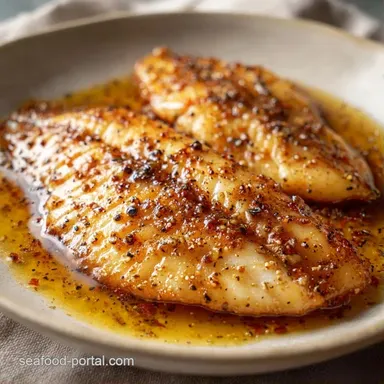
Pan Seared Tilapia: Golden and Crispy
- Time: 5 min active + 8 min cooking
- Flavor/Texture Hook: Crispy golden exterior with a buttery, zesty finish
- Perfect for: Fast weeknight dinners or beginner seafood nights
That sharp sizzle when the fish hits the hot oil is the best part. I remember my first attempt at this, and it was a disaster. I didn't pat the fillets dry, so they basically steamed in the pan, sticking to the bottom and tearing when I tried to flip them. It was a soggy mess.
Since then, I've leaned into the simplicity of tilapia. It's the hero here because it's mild and doesn't fight the flavors of the garlic and lemon. While some people prefer cod or halibut, tilapia is accessible and cooks faster, making it the best choice for a Tuesday night.
You can expect a dish that balances the richness of browned butter with a bright pop of citrus. We're going for a contrast of a thin, crisp crust and a tender center. This Pan Seared Tilapia doesn't need a lot of fancy gear, just a hot pan and a little patience.
Pan Seared Tilapia
Getting that golden crust depends on the heat of your pan. If the oil doesn't shimmer, the fish will stick. I always wait for that first tiny wisp of smoke before the fillets go in.
Dry Fillets: Moisture creates steam, which prevents browning and makes the fish stick. The Flour Dust: A very thin layer of flour acts as a barrier, helping the fish brown and thicken the butter sauce.
| Method | Time | Texture | Best For |
|---|---|---|---|
| Pan Sear | 8 mins | Crispy/Tender | Quick weeknight meals |
| Poaching | 12 mins | Soft/Moist | Low calorie diets |
| Baking | 15 mins | Uniform/Mild | Large family batches |
The Ingredient Breakdown
Tilapia is a lean fish, so we add fat back in through the butter and olive oil. This prevents the meat from drying out during the over high heat sear.
| Ingredient | What It Does | Best Swap |
|---|---|---|
| Tilapia | Mild base protein | Cod or Flounder |
| All purpose Flour | Creates the crust | Cornstarch (GF) |
| Unsalted Butter | Adds richness/nutty flavor | Ghee |
| Lemon Juice | Cuts through the fat | Lime juice |
The Shopping List
Grab these items to get started. I recommend buying the fillets fresh if you can, but flash frozen works just as well if you thaw them completely in the fridge.
- 4 (6 oz / 170g) tilapia fillets Why this? Consistent thickness ensures even cooking.
- 2 tbsp (30ml) extra virgin olive oil Why this? High smoke point for the initial sear.
- 1/2 tsp (3g) kosher salt
- 1/4 tsp (1g) cracked black pepper
- 2 tbsp (16g) all purpose flour Why this? Gives a light, crisp exterior.
- 3 tbsp (42g) unsalted butter Why this? Essential for the basting process.
- 1 tbsp (15ml) fresh lemon juice Why this? Brightens the heavy butter flavor.
- 2 cloves (6g) garlic, minced
- 1 tbsp (4g) fresh parsley, chopped
Gear For The Job
You don't need a professional kitchen, but the pan matters. A 12 inch cast iron skillet is my go to because it holds heat better than anything else. If you don't have one, a heavy stainless steel pan works. Avoid non stick if you want a real crust, as they can't handle the high heat needed for a proper sear.
I also highly suggest a fish spatula. Those thin, flexible metal ones are a lifesaver for flipping delicate fillets without breaking them. If you only have a regular spatula, just be extra gentle.
How To Cook It
Let's get into it. Keep your ingredients prepped and ready next to the stove so you aren't scrambling while the oil is smoking.
- Pat each tilapia fillet with paper towels until completely dry. Season both sides generously with salt and pepper. Note: Dry fish equals a better sear.
- Gently press the fillets into the flour, shaking off any excess to ensure a thin, translucent coating.
- Heat the olive oil in a 12 inch cast iron or heavy stainless steel skillet over medium high heat until it shimmers and barely begins to smoke.
- Carefully lay the fillets in the pan, laying them away from you to avoid splashes. Press down lightly with a spatula for 3 seconds to ensure full contact.
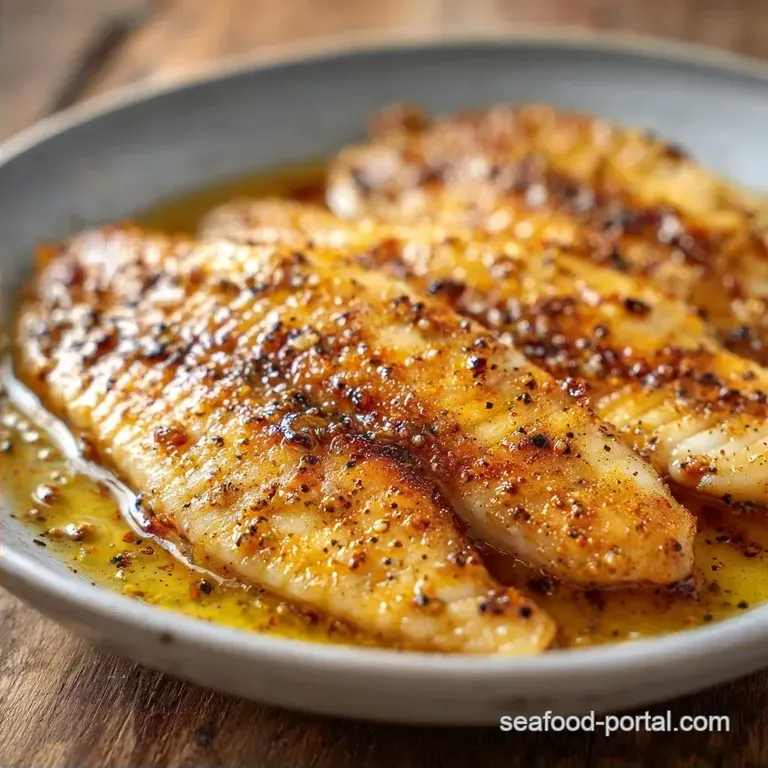
- Cook undisturbed for 3–4 minutes until a mahogany crust forms and the fish releases easily from the pan.
- Flip the fillets gently using a fish spatula. Immediately add the butter and minced garlic to the pan.
- As the butter foams, tilt the pan and spoon the bubbling garlic butter over the fish for the remaining 3 minutes of cooking.
- Stir in the lemon juice and parsley at the very last second before serving.
Chef's Note: If the butter starts to turn dark brown too quickly, turn the heat down slightly. You want a nutty aroma, not a burnt taste.
Fixing Common Issues

If your fish is sticking or coming out rubbery, it's usually a temperature or timing issue. Pan Seared Tilapia is fast, so a minute too long can change the texture.
Troubleshooting Common Issues
| Issue | Solution |
|---|---|
| Why Your Fish Sticks | This usually happens because the pan wasn't hot enough or you flipped too soon. The fish needs to develop a crust to release itself from the metal. |
| Why Your Fish Breaks | Flipping too often or using a spatula that's too thick can tear the fillets. Wait for that clear release from the pan before attempting the flip. |
| Why Your Fish Is Dry | Tilapia is lean and overcooks in a flash. Stick to the 3-4 minute per side rule. |
Swaps For Every Diet
You can easily tweak this recipe to fit your needs. If you're avoiding gluten, cornstarch is a great replacement for flour. It actually creates a slightly crispier shell, though it changes the color to a lighter gold.
For a keto or paleo version, just skip the flour entirely. You'll lose some of that crust, but the butter basting still provides plenty of flavor. This is essentially a Pan Seared Tilapia No Flour approach.
If you want something heartier, you can use a Pan Seared Tilapia with Flour method but swap the all purpose for almond flour.
If you're looking for a different sauce entirely, my Garlic Butter Fish Sauce works beautifully with this same searing technique.
Keeping Leftovers Fresh
Store any leftover fillets in an airtight container in the fridge for up to 2 days. Don't freeze cooked tilapia, as the texture becomes grainy and dry upon thawing.
To reheat, avoid the microwave. It will turn your fish into rubber. Instead, put a teaspoon of butter in a small skillet over medium heat. Warm the fish for about 2 minutes per side just until heated through.
As for zero waste, if you have leftover lemon halves, squeeze the juice into ice cube trays for future recipes. If you have leftover parsley stems, throw them into a vegetable stock pot for extra aromatics.
What To Serve Along
Since this dish is rich and buttery, you need something acidic or fresh to balance it out. I love serving this with steamed asparagus or a crisp arugula salad with a light vinaigrette.
If you want a more filling meal, a side of quinoa or wild rice is great for soaking up that garlic butter. For those who want a totally different flavor profile, you might enjoy PanSeared Tilapia with Avocado Sauce for a creamier, fresher vibe.
Quick Decision Guide
- If you want it zestier: Add an extra teaspoon of lemon juice at the end.
- If you want it spicier: Add a pinch of cayenne pepper to the flour.
- If you want it richer: Increase the butter by one tablespoon.
Common Kitchen Myths
Some people say you have to "seal in the juices" by searing. That's not actually how it works. Searing doesn't create a waterproof seal; it creates flavor and texture through browning. You're adding taste, not locking in moisture.
Another myth is that you should always use a non stick pan for fish. While it's easier, you miss out on the depth of flavor that comes from a cast iron or stainless steel pan. The slight "stick" of a stainless pan is what allows that crust to form in the first place.
Finally, don't believe that frozen fish is always inferior. Many "fresh" fillets at the store were frozen on the boat. The key is ensuring it is fully thawed and patted completely dry before it hits the oil.
Recipe FAQs
What is the best oil for searing tilapia?
Extra virgin olive oil. It tastes great and stands up well to the medium high heat needed for that mahogany crust.
Can you pan sear fish in olive oil?
Yes. Just make sure the oil shimmers and barely smokes before adding the fish so they don't stick.
Why does my tilapia stick to the pan?
The pan probably wasn't hot enough or you tried to flip too early. The fillets need a bit of time to form a crust before they'll release.
Why do the fillets break when flipping?
You might be flipping too often or using a spatula that's too thick. Wait for the fish to release naturally before using a thin fish spatula.
How to prevent tilapia from becoming dry?
Stick to the 3-4 minute per side rule. Tilapia is very lean and will dry out quickly if it stays in the pan too long.
How to cook tilapia in the oven?
Preheat your oven and roast the fillets on a lined sheet. Season them with salt and pepper for a simple, tender result.
What are other recommended preparations for tilapia?
Try baking or poaching for a different texture. If you want a more tender alternative to searing, see how the baked white fish method works.
Pan Seared Tilapia Fillets