How Long to Boil Shrimp: Snap Every Time
- Time: Active 5 mins, Passive 3 mins, Total 8 mins
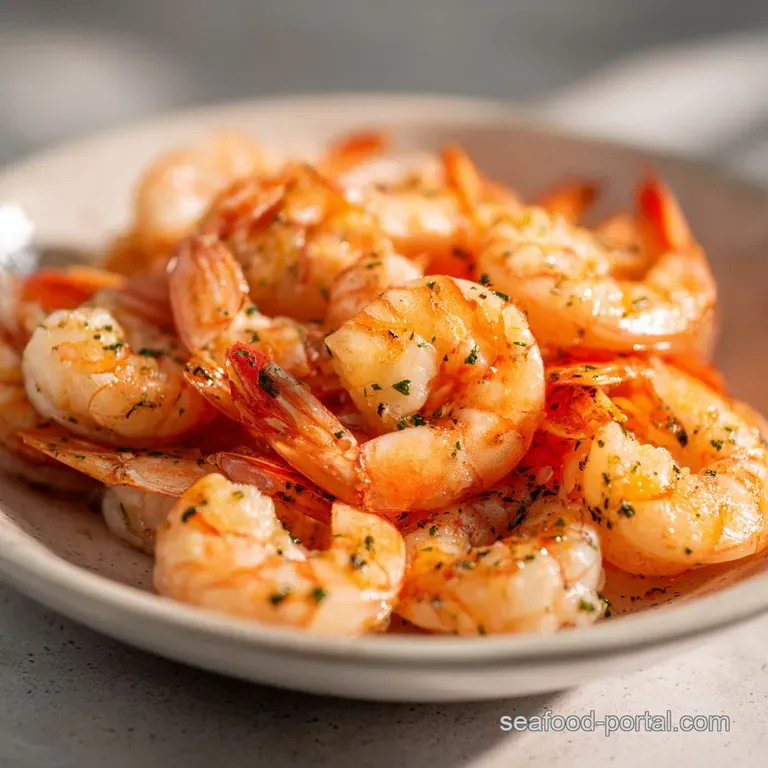
- Flavor/Texture Hook: Plump, snappy, and infused with citrus bay aromatics
- Perfect for: Classic shrimp cocktail, meal prep salads, or a quick protein for pasta
- How Long to Boil Shrimp Perfectly
- Why This Stovetop Method Works
- Component Analysis for Flavor
- Ingredient Deep Dive for Flavor
- Equipment Needed for the Boil
- Step-by-Step Instructions for Success
- Avoiding Kitchen Disasters Easily
- Scaling the Recipe for Crowds
- Mix It Up and Vary Flavors
- Debunking Seafood Boiling Myths
- How to Store Leftovers Safely
- Professional Presentation Tips
- Recipe FAQs
- 📝 Recipe Card
How Long to Boil Shrimp Perfectly
There is nothing quite as disappointing as biting into a shrimp that has the texture of a pencil eraser. We have all been there, standing over the stove, distracted for just thirty seconds, only to find our beautiful seafood has curled into tight, tough little knots.
I remember the first time I hosted a dinner party and served what I thought was a "gourmet" shrimp cocktail. The guests were polite, but I could see them struggling to chew. It was a classic case of overstaying the welcome in the pot.
The secret isn't just about the timer, it is about the aromatics and the "C" shape. When the water starts smelling like a seaside kitchen, with that sharp hit of lemon and the earthy scent of bay leaves, you know the environment is right.
But the real magic happens when you understand the transition from raw and translucent to pink and opaque. It happens in the blink of an eye.
Today, we are moving past the guesswork. I want to show you exactly how to boil shrimp so they come out succulent and snappy. We are going to treat the boiling liquid like a tea, infusing it with flavor before the shrimp even touch the water.
Trust me, once you nail this timing, you will never look back at those pre cooked frozen bags again.
Why This Stovetop Method Works
Understanding the thermodynamics of a shrimp is actually pretty cool. Because they are small and mostly protein, they react almost instantly to heat. Unlike a steak that needs time for heat to penetrate the center, shrimp are thin enough that the outside and inside cook almost simultaneously.
This is why a gentle simmer is always better than a violent, rolling boil.
The liquid also plays a massive role in the final texture. By adding salt and lemon, we are creating an osmotic balance. This prevents the natural juices inside the shrimp from leaching out into the water. Instead, the shrimp stays plump because the seasoning is already in the water. For a more intense flavor profile, you might even consider the techniques used in our Boiling Shrimp & recipe, which builds on these same basic principles.
- Thermal Precision: Using a high water to shrimp ratio ensures the temperature doesn't drop too much when the cold shrimp are added.
- Acidic Denaturation: The lemon juice slightly firms up the exterior proteins, giving you that iconic "snap" when you bite in.
- The Ice Bath Factor: Stopping the cooking process instantly prevents the residual heat from tightening the protein fibers further.
| Shrimp Size (Count) | Boiling Time | Rest Time | Visual Cue |
|---|---|---|---|
| Small (41/50) | 1-2 mins | 2 mins ice bath | Light pink, loose "C" |
| Medium (21/25) | 2-3 mins | 3 mins ice bath | Opaque, pink tail |
| Large (16/20) | 3-4 mins | 5 mins ice bath | Firm, curved shape |
Choosing the right timing depends heavily on whether you are working with shell on or peeled varieties. Shells act as a little heat shield, meaning they might need an extra thirty seconds. However, those shells also hold a ton of flavor that seasons the meat as it cooks.
Component Analysis for Flavor
Getting the water right is half the battle. If you just use plain water, your shrimp will taste like, well, nothing. We want to build a profile that enhances the natural sweetness of the crustacean without masking it. The garlic and peppercorns aren't just for show; they create a savory backbone that lingers.
| Ingredient | Science Role | Pro Secret |
|---|---|---|
| Kosher Salt | Flavor & Osmosis | Use more than you think; it should taste like the ocean. |
| Lemon Halves | Acidic Balance | Squeeze them in, then drop the whole hull in for essential oils. |
| Bay Leaves | Herbal Depth | Fresh is great, but dried bay leaves actually release more menthol notes. |
| Garlic Cloves | Savory Infusion | Smash them flat to expose the surface area for faster extraction. |
The choice of shrimp is equally vital. I always suggest raw shrimp over pre cooked because you get to control the texture. Look for "IQF" (Individually Quick Frozen) if you aren't near a coast; they are often fresher than the "fresh" ones sitting on ice at the grocery store, which have likely been thawed for days.
Ingredient Deep Dive for Flavor
Before we get to the pot, let's look at what you need. These measurements are designed to perfectly season 450 grams (1 lb) of shrimp without being overwhelming.
- 2 Litres Water: This provides enough volume so the temperature stays stable.
- 1/4 cup Kosher Salt: This seems like a lot, but most of it stays in the water. Why this? Essential for seasoning the meat through the shell during the short cook time.
- 1 Lemon, halved and squeezed: Adds bright acidity. Why this? Tightens the proteins for a better snap.
- 2 cloves Garlic, smashed: Provides a subtle aromatic base.
- 1 tbsp Black Peppercorns: Adds a gentle, earthy heat.
- 2 Bay Leaves: Gives that classic "seafood boil" aroma.
- 450g Raw Shrimp (16/20 or 21/25 count): Peeled and deveined or shell on.
If you don't have lemons, 2 tablespoons of white vinegar can work in a pinch to provide the necessary acidity, though you'll miss out on the citrus oils. For the salt, if you only have table salt, cut the amount in half, or it will be far too salty.
Equipment Needed for the Boil
You don't need much, but a few specific tools make this process much smoother. A large stockpot is non negotiable because you want the shrimp to have plenty of room to dance around without clumping together.
- Large Stockpot (5-6 Litres): Allows for even heat distribution.
- Slotted Spoon or Spider Strainer: Crucial for getting the shrimp out of the hot water quickly.
- Large Mixing Bowl: For the ice bath.
- Colander: For final draining.
I personally love using a spider strainer because it lets the water drain back into the pot instantly. If you use a colander to drain the whole pot, the shrimp sit in the steam for those extra few seconds it takes to carry the pot to the sink, which can lead to overcooking.
step-by-step Instructions for Success

- Prepare the ice bath. Fill a large bowl with half ice and half cold water. Note: This must be ready before the shrimp hit the stove.
- Combine aromatics. Add the 2 litres of water, 1/4 cup salt, lemon halves, garlic, peppercorns, and bay leaves to your stockpot.
- Bring to a boil. Set the heat to high and wait for a rolling boil.
- Infuse the liquid. Let the water boil for 5 mins until the liquid turns slightly yellow and smells fragrant.
- Add the shrimp. Carefully drop the 450g of raw shrimp into the pot. Note: If using frozen, see the troubleshooting section below.
- Reduce to a simmer. Immediately turn the heat down to medium low so the water isn't violently bubbling.
- Monitor the color. Cook for 2 to 3 mins until the shrimp turn pink and opaque.
- Check the shape. Look for a gentle "C" curve. If they look like a tight "O", remove them immediately.
- Shock the shrimp. Use a slotted spoon to move them from the pot directly into the ice bath.
- Drain and dry. Once cold to the touch (about 3 mins), drain them well and pat dry with paper towels.
Mastering the "C" Shape Geometry
The visual cue is your best friend. A raw shrimp is straight or slightly limp. As it cooks, the proteins on the inner side contract faster than the outer side, causing it to curl. A perfect shrimp is a "C".
If it has curled so much that the tail is touching the head to form an "O", it is overcooked and will likely be tough.
Flash Chilling for Texture
Don't skip the ice bath. The residual heat inside a shrimp is enough to keep cooking it for another minute after you take it out of the water. By plunging them into ice water, you lock in that moisture. If you leave them to air cool, they often become stringy and lose their sheen.
Avoiding Kitchen Disasters Easily
The most common mistake is simply walking away from the stove. Because shrimp cook so fast, thirty seconds is the difference between perfection and rubber. Another disaster is not seasoning the water enough. If the water doesn't taste like a seasoned broth, the shrimp will come out bland.
Why Your Shrimp are Rubbery
If your shrimp feel bouncy or difficult to bite through, they stayed in the heat too long. This happens because the protein fibers have tightened so much they've squeezed out all the moisture.
| Problem | Root Cause | Solution |
|---|---|---|
| Tough/Rubbery | Overcooked | Reduce cook time; use a thermometer to hit 120°F (49°C) internal. |
| Bland Meat | Under seasoned water | Increase salt and aromatics in the boiling liquid. |
| Mushy Texture | Frozen/Thawed poorly | Ensure shrimp are fully thawed and patted dry before boiling. |
Common Mistakes Checklist
- ✓ Using pre cooked shrimp (they will always get tough when reheated this way).
- ✓ Not waiting for the water to infuse before adding the seafood.
- ✓ Overcrowding the pot, which drops the water temperature too low.
- ✓ Leaving the shrimp in the ice bath for too long (they can get waterlogged).
- ✓ Forgetting to devein before boiling if using peeled shrimp.
Scaling the Recipe for Crowds
Scaling this up for a party is easy, but you have to be careful with the seasonings. If you are doubling the recipe to 900g (2 lbs) of shrimp, you don't necessarily need to double all the water. 3 to 4 litres of water is plenty.
For the salt and spices, I usually go to about 1.5x the original amount rather than a full double. However, you must work in batches. Dropping 2 kg of cold shrimp into a pot will kill the boil entirely, and they will sit in lukewarm water getting mushy before the water recovers.
Boil them in 450g increments for the best results.
If you are looking for a full party vibe with corn and potatoes, my Classic Shrimp Boil recipe is a better blueprint for those larger, one pot celebrations.
Mix It Up and Vary Flavors
Once you have the basic timing down, you can change the aromatics to suit any cuisine. The boiling method is just a vehicle for flavor.
- Mediterranean Style: Swap the bay leaves for fresh oregano and add a splash of dry white wine to the water.
- Asian Inspired: Use ginger slices, star anise, and a splash of soy sauce instead of lemon and garlic.
- Old Bay Classic: Replace the salt and peppercorns with 2 tablespoons of Old Bay seasoning for that Maryland feel.
If you want a richer, more decadent meal using boiled shrimp, try tossing them into a Homemade Shrimp Alfredo recipe right at the end. Since the shrimp are already cooked, you just need to warm them through in the creamy sauce for about thirty seconds.
Debunking Seafood Boiling Myths
One big myth is that you must "devein" shrimp after boiling. While you can, it is much easier to do it while they are raw and the meat is soft. If you boil them with the vein in, it can sometimes leave a gritty texture, though it isn't harmful.
Another misconception is that boiling shrimp in their shells makes them impossible to peel. Actually, if you shock them in an ice bath immediately, the meat slightly pulls away from the shell, making them even easier to unzip. The shell also protects the delicate meat from the direct "aggression" of the boiling water.
How to Store Leftovers Safely
Boiled shrimp should be stored in an airtight container in the fridge. They will stay fresh and snappy for about 2 to 3 days. I don't recommend refreezing them after they have been boiled, as the texture becomes quite mealy once thawed again.
Zero Waste Tip: Do not throw away those shells! If you peeled your shrimp before or after boiling, toss the shells back into the boiling liquid and let it simmer for another 20 minutes.
Strain it, and you have a beautiful, light shrimp stock that you can freeze in ice cube trays for future risottos or soups.
Professional Presentation Tips
If you are serving these for a cocktail party, presentation is everything. I like to hang the shrimp over the edge of a chilled glass filled with cocktail sauce. Make sure they are completely dry before plating, or they will leave a watery puddle on the dish.
For a family style platter, lay the shrimp on a bed of crushed ice and garnish with fresh parsley and extra lemon wedges. The cold ice keeps them at the perfect food safety temperature while also making the colors pop.
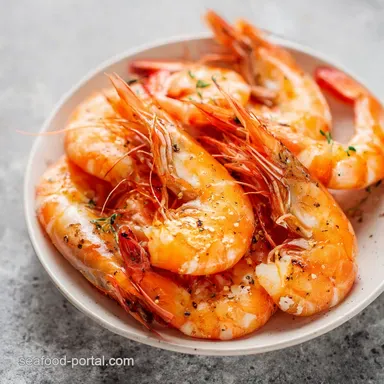
If you want a more rustic look, serve them shell on in a big bowl with plenty of napkins and a side of melted garlic butter. It encourages everyone to get their hands dirty and enjoy the process.

Recipe FAQs
How long does it take to boil shrimp?
For medium shrimp (21/25 count), boil for 2 to 3 minutes. The total active cooking time is very short, usually under five minutes total once the water returns to a simmer. Remember to shock them immediately in an ice bath to stop the residual heat from overcooking.
How do you know when shrimp is done in a boil?
Look for a bright pink/opaque color and a "C" shape. A perfectly cooked shrimp will have formed a gentle curve, resembling the letter 'C'. If it tightens into a small 'O' shape, you have unfortunately overcooked it.
Can you overcook shrimp by boiling it?
Yes, overcooking shrimp by boiling is very easy. Because shrimp are thin proteins, they cook rapidly, often in under four minutes total. Overcooking causes the proteins to seize up, squeezing out moisture and resulting in a tough, rubbery texture.
How long does it take to fully cook raw shrimp?
Fully cooking raw shrimp in boiling water takes between 2 and 4 minutes, depending on size. This timing begins only after the water has returned to a full, steady simmer once the raw shrimp are added. For reference on serving size, these times are perfect for our Classic Shrimp Cocktail recipe.
Should I use shell-on or peeled shrimp when boiling?
Use shell-on shrimp if you want maximum flavor infusion. The shells act as a shield, protecting the delicate meat from aggressive boiling heat, leading to a juicier result. However, peeling them raw is much easier than trying to peel them post boil.
Is it true I must use a rolling boil for the entire cooking time?
No, this is a common misconception. You should bring the seasoned water to a rolling boil first, but immediately reduce the heat to a gentle simmer once the shrimp are added. A continuous rolling boil will cause the exterior to overcook before the interior is done, leading to tough texture.
Can I boil frozen shrimp without thawing them first?
Yes, you can boil frozen shrimp, but add 1 to 2 extra minutes to the total cooking time. Dropping frozen shrimp straight into the water will significantly drop the temperature, so be patient for the water to return to a simmer. If you need a richer flavor base, consider using the stock method from our Shrimp Dip Recipe as a starting point for your boil liquid.
How Long To Boil Shrimp
Ingredients:
Instructions:
Nutrition Facts:
| Calories | 108 kcal |
|---|---|
| Protein | 23 g |
| Fat | 0.4 g |
| Carbs | 1.1 g |
| Fiber | 0.1 g |
| Sugar | 0.2 g |
| Sodium | 380 mg |
