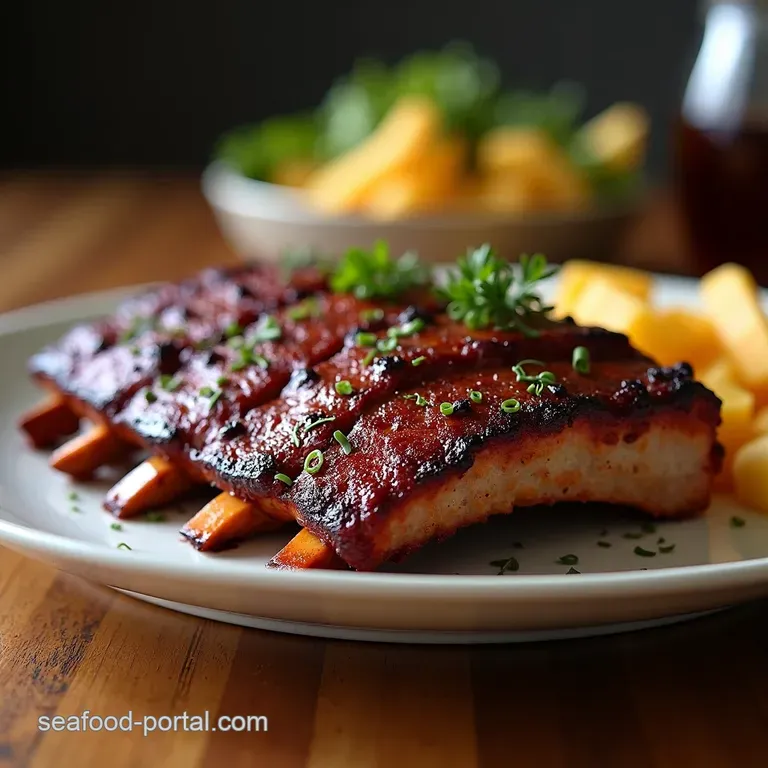
The Lazy Sunday Showstopper Foolproof Falloffthebone Oven Bbq Ribs
- Unlocking Legendary Tenderness: The Oven BBQ Ribs Secret
- Why Baking Beats Grilling for Guaranteed Softness
- The Blueprint: Sourcing Your Ribs and Seasonings
- The Two-Phase Cook: Achieving that 'Fall-Off-the-Bone' Result
- Beyond the Basics: Enhancing Your Rib Experience
- Frequently Asked Questions
- 📝 Recipe Card
Unlocking Legendary Tenderness: The Oven BBQ Ribs Secret
There is a widely held belief that truly magnificent, fall off-the-bone barbecue requires hours spent tending a smoker under an open sky. While outdoor grilling certainly has its charm, I’m here to debunk that myth.
With the right technique, you can achieve unbelievably succulent, deeply flavoured Oven BBQ Ribs right in your home kitchen. Forget the fussy charcoal setup; this method relies on controlled heat and trapped moisture to coax the connective tissues in the pork until they melt away, leaving behind rich, tender meat.
This isn't just a recipe; it’s your blueprint for championship flavour achieved with surprising ease.
Why Baking Beats Grilling for Guaranteed Softness
When we talk about achieving that perfect, yielding texture, the oven offers a significant advantage over direct grilling, especially for beginners. Grilling, even low-and-slow grilling, risks drying out the exterior before the interior reaches that ideal state of breakdown.
Baking, conversely, allows us to create a controlled, steamy environment that gently coaxes the collagen into gelatin. This is the foundation for creating Tender Oven Baked BBQ Ribs that are never chewy.
The Promise: No More Chewy Ribs Guaranteed
The primary reason people struggle with ribs is impatience or insufficient moisture management. This Oven BBQ Ribs Recipe solves both issues through a critical two-stage cooking process. By initially wrapping the seasoned ribs tightly in foil, we create a mini steamer inside the oven.
This low-temperature bath ensures the meat cooks evenly and retains every drop of flavour from our Oven BBQ Ribs Dry Rub and added liquid. The outcome? Ribs so tender you’ll swear they came from a professional pitmaster.
Setting Expectations for Truly Magnificent Oven BBQ Ribs
While this technique delivers incredible results, it is essential to respect the cooking timeline. This is a patient pursuit. We are aiming for an approximate total cook time of around four hours, with very little active work required from you.
This method is the Best Way To Cook Ribs In Oven precisely because it removes the guesswork associated with flare ups and inconsistent heat sources, allowing you to focus purely on flavour development.
A Weeknight Shortcut to Championship Flavor
If you are looking for Easy Oven BBQ Ribs that taste like they took all day, this two-phase cook is your answer. The extensive hands off time means you can prepare your sides, set the table, and relax, all while your main course is transforming into a spectacular feast.
This is comfort food elevated, accessible even on a busy Tuesday night.
Related Recipes Worth Trying
- The Easiest oven roasted Parmesan Asparagus My GoTo 20Minute Side — Absolutely the best The Easiest oven roasted Parmesan Asparagus This crispy oven baked parmesan asparagus is ready in 20 minutesno faff all flavour A proper...
- The Ultimate CrispySkinned Jacket Potato Recipe Best Oven Baked Potato Method — Tired of pale tough spuds This Easy Baked Potato Recipe uses the high heat method to guarantee the Best Baked Potato Learn how to get crispy baked potato...
- Creamy Oven Baked Chicken Thighs So Easy Delicious — This Creamy Oven Baked Chicken Thighs recipe is proper comfort food Easy enough for beginners yet flavorful enough for foodies Get my secret to juicy chicken
The Blueprint: Sourcing Your Ribs and Seasonings
Great ribs begin long before they hit the oven; they start with quality ingredients. Selecting the right cut and crafting a robust rub are non-negotiable first steps to success when cooking BBQ Ribs In The Oven .
Pork Selection: Baby Backs vs. St. Louis Cut Considerations
You generally have two primary choices: Baby Back Ribs (which come from the loin area) or Spare Ribs, often trimmed into St. Louis style. Baby Backs are leaner, curvier, and typically cook slightly faster. St. Louis style ribs are flatter, meatier, and offer a richer flavour due to more fat content.
For this method, either works perfectly, but the St. Louis cut often benefits most from the intense steaming phase to soften its connective tissue. Regardless of your choice, always ask your butcher to remove the thin, silvery membrane (silverskin) from the back of the bones; it prevents seasoning absorption and leads to chewiness.
Building the Flavor Foundation: Dry Rub Components Checklist
The key to a crusty, flavourful exterior lies in a well balanced Oven BBQ Ribs Dry Rub . We want a blend that balances sweetness, heat, salt, and earthiness.
Mix together brown sugar (which helps with caramelisation later), smoked paprika for that illusion of smoky depth, kosher salt for seasoning penetration, freshly ground black pepper, garlic and onion powders for aromatic depth, dry mustard powder for tang, and a pinch of cayenne for subtle warmth.
Apply this mixture liberally to both sides of the dried ribs, pressing it firmly into the meat.
The Essential Liquid Bath for Maximum Moisture Retention
To ensure we achieve that Foolproof Oven Ribs result, we need steam. Once the ribs are seasoned, they are placed on heavy duty foil. Around the ribs, we add a mixture of 1/2 cup apple cider vinegar and 1/2 cup apple juice.
The vinegar tenderizes the exterior slightly while the juice adds a hint of sweetness that synergizes beautifully with the pork as it turns to steam during the initial bake.
Sauce Selection: store-bought Shortcut vs. Homemade Glaze Prep
While a homemade BBQ sauce is wonderful, for this application, a high-quality store-bought sauce is perfectly acceptable. The flavour development happens in the rub and the steam, not solely in the sauce.
For the final glaze, combine your chosen BBQ sauce with a touch of honey or maple syrup for added stickiness, plus a splash of Worcestershire sauce to deepen the umami profile. Warm this mixture slightly before the final stage; it spreads better and clings more effectively.
The Two-Phase Cook: Achieving that 'Fall Off-the-Bone' Result
This is where we separate the good ribs from the legendary ones. Success hinges on utilizing low heat for tenderness followed by high heat for texture.
Phase One: The Low-and-Slow Steam Bake Technique
Preheat your oven to a gentle 300° F ( 150° C). This lower Oven Ribs Temperature is crucial. Place your seasoned ribs onto the prepared foil base, pour in your liquid bath, and seal the foil tightly. This creates an airtight environment.
Bake for 3 to 3. 5 hours. You are not trying to cook them completely here; you are dissolving the connective tissue. When you gently probe the meat near the bone after this time, it should offer almost no resistance.
Wrapping Strategy: Tinfoil vs. Parchment Paper Secrets
Heavy duty aluminium foil is highly recommended here because it creates the most reliable seal against steam leakage. Parchment paper can be used if you are concerned about foil reacting with acidic ingredients, but you must use several layers and ensure the crimping is flawless to maintain that steamy environment.
A poor seal results in evaporative drying, which defeats the entire purpose of this first phase.
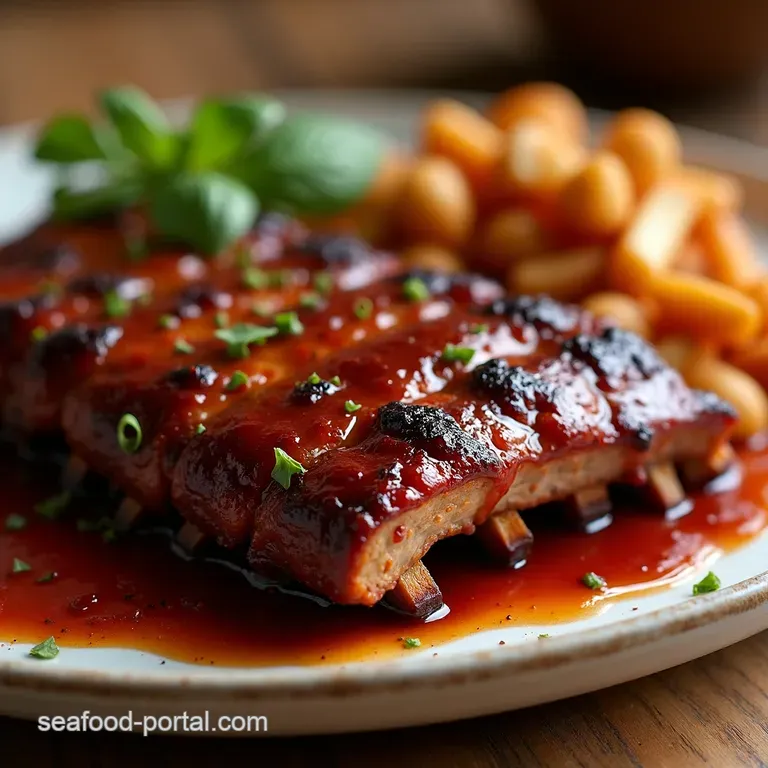
The Heat Infusion: Applying the BBQ Glaze Under High Heat
Once the ribs are perfectly tender from their slow steam bake, it’s time for the grand finale. Carefully open the foil packet (be cautious of the intense hot steam released!). Increase the oven temperature significantly to 400° F ( 200° C).
Brush the ribs generously on all sides with your pre-warmed glaze.
Crucial Rest Time: Letting the Juices Settle Post Bake
After the final caramelisation blast usually 10 to 15 minutes, brushing on more sauce every five minutes until the surface is sticky and dark remove the ribs from the oven. Do not slice immediately!
Cover them loosely with foil and let them rest on a cutting board for at least 10 minutes. This rest period allows the internal juices, which have been agitated by the high heat, to redistribute throughout the meat, ensuring every slice remains moist and flavourful.
Beyond the Basics: Enhancing Your Rib Experience
Once you’ve mastered the core technique, it’s fun to look at how to store leftovers or what to serve alongside these stellar Oven BBQ Ribs .
Storage Solutions: Refrigerating and Freezing Leftover Oven BBQ Ribs
These ribs reheat beautifully. Once cooled completely, wrap individual portions tightly in plastic wrap followed by a layer of foil, and refrigerate for up to four days. To reheat, place the wrapped ribs in a 300° F oven for about 20 minutes until heated through.
For longer storage, freeze them wrapped the same way for up to three months; thaw overnight in the refrigerator before reheating as described above.
Pairing Perfection: Ideal Side Dishes for Your Feast
No plate of saucy ribs is complete without balancing sides. A sharp, tangy coleslaw cuts through the richness of the pork fat perfectly. Complement this with something slightly sweet, like grilled corn on the cob or perhaps a creamy batch of baked beans.
The richness of these Tender Oven Baked BBQ Ribs begs for sharp, cool accompaniments.
Troubleshooting Common Baking Errors
If your ribs come out slightly dry, it almost always means your foil seal in Phase One was compromised, allowing steam to escape. Next time, use heavier foil and double check every crimp.
If the sauce burns during the final high heat phase, you are likely using a sauce with too high a sugar content, or you left them in the 400° F oven too long; reduce the final baking time or lower the temperature slightly to 375° F.
Patience and precision with the two temperatures are the final keys to your success.
Frequently Asked Questions
How do I get my Oven BBQ Ribs truly "fall off-the-bone" tender without drying them out?
The secret lies in the two-stage cooking! The initial low-and-slow bake at 300°F (150°C) wrapped tightly in foil creates a steamy environment, essentially poaching the meat until the connective tissue breaks down.
Don't try to rush this stage; patience is your best friend here, much like waiting for the kettle to boil on a proper Sunday morning.
Do I really have to remove the membrane from the back of the ribs, or can I skip that step?
Absolutely not! Removing the membrane (silverskin) is non-negotiable for tender ribs. If you leave it on, it becomes tough, chewy, and prevents the seasoning and moisture from properly penetrating the meat. It’s a bit fiddly, but trust me, it’s the difference between good ribs and cracking grub!
My BBQ sauce keeps burning before the ribs are cooked through what am I doing wrong?
That usually happens when you apply the sugary sauce too early! Since our recipe uses a high heat finish (400°F), the sauce should only go on in the last 10 15 minutes. Brush it on, let it caramelise, and keep an eye on it you want sticky, not charcoal!
Can I use a different liquid instead of apple juice/cider vinegar in the foil packet?
You certainly can, though the apple flavour adds a nice depth. If you're in a pinch, plain water works fine for creating steam, which is the main job of the liquid. For a flavour boost, try beer a light lager or a pale ale works brilliantly, just avoid anything too heavy or bitter.
How long can I safely store leftover Oven BBQ Ribs, and how should I reheat them?
Leftovers are brilliant cold, or you can keep them in the fridge for up to three or four days, tightly wrapped. To reheat them and keep that tenderness, wrap them loosely in foil with a small splash of water or broth, and bake at a low 325°F (160°C) until warmed through, perhaps 15 20 minutes.
Falloffthebone Oven Ribs

