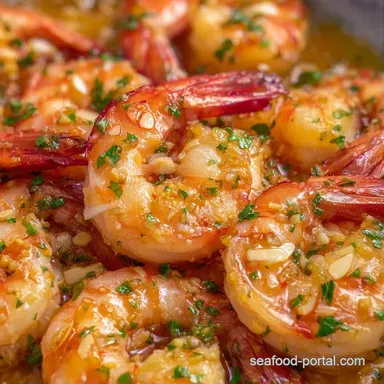
Best Garlic Shrimp: Velvety and Tender
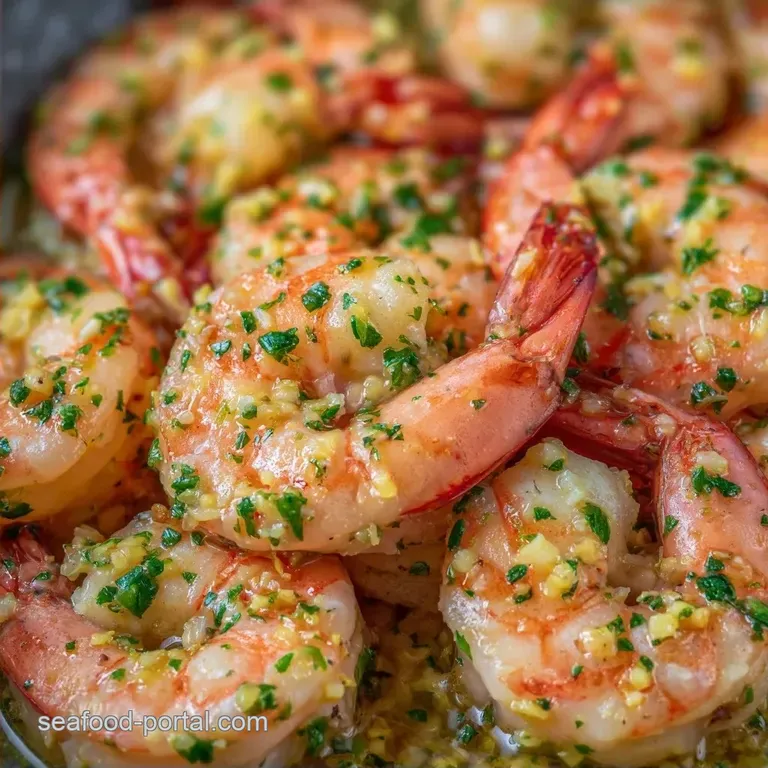
- Time: 10 min active + 5 min cooking
- Flavor/Texture Hook: Buttery, garlicky, and snap tender
- Perfect for: Weeknight wins or a fast date night
That sharp, sizzling sound when cold shrimp hits a smoking hot pan is my favorite noise in the kitchen. I remember a Tuesday a few years back when I had exactly 20 minutes before guests arrived. I didn't have time for a complex menu, so I threw together some garlic and butter.
The aroma of toasted garlic filled the whole house, and my friends thought I'd spent hours prepping a gourmet appetizer.
Most people overthink this dish. They crowd the pan or cook the shrimp until they're rubbery. But when you get the temperature right, the shrimp stays juicy and the garlic turns a gorgeous golden brown. It's all about speed and heat.
You can expect a dish that hits all the marks. The richness of the butter is cut by a bright splash of lemon, and the red pepper flakes add a tiny bit of heat. This is the Best Garlic Shrimp because it doesn't rely on fancy ingredients, just the right timing.
Best Garlic Shrimp for Busy Nights
The secret to this recipe is the contrast. You have the charred, savory exterior of the shrimp meeting the silky, melted butter sauce. It's a fast win that feels high effort. I've found that the difference between a mediocre shrimp dish and a great one is just about 60 seconds of cooking time.
If you're looking for something that pairs well with other seafood, you might like a creamy fish taco sauce to add a zesty kick to your meal. The key here is making sure the shrimp aren't swimming in liquid, but rather coated in a thick, glossy glaze.
I used to think that adding more garlic meant more flavor, but I learned that slicing the garlic thinly and browning it in butter creates a much deeper, nuttier taste. It's the difference between raw garlic bite and a mellow, caramelized sweetness.
Why This Works
Understanding a few basics makes the Best Garlic Shrimp a breeze every time. It's not about complex chemistry, just managing heat and moisture.
- The Dry Surface Rule: Moisture is the enemy of a sear. Water on the shrimp creates steam, which prevents that golden crust from forming.
- Cold Butter Emulsion: Adding chilled butter at the end keeps the sauce from separating. The cold fat incorporates into the lemon juice for a velvety finish.
- Carryover Cooking: Shrimp continue to cook after they leave the pan. Removing them while they're just barely opaque prevents them from turning into rubber.
- Garlic Timing: Garlic burns quickly. Adding it after the shrimp are seared ensures the garlic browns without turning bitter.
| Method | Time | Texture | Best For |
|---|---|---|---|
| Fast Sear | 5 mins | Snap tender | Weeknights |
| Slow Poach | 12 mins | Soft/Buttery | Brunch |
| Roasted | 10 mins | Firm/Charred | Large Crowds |
Ingredient Deep Dive
Choosing the right shrimp is half the battle. I always go for jumbo shrimp because they have more surface area for the garlic butter to cling to. If you use small shrimp, they overcook in a blink.
| Ingredient | Science Role | Pro Secret |
|---|---|---|
| Jumbo Shrimp | Main Protein | Pat them bone dry with paper towels first |
| Unsalted Butter | Fat/Emulsifier | Keep it cubed and chilled until the last second |
| Sliced Garlic | Aromatics | Slice thinly for more surface area to brown |
| Lemon Juice | Acid Balance | Use a fresh lemon; bottled juice tastes metallic |
For the salt, I prefer sea salt because the larger grains distribute more evenly during the toss. Don't be afraid of the red pepper flakes, either. They don't make the dish "spicy" so much as they wake up the other flavors. According to Serious Eats, managing the heat of your pan is the most important factor in achieving a proper sear without overcooking the interior of the seafood.
Essential Cooking Gear
You don't need a professional kitchen for this, but the pan matters. A cast iron skillet is my go to because it holds heat like a beast. If you use a thin non stick pan, the temperature drops the moment the shrimp hit the surface, and you'll end up boiling them in their own juices.
Stainless steel is a great second choice. It allows for those little brown bits (fond) to stick to the bottom, which then get deglazed by the lemon juice. This adds a huge amount of depth to the sauce.
A simple mixing bowl and some sturdy paper towels are the only other things you'll need. Honestly, don't bother with a fancy kitchen scale for the garlic. Six cloves is a guideline, but if you love garlic, go for eight.
Step-by-step Cooking Process
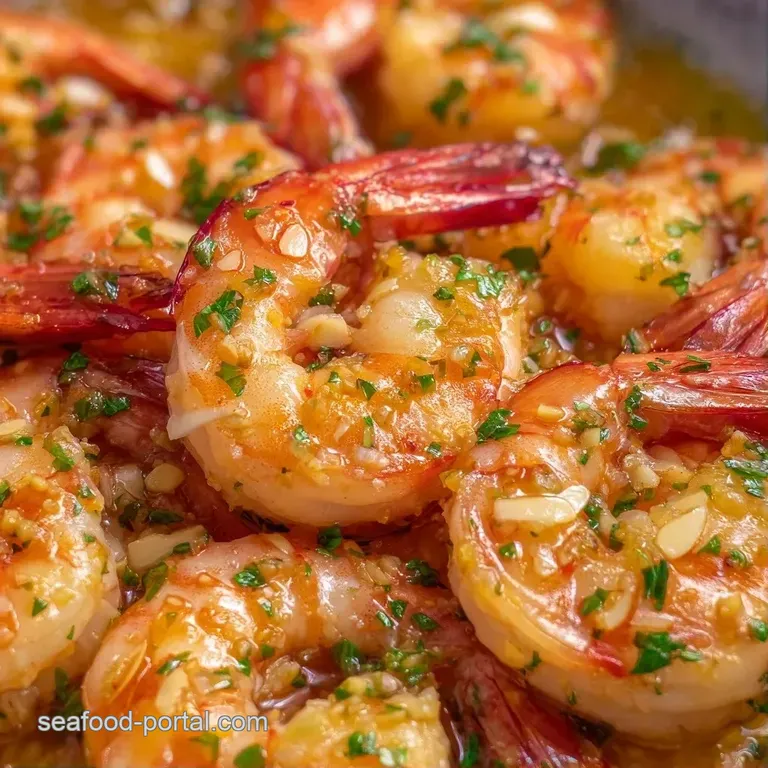
Follow these steps exactly to ensure you get the Best Garlic Shrimp every time. The timings are tight, so have everything prepped and sitting next to your stove.
- Pat the shrimp completely dry with paper towels. Note: This prevents steaming and ensures a golden crust.
- Toss shrimp with sea salt, black pepper, and olive oil in a bowl.
- Heat your skillet over medium high heat until the oil shimmers.
- Add shrimp in a single layer. Sear for 1-2 minutes per side until opaque pink with a light golden crust.
- Move shrimp to a plate and set them aside.
- Lower heat to medium and add the cubed, chilled butter.
- Once the butter foams and smells nutty, stir in sliced garlic and red pepper flakes. Cook for 60-90 seconds until the garlic is golden brown.
- Return shrimp and any juices to the pan.
- Pour in fresh lemon juice. Toss for 30 seconds until the sauce is glossy and coats the shrimp.
- Remove from heat immediately and garnish with fresh parsley.
Chef's Note: If the garlic starts to look dark brown too quickly, splash in a teaspoon of water or lemon juice to drop the pan temperature instantly.
Pro Tips and Pitfalls
The biggest mistake I see is overcrowding the pan. If you dump 1 lb of shrimp into a small skillet, the temperature plummets. You'll get grey, rubbery shrimp instead of golden, snap tender ones. Work in two batches if your pan is small.
Another common slip up is the "O shape." When shrimp overcook, they curl tightly into a circle. You want them in a "C shape." The moment they hit that C, get them out of the pan.
Why Your Shrimp Are Rubbery
This usually happens because the pan wasn't hot enough at the start or the shrimp stayed in too long. The proteins tighten up and squeeze out all the moisture.
| Problem | Root Cause | Solution |
|---|---|---|
| Rubbery Texture | Overcooked | Remove at "C shape", not "O shape" |
| Bitter Taste | Burnt Garlic | Lower heat before adding garlic |
| No Brown Crust | Wet Shrimp | Pat dry with paper towels |
- ✓ Use chilled butter to create a thicker sauce.
- ✓ Slice garlic instead of mincing it to avoid burning.
- ✓ Let the pan get hot before adding oil.
- ✓ Use jumbo shrimp for better texture.
- ✓ Deglaze with lemon juice at the very end.
Flavor Swaps to Try
Once you've nailed the Best Garlic Shrimp, you can play with the profile. I love experimenting with the base sauce depending on what's in the fridge.
Garlic Butter Shrimp Pasta
Toss the finished shrimp and sauce with al dente linguine. Add a splash of pasta water to make the sauce cling to the noodles. This turns a quick appetizer into a full, comforting meal.
Shrimp with Garlic Sauce Chinese Style
Swap the butter for a mix of sesame oil and vegetable oil. Replace the lemon juice with a splash of soy sauce and a pinch of sugar. It's a completely different vibe but uses the same over high heat technique. For something even more unique, you could try a coconut shrimp sauce if you want tropical notes.
The Zesty Mediterranean Swap
Use olive oil instead of butter and add a handful of halved cherry tomatoes and some kalamata olives during the last minute of cooking. It's bright, salty, and feels like a vacation on a plate.
Low Calorie dairy-free Swap
Substitute the butter with a high-quality vegan butter or just increase the olive oil and add a teaspoon of nutritional yeast for that savory, "cheesy" depth.
Preservation and Waste Tips
Shrimp don't keep forever, so eat these quickly. If you have leftovers, store them in an airtight container in the fridge for up to 2 days. When reheating, do it gently in a pan over low heat with a tiny bit of extra butter. The microwave will turn them into rubber balls, so avoid it.
I don't recommend freezing the cooked shrimp because the texture changes completely. Keep them fresh for the best experience.
Regarding zero waste, don't throw away the shrimp shells if you bought them head on or shell on. Toss the shells into a pot with some water, a piece of onion, and a carrot. Simmer for 20 minutes to make a quick seafood stock.
You can freeze this stock in ice cube trays and add it to your next risotto or soup for a massive flavor boost.
Best Serving Suggestions
The Best Garlic Shrimp is versatile. If you want a light meal, serve them over a bed of sautéed spinach or roasted asparagus. The lemon butter sauce acts as a dressing for the greens.
For something more filling, a pile of fluffy jasmine rice or quinoa works well. The grains soak up all that garlic butter that pools at the bottom of the plate. I also love serving these with a side of crusty sourdough bread.
You absolutely cannot let that sauce go to waste, and a piece of toasted bread is the best tool for cleaning the plate.
If you're serving this as part of a larger seafood spread, a creamy dill salmon sauce on the side complements the garlic flavors without overpowering them.
Quick Decision Guide
- Want a full meal? Serve over linguine or jasmine rice.
- Want a light appetizer? Serve with toasted baguette slices.
- Want a healthy option? Serve over steamed broccoli or zucchini noodles.
Right then, you've got everything you need to make the Best Garlic Shrimp. It's a simple process, but the details like drying the shrimp and using cold butter make all the difference. Just remember to watch for that "C shape" and you're golden. Happy cooking!
Recipe FAQs
What is the best way to cook garlic shrimp?
Sear in a hot skillet and finish with a lemon-butter glaze. Pat shrimp dry, sear for 1-2 minutes per side, then toss in browned butter, sliced garlic, and lemon juice for a golden crust.
Is it true that shrimp must be soaked in milk before cooking?
No, this is a common misconception. Patting shrimp dry with paper towels is the most effective way to prevent steaming and ensure a proper sear.
How to make frozen shrimp taste better?
Thaw completely and pat them dry with paper towels. Removing excess moisture allows the shrimp to develop a golden crust rather than boiling in the pan.
How to cook shrimp for diabetics?
Follow the official recipe as written. This method uses fresh lemon juice, garlic, and olive oil, which avoids the added sugars found in many bottled sauces.
What are some delicious shrimp dishes for parties?
Serve this garlic shrimp as a tapas-style appetizer. If you need a heartier main course for a crowd, a creamy shrimp alfredo is an excellent alternative.
Should I use flour and keep the shells on when frying shrimp?
No, the best results come from peeled, deveined shrimp without flour. This allows the butter and garlic to penetrate the meat directly for maximum flavor intensity.
How to saute shrimp in butter and garlic?
Brown sliced garlic and red pepper flakes in foaming butter for 60-90 seconds. Return the previously seared shrimp to the pan and deglaze with lemon juice for 30 seconds before serving.
Best Garlic Shrimp in 15 Minutes