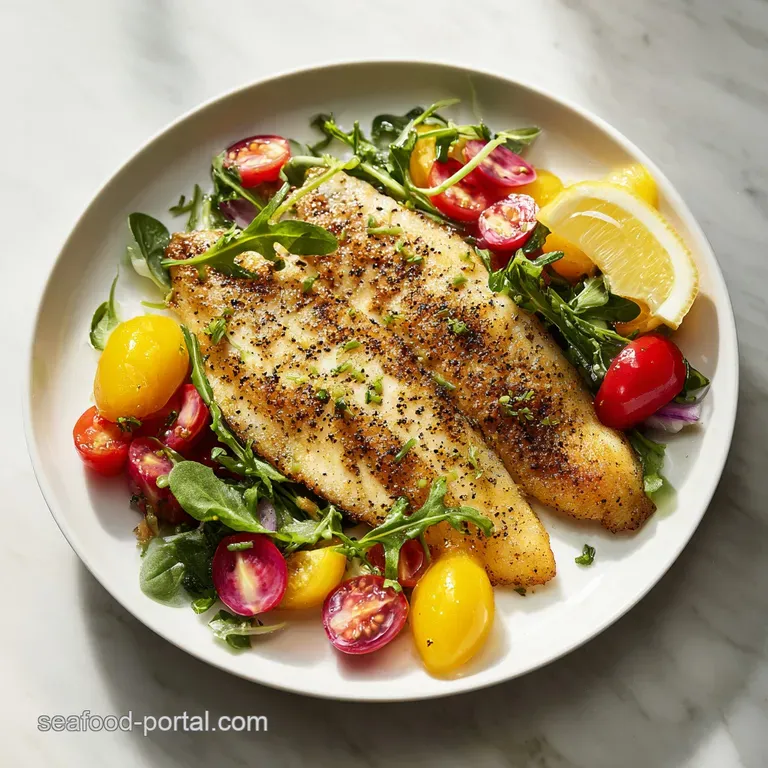
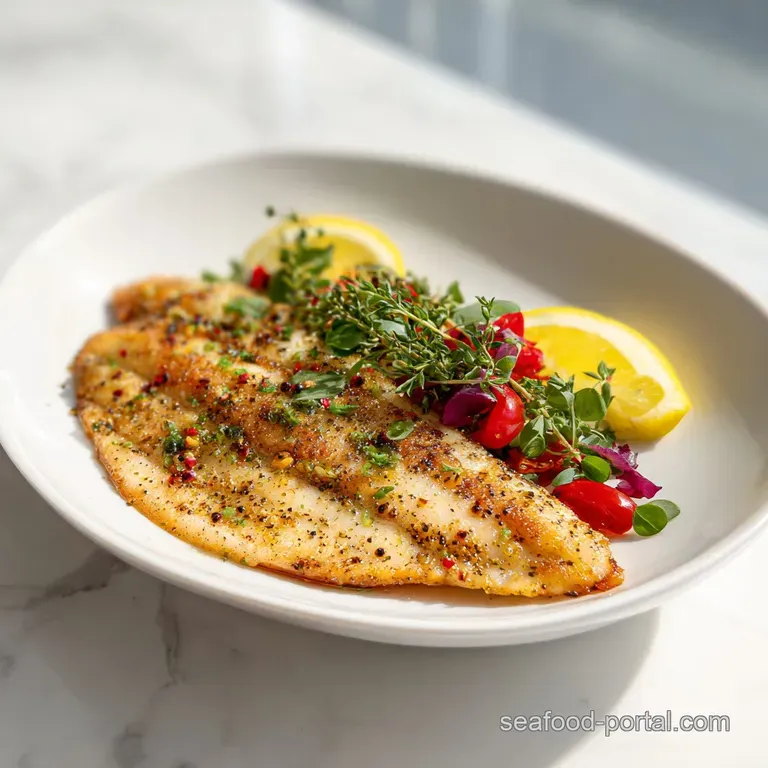
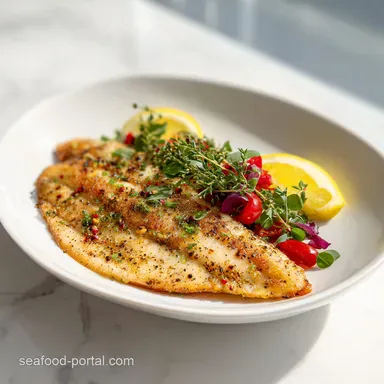
Pan Seared Lemon Pepper Tilapia Fish
- Time: Active 5 minutes, Passive 10 minutes, Total 15 minutes
- Flavor/Texture Hook: Flaky, buttery fillets with a smoky, citrus forward crust
- Perfect for: Busy weeknight dinners or a quick, high protein post workout meal
- The Secret to Searing Succulent Tilapia Fish
- Science of the Flaky Finish
- Component Analysis for Success
- Essential Elements and Alternatives
- Necessary Kitchen Prep Tools
- Step-by-Step Cooking Guide
- Solving Common Texture Issues
- Adjusting the Batch Size
- Debunking Common Kitchen Beliefs
- Proper Storage Methods
- Suggested Side Dishes
- Recipe FAQs
- 📝 Recipe Card
The Secret to Searing Succulent Tilapia Fish
The second those fillets hit the hot fat, you hear it that rhythmic, aggressive sizzle that signals the start of a serious crust. Within seconds, the air fills with the nutty aroma of browning butter and the woody, sweet scent of smoked paprika.
It’s a sensory shift that takes you from a quiet kitchen to a bustling bistro in under a minute.
I used to treat this fish like an afterthought, honestly. I'd toss it in a pan with some basic salt, and it would come out watery and uninspiring. Then, I had a "lightbulb moment" at a tiny seafood shack on the coast. The chef wasn't doing anything fancy; he was just obsessed with surface moisture.
He told me that if the fish isn't dry, it's just boiling in its own juices.
That changed everything for me. Now, whenever we make tilapia fish, I approach it with a bit more respect for the physics of the pan. We aren't just heating it through; we’re engineering a texture that shatters slightly at the edges while remaining velvety and tender in the center.
Trust me, once you nail this balance, you’ll never settle for "okay" fish again.
Science of the Flaky Finish
Protein Denaturation: High heat causes the tightly coiled proteins in the fish to unroll and rebond quickly, creating a firm structure that holds moisture inside rather than letting it leak out.
The Maillard Reaction: This chemical interaction between amino acids and reducing sugars creates that savory, golden brown crust and complex "toasted" aroma that defines a well seared fillet.
Thermal Inertia: Tilapia is thin, so it continues cooking for about 60 seconds after leaving the heat; pulling it just before it looks "done" prevents it from becoming rubbery.
| Cooking Method | Total Time | Resulting Texture | Best For |
|---|---|---|---|
| Stovetop Sear | 6-8 minutes | Crispy edges, moist center | Maximum flavor and crust |
| Oven Baked | 10-12 minutes | Uniformly tender, soft | Large batches/hand off cooking |
| Air Fryer | 8-10 minutes | Firm, slightly dehydrated exterior | Extra "crunch" without excess oil |
Choosing the right method depends on your mood, but if you want that restaurant style finish, the stovetop is the undisputed king. It allows the butter to baste the fish constantly, which builds a depth of flavor you just can't get from the static air of an oven. If you find yourself wanting a more chilled, refreshing vibe later in the week, you can even use these same fillets for a Tilapia Ceviche LimeCured recipe to switch things up.
Component Analysis for Success
The magic of this dish lies in the interplay between fat and acid. Tilapia is naturally very lean, which means it doesn't have much of its own "personality" in terms of flavor. We have to provide that structure ourselves.
The melted butter acts as a vehicle for the spices, carrying the garlic and paprika into every crevice of the meat, while the olive oil raises the smoke point so the butter doesn't burn before the fish is cooked through.
| Ingredient | Science Role | Pro Secret |
|---|---|---|
| Smoked Paprika | Provides phenols for "fire grilled" flavor | Toast it in the dry pan for 10 seconds before adding oil to wake up the oils |
| Lemon Zest | Adds essential oils without thinning the sauce | Zest directly over the fish so the oils spray onto the meat, not the cutting board |
| Sea Salt | Denatures surface proteins for better browning | Use large flakes to create tiny pockets of intense seasoning that "pop" |
Essential Elements and Alternatives
We’re using a very specific set of ingredients here to ensure the flavor is punchy but balanced. You’ll need 4 large tilapia fillets (approx. 6 oz each) as your base. Make sure they are uniform in thickness so they cook at the same rate.
If one is significantly thinner, you'll need to pull it off the heat a minute early.
- 4 large tilapia fillets (approx. 6 oz each)
- Substitute: Cod or Flounder. Why this? They share a similar flaky texture but may require 1-2 minutes more cooking time.
- 2 tbsp unsalted butter, melted
- Substitute: Ghee. Why this? Ghee has a higher smoke point and a deeper, nuttier aroma.
- 1 tbsp extra virgin olive oil
- Substitute: Avocado oil. Why this? Better for over high heat searing if you're worried about oil breaking down.
- 1.5 tsp cracked black pepper
- Substitute: White pepper. Why this? Offers a more floral, less aggressive heat that blends into the fish.
- 1 tsp sea salt
- Substitute: Kosher salt. Why this? Easier to pinch and distribute evenly across the surface.
- 1 tsp garlic powder
- Substitute: Grated fresh garlic. Why this? Adds a sharper, more pungent bite but can burn easily in the pan.
- 1/2 tsp smoked paprika
- Substitute: Chipotle powder. Why this? Adds a significant spicy kick along with the smokiness.
- 1 fresh lemon, zested and sliced
- Substitute: Lime. Why this? Provides a more tropical, sharp acidity that pairs well with cilantro.
- 2 tbsp fresh parsley, finely chopped
- Substitute: Fresh dill. Why this? Adds a classic, anise like brightness that is traditional for seafood.
Chef's Tip: Freeze your butter for 10 minutes before melting it. This small step helps the milk solids stay slightly more stable when they hit the hot olive oil, giving you a longer window to achieve that "brown butter" flavor without the risk of scorching.
Necessary Kitchen Prep Tools
You don't need a professional kitchen, but a heavy bottomed skillet is non negotiable. A cast iron pan (like a Lodge) or a high-quality stainless steel pan is best because they hold onto heat.
When you drop a cold piece of fish onto a thin, cheap pan, the temperature plummets, and you end up steaming the fish instead of searing it.
Also, grab a flexible fish spatula if you have one. These are thinner and have more "give" than a standard turner, allowing you to slide right under that delicate crust without tearing it. It’s the difference between a whole, beautiful fillet and a pile of fish scrambles.
step-by-step Cooking Guide
- Dry the fillets. Use heavy duty paper towels to pat both sides of the 4 tilapia fillets until they feel tacky. Note: Surface moisture is the enemy of a golden sear; it creates steam instead of a crust.
- Combine the rub. In a small bowl, whisk together the 1.5 tsp cracked black pepper, 1 tsp sea salt, 1 tsp garlic powder, and 1/2 tsp smoked paprika.
- Season the surface. Sprinkle the spice mix evenly over both sides of the fish, pressing it gently with your fingers so it adheres.
- Heat the pan. Place your skillet over medium high heat and add 1 tbsp extra virgin olive oil. Wait 2 minutes until the oil ripples and shimmers.
- Infuse the fat. Add the 2 tbsp melted butter to the shimmering oil. Watch for the butter to foam and then subside.
- Start the sear. Lay the fillets into the pan, moving away from you to avoid splashes. Note: Do not crowd the pan; cook in two batches if necessary to keep the heat high.
- Sizzle undisturbed. Cook for 3 to 4 minutes. Wait until the edges turn opaque and a golden crust is visible.
- Flip carefully. Use a thin spatula to turn the fish. The aroma of toasted garlic should be intense now.
- Finish the cook. Cook the second side for 2 to 3 minutes until the thickest part of the fish flakes easily with a fork.
- Aromatics boost. Toss in the lemon slices and zest during the last 60 seconds of cooking. The lemon juice will hit the butter and create a quick, vibrant pan sauce.
If you're looking for a slightly more decadent twist on this method, you might enjoy my Pan Seared Tilapia with recipe which incorporates a rich cream based finish that feels incredibly indulgent.
Solving Common Texture Issues
The most common frustration people have when they make tilapia fish is the "mush factor." This usually happens because the pan wasn't hot enough or there was too much liquid in the pan. Tilapia is a very high moisture fish, so we have to be aggressive about getting that water out or cooking it off instantly.
Why did my fish stick to the pan?
This usually happens for two reasons: the pan wasn't preheated enough, or you tried to flip the fish too early. Protein bonds to the metal surface initially, but as the Maillard reaction occurs, the fish will actually "release" itself from the pan once a crust has formed.
If it's resisting your spatula, give it another 30 seconds.
Why is the center still translucent?
If your fillets were particularly thick (over 1 inch), the outside might brown before the inside is opaque. The fix is simple: turn the heat down to medium and cover the pan with a lid for 60 seconds. This traps just enough heat to finish the center without burning the crust.
| Problem | Root Cause | Solution |
|---|---|---|
| Rubbery Texture | Overcooking | Pull fish at 140°F; carryover heat will hit 145°F |
| Bland Flavor | Lack of acidity | Double the lemon zest or add a splash of white wine |
| Saturated/Oily | Temperature too low | Ensure oil is shimmering/smoking slightly before adding fish |
Common Mistakes Checklist:
- ✓ Never wash your fish under the tap; it adds unnecessary moisture and spreads bacteria.
- ✓ Don't use a lid during the initial sear; you want the steam to escape so the crust can form.
- ✓ Avoid using "light" olive oil; it lacks the flavor profile needed to stand up to the spices.
- ✓ Preheat your pan for a full 3 minutes; a "warm" pan is a recipe for sticking.
- ✓ Let the fish sit for 2 minutes after cooking to allow the juices to redistribute.
Adjusting the Batch Size
Scaling Down (Cooking for 1 or 2): If you only need 2 fillets, you can't just halve everything perfectly. Keep the 1 tbsp of olive oil to ensure the pan surface is coated, but reduce the butter to 1 tbsp.
Since there's more "open space" in the pan, the butter may brown faster, so keep a close eye on the heat level.
Scaling Up (Cooking for 8): Do not attempt to cram 8 fillets into one pan. Work in two batches. Between batches, wipe the pan out with a dry paper towel to remove any burnt spice bits, then add fresh oil and butter. If you leave the old fat in, the second batch will taste bitter.
You can keep the first batch warm in a 200°F (95°C) oven on a wire rack never on a flat plate, or the bottom will get soggy.
Debunking Common Kitchen Beliefs
One myth that drives me crazy is that "fresh is always better than frozen." In the world of tilapia, this is rarely true. Unless you live next to a farm, "fresh" fish at the counter is often just thawed frozen fish that has been sitting out for days.
high-quality frozen fillets are flash frozen within hours of harvest, locking in the cell structure. I actually prefer buying the vacuum sealed frozen bags; they are consistently better for searing.
Another big one is the idea that you need to "marinate" tilapia for hours. Because the flesh is so delicate, an acidic marinade will actually start "cooking" the fish (like ceviche), turning the texture mushy before it even hits the pan.
A dry rub applied right before cooking is much more effective for a clean, flaky result.
Proper Storage Methods
Storage: Keep leftover fillets in an airtight glass container in the fridge for up to 3 days. To reheat, avoid the microwave at all costs it will turn the fish into a rubber tire.
Instead, use a toaster oven at 350°F (180°C) for about 5 minutes or a dry skillet over medium heat until warmed through.
Freezing: You can freeze cooked tilapia for up to 2 months. Wrap individual fillets tightly in plastic wrap, then place them in a freezer bag. This prevents freezer burn and allows you to grab just one for a quick lunch.
Zero Waste Tip: Don't throw away those lemon peels! After zesting, you can toss the squeezed lemon halves into a jar of white vinegar. After two weeks, you’ll have a natural, citrus scented kitchen cleaner that smells way better than the chemical stuff.
Also, if you have leftover parsley stems, freeze them in a bag to use for homemade seafood stock later.
Suggested Side Dishes
This fish is versatile, but it really shines when paired with something that can soak up that leftover lemon butter sauce from the pan. A bed of fluffy jasmine rice or a quick quinoa pilaf works wonders.
If you want to keep things light, a crisp cucumber salad with plenty of dill provides a cold, crunchy contrast to the warm, buttery fish.
- If you want a hearty meal: Pair with garlic roasted potatoes.
- If you want a low carb option: Serve over sautéed zoodles or cauliflower mash.
- If you want a "wow" factor: Top with a fresh mango and red onion salsa for a sweet and savory kick.
Right then, you’re ready to conquer the kitchen. Just remember: keep that pan hot, keep that fish dry, and don't be afraid of the sizzle. You've got this! For a different flavor profile that's just as fast, you might want to try our Southern Fried Catfish recipe which uses a similar over high heat logic but with a comforting cornmeal crunch. Let's crack on and get that pan heating!

Recipe FAQs
What is the best method to cook tilapia?
Pan-searing on the stovetop. This method yields the best balance of a crispy, flavorful crust and a moist, flaky interior in under 8 minutes.
Is it better to fry or bake tilapia?
Searing/pan-frying is superior to baking for flavor. Baking cooks the fish uniformly but often results in a softer texture, whereas searing uses high heat to build critical surface texture.
What is a good seasoning to put on tilapia?
A simple mix of smoked paprika, garlic powder, salt, and pepper works best. Because tilapia is mild, it acts as a canvas, benefiting greatly from savory spices that toast nicely in hot fat.
How do I ensure my tilapia doesn't stick to the hot pan?
Ensure the pan and oil are shimmering hot before adding the fish. Protein naturally sticks to metal, but once the Maillard reaction begins forming a crust (usually after 2-3 minutes), the fillet will release easily.
What is the best way to eat tilapia?
Serve it immediately with a bright, acidic topping to cut the richness. A squeeze of fresh lemon juice and some chopped parsley provides excellent contrast, especially when paired with something starchy like rice.
Can I substitute cod for tilapia in a pan-seared recipe?
Yes, you can substitute cod, but adjust your cooking time slightly. Cod is generally thicker than tilapia, so plan on adding 1 to 2 minutes to the total cooking time to ensure the center is fully cooked.
Is it true I must avoid marinating tilapia for a long time?
Yes, prolonged marinating with acid is highly discouraged for searing. Because the flesh is delicate, acids in citrus will begin to "cook" the surface (denature the protein), leading to a mushy texture once you introduce high heat.
Buttery Lemon Tilapia Fillets
Ingredients:
Instructions:
Nutrition Facts:
| Calories | 247 kcal |
|---|---|
| Protein | 34.2 g |
| Fat | 11.9 g |
| Carbs | 1.2 g |
| Fiber | 0.4 g |
| Sugar | 0.1 g |
| Sodium | 668 mg |
