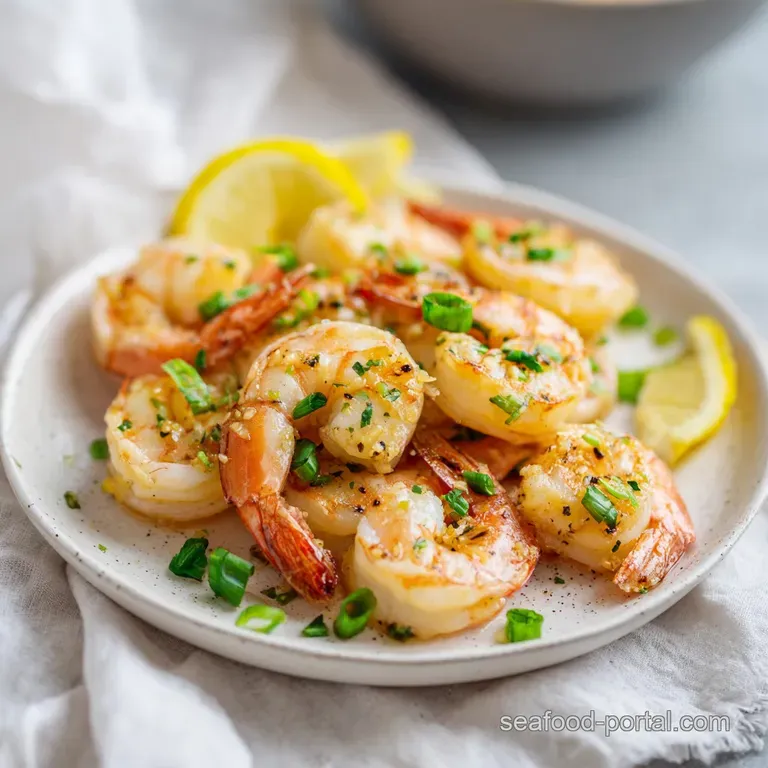
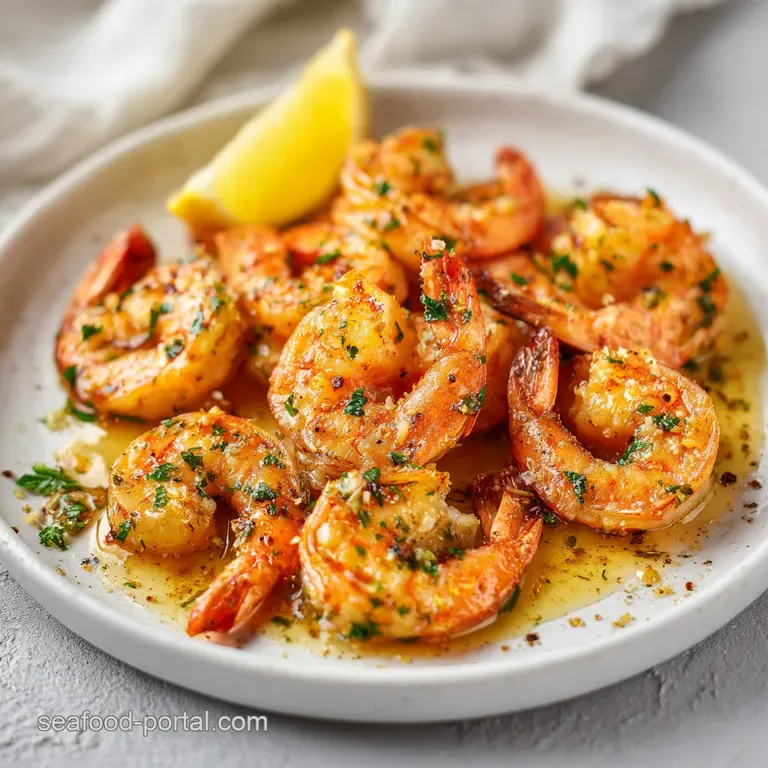
Baked Shrimp Recipe with Garlic: Silky Lemon Butter
- Time: Active 10 minutes, Passive 8 minutes, Total 18 minutes
- Flavor/Texture Hook: Snappy, garlic infused prawns with a silky lemon butter glaze
- Perfect for: Busy weeknight dinners or a quick impressive appetizer
- Create the Best Baked Shrimp Recipe with Garlic
- Why This Fast Method Wins
- Precise Specs for Success
- Choosing the Best Ingredients
- Tools for Better Seafood
- Step-by-Step Cooking Process
- Solving Common Cooking Problems
- Smart Swaps and Diet Tweaks
- Keeping Leftovers Fresh Longer
- Perfect Ways to Serve
- Myths About Oven Baking Shrimp
- Recipe FAQs
- 📝 Recipe Card
Create the Best Baked Shrimp Recipe with Garlic
Have you ever wondered why the shrimp you order at a high end bistro always comes out snappy and plump, while the ones we make at home sometimes turn into chewy, shrunken little erasers? It’s a frustration I’ve dealt with more times than I’d like to admit.
For the longest time, I thought it was about the heat of the pan or some secret ingredient, but the truth is much simpler. Discover the ultimate Baked Shrimp Recipe with Garlic and Lemon for an unforgettable meal.
The secret actually lies in how we manage moisture and fat. When you throw shrimp into a pan, they often release a lot of liquid, which ends up boiling them instead of searing them.
By moving the process to a 400°F (200°C) oven, we’re using dry heat to lock in that pearly texture while the garlic mellows out into something sweet and fragrant rather than sharp and biting.
It’s a total shift in strategy that saves your stove from grease splatters and saves your dinner from being mediocre.
Right then, let's talk about that first scent. When you pull the tray out of the oven, the aroma of toasted garlic and smoked paprika should hit you like a warm hug. It’s that specific "sizzle" sound combined with the smell of darkening butter that tells you you've nailed it.
We’re going for a dish that feels luxurious but takes less than 20 minutes from the moment you open the fridge to the moment you’re dipping crusty bread into the pan juices. Trust me on this, once you try the cold butter trick, you’ll never go back to just drizzling oil.
Why This Fast Method Wins
Protein Snap: over High heat roasting causes the proteins to coil quickly, creating a firm "snap" rather than a mushy texture. This happens because the dry oven air evaporates surface moisture instantly, preventing the shrimp from stewing in their own juices.
Fat Emulsification: Using cold butter cubes at the end of the roast creates a velvety sauce as they melt into the lemon juice and olive oil. The temperature difference helps the fat suspend in the liquid rather than just breaking into a greasy pool.
Aromatic Layering: Mincing the garlic finely allows it to fuse with the olive oil during the short bake, creating a deep infusion. The smoked paprika adds a subtle earthiness that rounds out the sharp acidity of the lemon.
| Shrimp Thickness | Internal Temp | Rest Time | Visual Cue |
|---|---|---|---|
| 1/2 inch (Medium) | 120°F (49°C) | 2 minutes | Opaque pink, loose "C" shape |
| 1 inch (Jumbo) | 120°F (49°C) | 3 minutes | Pearly white center, firm touch |
| 1.5 inches (Colossal) | 120°F (49°C) | 4 minutes | Vibrant red tail, slight curl |
The timing for this dish is incredibly tight because shrimp transition from raw to overcooked in a matter of sixty seconds. I always tell people to look for the "C" shape. If your shrimp have curled into a tight "O," you've gone too far and they’ll likely be a bit rubbery.
We want them just reaching that curved "C" point where the flesh has turned from translucent grey to a solid, pearly white. This ensures they stay juicy enough to soak up all that garlicky goodness.
Precise Specs for Success
When we look at what actually happens on that baking sheet, it's all about thermal conductivity. The metal of the tray gets hot fast, transferring energy to the bottom of the shrimp while the 400°F (200°C) air circulates around the tops.
This dual action cooking is why a sheet pan is often superior to a crowded skillet. In a skillet, the shrimp are often piled on top of each other, but on a tray, they each have their own "breathing room" to roast properly.
| Ingredient | Science Role | Pro Secret |
|---|---|---|
| Jumbo Shrimp (1.5 lbs) | Protein Base | Pat them bone dry so they roast instead of steam. |
| Fresh Garlic (4 cloves) | Flavor Infusion | Mince by hand for better oil release than a press. |
| Cold Butter (1 tbsp) | Emulsifier | Keep it cold from the fridge until the very last second. |
Using jumbo shrimp (the 16/20 count) is pretty non negotiable here. Smaller shrimp cook way too fast often before the garlic has a chance to mellow out leaving you with burnt bits and tough seafood. If you're interested in how different textures work in seafood, you might want to look at a classic Shrimp Newburg which uses a completely different, creamy approach compared to our bright, zesty roast. The size of the shrimp provides a buffer, giving the heat enough time to work its magic on the aromatics without ruining the main event.
Choosing the Best Ingredients
You'll need a few specific items to make this work. First, the 1.5 lbs (680g) of Jumbo Shrimp. Look for "16/20" on the bag that means there are 16 to 20 shrimp per pound. I prefer tails on because they act as a little handle for dipping and they actually protect the thinnest part of the shrimp from drying out.
- 1.5 lbs Jumbo Shrimp: The star of the show. Why this? Larger size prevents overcooking while the garlic roasts.
- 2 tbsp Extra Virgin Olive Oil: For the base of the sauce. Why this? high-quality oil carries the garlic flavor better.
- 4 cloves Garlic: Fresh is a must. Why this? Pre minced jarred garlic tastes metallic when roasted.
- 1 Large Lemon: You’ll use the zest and the juice. Why this? Zest provides aroma; juice provides the acidic "lift."
- 1/2 tsp Smoked Paprika: For a hint of warmth. Why this? Adds a "grilled" flavor without a barbecue.
- 1 tbsp Unsalted Butter: Must be cold and cubed. Why this? Creates the silky finish as it melts slowly.
| Original Ingredient | Substitute | Why It Works |
|---|---|---|
| Unsalted Butter | Ghee | Higher smoke point, but less "creamy" finish. |
| Smoked Paprika | Cayenne Pepper | Adds significant heat instead of smoky depth. |
| Italian Parsley | Fresh Cilantro | Changes the profile to a more "Baja" style. |
If you find yourself out of lemons, don't panic, but also don't reach for the bottled stuff. A splash of dry white wine or even a mild white balsamic vinegar can provide that necessary hit of acid. However, the lemon zest is really the secret weapon here.
The oils in the skin are where the "lemon ness" lives, and it survives the heat of the oven much better than the juice does.
Tools for Better Seafood
The equipment you use is just as important as the ingredients. I once tried making this on a thin, flimsy cookie sheet and the shrimp cooked unevenly because the metal warped in the high heat. You want a heavy duty, rimmed baking sheet something like a Nordic Ware half sheet.
The rim is vital because it catches all the butter and lemon juice that becomes your sauce.
You also need a good microplane for the lemon zest. You want those tiny, fluffy clouds of yellow, not the bitter white pith underneath. For the garlic, a sharp chef's knife is better than a garlic press.
A press tends to crush the cells too much, which can make the garlic taste bitter or "hot" when it hits the 400°F (200°C) oven. Finely dicing it with a knife keeps the flavor clean and sweet.
Finally,, have a sturdy spatula ready. As soon as that tray comes out, you’re going to be tossing the shrimp in those melting butter cubes and lemon juice. You need something that can scrape up all the "fond" those little browned bits of garlic and paprika stuck to the bottom of the tray.
That’s where the real flavor lives.
step-by-step Cooking Process
- Preheat your oven to 400°F (200°C). Pat the 1.5 lbs of shrimp thoroughly dry with paper towels to ensure a snappy texture. Note: Moisture is the enemy of a good roast; wet shrimp will just steam.
- In a large mixing bowl, toss the shrimp with 2 tbsp extra virgin olive oil, 4 cloves of minced garlic, the zest of one lemon, 1/2 tsp smoked paprika, 1/2 tsp sea salt, and 1/4 tsp red pepper flakes.
- Ensure every shrimp is evenly coated. You should smell the garlic and paprika mingling immediately.
- Spread the shrimp in a single layer on a large rimmed baking sheet. Do not overcrowd them; they need space for the air to circulate.
- Place small cubes of the 1 tbsp cold butter sporadically around the pan, tucked between the shrimp.
- Bake in the center rack for 6–8 minutes. Look for the color change from grey to a vibrant, opaque pink.
- Check the internal temperature; you are aiming for 120°F (49°C). The shrimp should look plump and succulent, not shriveled.
- Remove from oven and immediately pour the 3 tbsp of fresh lemon juice over the hot shrimp.
- Use a spatula to toss everything right on the tray. The melting butter will emulsify with the lemon juice and oil to create a light, velvety sauce.
- Garnish with 1/4 cup fresh Italian parsley and serve immediately while the sizzle is still audible.
Solving Common Cooking Problems
The biggest hurdle with this recipe is usually the texture. If your shrimp feel like rubber bands, it’s almost always a timing issue. Most people are terrified of undercooked seafood, so they leave it in "just one more minute." In a 400°F oven, one minute is an eternity.
Remember that carryover cooking is real; the shrimp will continue to cook for a minute or two after they leave the heat.
Another issue is the garlic burning. If you mince it too small like a paste it might brown too quickly. Aim for a "fine dice" rather than a mash. If you find the garlic is still getting too dark, you can try tossing the garlic with the oil first and letting it sit for five minutes before adding the shrimp.
This "insulates" the garlic bits in a layer of fat.
Why Your Shrimp Is Soggy
If you don't get that "snap," it's likely because the shrimp were still damp when they went into the bowl. Even if they look dry, shrimp hold a lot of water. I usually lay them out on a double layer of paper towels and press another layer on top. Also, avoid using a small pan.
If the shrimp are touching, they trap steam between them, and steam leads to sogginess.
| Problem | Root Cause | Solution |
|---|---|---|
| Rubbery texture | Internal temp exceeded 140°F | Pull from oven at 120°F; let carryover finish it. |
| Bitter flavor | Garlic burned in the high heat | Ensure garlic is coated in oil and dice, don't crush. |
| Thin/Oily sauce | Butter was too warm or added too early | Use ice cold butter cubes and toss after baking. |
Common Mistakes Checklist
- ✓ Never skip the pat dry step; it’s the difference between roasting and boiling.
- ✓ Ensure the oven is fully preheated to 400°F before the tray goes in.
- ✓ Use a rimmed sheet pan to prevent the precious butter sauce from escaping.
- ✓ Don't use bottled lemon juice; the flavor is too flat and metallic for this dish.
- ✓ Toss the shrimp immediately after removing them from the oven to build the sauce.
Smart Swaps and Diet Tweaks
This recipe is naturally quite healthy, but there are ways to lean into different dietary needs. If you’re following a strict keto or low carb lifestyle, this dish is already a winner. However, you might want to double the butter or add a splash of heavy cream at the very end to increase the fat content. If you're looking for a heartier meal with a similar flavor profile, check out this Shrimp Casserole recipe for a more filling, coastal classic.
For a dairy-free version, you can swap the butter for a high-quality vegan butter substitute or simply use more olive oil. If you go the oil route, you won't get that "creamy" emulsion, but the flavor will still be incredibly bright and clean.
To get a bit of that richness back without dairy, try whisking a teaspoon of Dijon mustard into the lemon juice before pouring it over the shrimp; it acts as a natural emulsifier.
Serving Different Needs
If you're cooking for someone who can't handle any spice, omit the red pepper flakes and swap the smoked paprika for sweet Hungarian paprika. It keeps the beautiful red color without any of the back of-the throat heat.
Conversely, if you want a "Shrimp Boil" vibe, add a teaspoon of Old Bay seasoning to the mix before roasting. It pairs perfectly with the lemon and garlic.
- Low Carb: Serve over zoodles (zucchini noodles) or roasted asparagus.
- gluten-free: This recipe is naturally gluten-free; just ensure your spices aren't processed with wheat.
- Paleo: Use ghee instead of butter and serve alongside a big green salad.
Keeping Leftovers Fresh Longer
Seafood is notoriously finicky when it comes to leftovers. In my house, we rarely have any, but if you do, you need to be careful. Store them in an airtight glass container in the fridge for no more than 2 days.
The longer they sit, the more the lemon juice will "cook" the shrimp (like a ceviche), which can make the texture a bit grainy.
When it comes to reheating, the microwave is your absolute last resort. It will turn your beautiful jumbo shrimp into tiny pebbles. Instead, heat a skillet over medium low heat with a tiny splash of water or white wine. Add the shrimp and cover the pan for about 2 minutes.
This "steams" them back to temperature gently without overcooking the exterior.
Zero Waste Tips
Don't throw away those lemon halves! After you've juiced them, you can toss them into a pot of water with any herb stems (like the parsley stems) and boil it to make your kitchen smell incredible. If you bought shrimp with the shells on and peeled them yourself, save those shells in a freezer bag.
When you have enough, you can simmer them with some celery and onion to make a spectacular seafood stock for risotto or chowder.
Perfect Ways to Serve
This Baked Shrimp Recipe with Garlic is incredibly versatile. On a Tuesday night, I usually just dump the whole tray over a pile of angel hair pasta or linguine. The butter sauce from the pan is enough to coat the noodles perfectly. Just make sure you reserve a little pasta water to help everything bind together.
It’s simple, fast, and feels like something you’d get at a seaside trattoria.
If you’re hosting a dinner party, I love serving these as an appetizer in small individual ramekins. Put three or four shrimp in each, spoon over the extra garlic butter, and serve with a thick wedge of toasted sourdough. The bread is essential for mopping up every last drop of that sauce. It also pairs beautifully with a classic Shrimp Newburg style of presentation if you want to go the more formal route.
Beverage Pairings
To drink, you want something with high acidity to cut through the butter and match the lemon. A crisp Sauvignon Blanc or a Pinot Grigio works wonders. If you’re a beer drinker, a light pilsner or a citrusy wheat beer is the way to go.
The goal is to keep the palate refreshed so that every bite of garlicky shrimp feels as vibrant as the first one.
Myths About Oven Baking Shrimp
One of the biggest misconceptions is that you need a pan sear to get good flavor. People think if they don't see that dark brown crust, the shrimp won't be tasty. In reality, the high heat of a 400°F oven provides plenty of "browning" for the garlic and spices, which provides the flavor.
The shrimp themselves stay much juicier when baked because they aren't in direct contact with a scorching hot metal surface for the entire cook time.
Another myth is that "fresh is always better." Unless you live right on the coast and are buying from the boat, "fresh" shrimp at the counter are usually just frozen shrimp that the grocer thawed for you.
Buying them frozen (and thawing them yourself in cold water) actually ensures they are at their peak freshness when they hit the oven. Plus, it’s much more convenient for those last minute "what’s for dinner?" moments.
Finally,, don't believe the idea that you need to marinate shrimp for hours. Because shrimp are so porous and small, a long marinade in acid (like lemon juice) will actually start breaking down the proteins and turn them mushy before they even hit the heat.
A quick toss in the aromatics right before baking is all you need for the flavor to penetrate. Anything more is actually counter productive.

Recipe FAQs
How to ensure the shrimp have a firm, snappy texture?
Pat the shrimp thoroughly dry with paper towels before seasoning. Excess moisture causes the shrimp to steam in the oven rather than roast, leading to a mushy texture.
Is it necessary to use cold butter?
Yes, keeping the butter cold helps it melt slowly and emulsify into a richer sauce. If you mastered this technique of creating a pan sauce here, you can apply similar logic to our easy garlic scampi sauce for perfect consistency.
How to tell when the shrimp are finished cooking?
Look for opaque flesh and an internal temperature of 120°F (49°C). Remove them from the oven before they curl into a tight "O" shape, as this indicates they have become overcooked and rubbery.
How to avoid a metallic flavor in the sauce?
Use only fresh lemon juice rather than bottled alternatives. Bottled varieties contain preservatives that create a flat, harsh aftertaste instead of the bright, acidic pop this dish requires.
How to prevent the shrimp from drying out?
Keep a close eye on the oven during the 6 8 minute cook time. Because shrimp cook incredibly fast at 400°F, even one extra minute can move them from tender to tough.
Is it okay to use pre-minced garlic from a jar?
No, stick with fresh garlic cloves for the best flavor profile. Freshly minced garlic provides a sharp, pungent bite that stands up to the heat of the oven, whereas jarred versions often lack depth.
How to serve this dish for the best presentation?
Toss the shrimp directly on the hot baking sheet with the fresh lemon juice and butter immediately after removing from the oven. This creates a quick, glossy sauce that coats the shrimp beautifully before you garnish them with the fresh Italian parsley.
Baked Garlic Shrimp Recipe

Ingredients:
Instructions:
Nutrition Facts:
| Calories | 238 kcal |
|---|---|
| Protein | 30.6 g |
| Fat | 10.6 g |
| Carbs | 2.5 g |
| Fiber | 0.4 g |
| Sugar | 0.5 g |
| Sodium | 388 mg |
