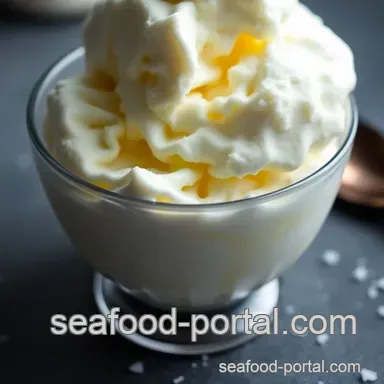
Ocean's Delight: Homemade Sea Salt Ice Cream
- Scoop into the Sweet Story of Sea Salt Ice Cream
- The Scoop on Sea Salt Ice Cream
- Why You’ll Love This Recipe
- Essential Ingredients Guide for Delicious Treats
- Professional Cooking Method for Delicious Sea Salt Ice Cream
- Pro Tips & Secrets for Sea Salt Ice Cream
- Perfect Presentation – Eye Candy
- Storage & Make-Ahead
- Creative Variations
- Complete Nutrition Guide
- Expert FAQ Solutions
- 📝 Recipe Card
Scoop into the Sweet Story of Sea Salt Ice Cream
Have you ever found yourself happily devouring a scoop of ice cream and then suddenly wondering, “why is this so good?” oh my gosh, i mean, truly…the simple pleasure of ice cream can flip your mood from “meh” to “yum!” that’s exactly how i felt the first time i tasted
Sea salt ice cream .
It was one of those hot summer days when the sun blazed down, and i was just craving something cool, sweet, and a little quirky.
Familiar vanilla danced with unexpected sea salt, creating a flavor explosion that had me hooked. yep, i had to recreate this beautiful balance with my own sea salt ice cream recipe !
The Scoop on Sea Salt Ice Cream
So, where did this magical combo come from? the origins of sea salt ice cream trace back to artisan ice cream makers who wanted to elevate classic flavors.
It’s all about that sweet and salty desserts vibe think of it like the embrace of a warm hug after a long day.
And honestly? it’s all the rage now! everywhere you look, gourmet ice cream shops are scooping it up, and that creamy texture? absolute heaven!
Now, about time requirements : the whole process might snag about an hour to prep, mix, and chill. add in some churning time (about 30 minutes), and you’re in for a solid afternoon of delightful creation.
Not to mention, the difficulty level is medium. you don't need to be a pro chef; just a bit of patience while you whip up that custard base.
As for costs, imagine about $10 for a delightful batch that serves about four. not bad for a slice of artisan delight on a summer's day, right?
Why You’ll Love This Recipe
Let’s throw down some key benefits . first off, this sea salt ice cream isn’t just delicious; it’s filled with good stuff.
Those rich, creamy ingredients give you protein and energy perfect after a long day of fun in the sun. plus, it's a wonderful treat for special occasions .
Picture it: a backyard barbecue, friends gathered ‘round, and suddenly you bring out a tub of homemade bliss. total game changer.
The salt amplifies the vanilla flavor and makes each bite even more indulgent . if you’re into elevated ice cream flavors , this is for you! it teaches you the art of crafting artisan ice cream right in your kitchen.
And for those dairy-free warriors out there, swap in some coconut cream or almond milk for a dairy-free ice cream substitute that you’ll swoon over too!
Easy Peasy Steps to Flavor Heaven!
Feeling excited? i know i am! so let’s dive into what ingredients you’ll need to whip up this delightful treat.
Grab that creamy ice cream base , extract your vanilla essence, and let’s start this sweet journey!
Hope you're ready to treat yourself and loved ones to a summer dessert that’ll have them shouting for seconds! And hey, stick around for that ingredient list; we’re just getting started!
Essential Ingredients Guide for Delicious Treats
Oh man, let’s talk about essential ingredients the backbone of any great recipe! think of them as the building blocks of your kitchen creations, whether you're whipping up sea salt ice cream or crafting a classic custard.
Premium Core Components
So, what makes a good ingredient? first off, you wanna get the measurements right. for instance, if you need 1 cup (240ml) of heavy cream, that’s straightforward.
But also keep in mind how it differs in metric it helps if you’re following a recipe from overseas!
Now, not all ingredients are created equal. quality indicators can make or break a dish. for example, check for fresh dairy with a clean, sweet aroma.
And hey, don’t forget about storage guidelines ! most things should stay cool. store your eggs in the fridge and check the dates on those flours.
Trust me; nobody wants a stale cake!
Oh, and freshness tips ? always sniff it out! if your vanilla extract smells weak, it’s time to replace it.
You’ll wanna select ingredients that are vibrant and full of flavor , especially when cooking with custard for something like a vanilla sea salt ice cream recipe.
Signature Seasoning Blend
Seasoning is where the magic happens. a signature spice blend can elevate any dish, and it's no different when we're diving into dessert! think classics like cinnamon and nutmeg or that perfect pinch of sea salt in your ice cream.
Herbs can be ideas too! pair fresh mint with chocolate for an artisan mix or go wild with rosemary for a surprising twist.
Ever wondered about regional variations ? you can always find a way to swap things based on where you live.
That chili powder in texas? game changer in sweet and salty desserts!
Smart Substitutions
Accidents happen in the kitchen trust me, i’ve been there. you finish cooking and realize you’re out of something crucial. enter smart substitutions ! instead of using regular sugar for your creamy ice cream base , try some honey or maple syrup for a unique twist.
And if anyone is dealing with dietary restrictions, don’t fret. you can easily swap heavy cream with a dairy-free ice cream substitute .
Just make sure you keep seasonal options in mind to keep things fresh and delicious.
Kitchen Equipment Essentials
Now, let’s not forget about the tools. you’ll need some must have equipment for ice cream making! a solid ice cream maker is a game changer.
But if you’re feeling a little thrifty, you can go old school with a bucket and ice. plus, a fine mesh strainer is essential for that perfect smooth texture in your custard.
Remember, it's not just about what you have; it’s how you use it! preparation tips like making sure everything stays cold will make a world of difference in the texture of your ice cream.
Approach it like a little project, and you’ll be whipping up those indulgent summer treats in no time!
So, ready to dive into some ice cream making tips ? with summer just around the corner, there’s nothing better than chilling with some homemade sea salt ice cream that packs a punch.
Let’s get those ingredients together and turn that creamy base into something truly special! stay tuned for the instructions coming up next!
Professional Cooking Method for Delicious Sea Salt Ice Cream
Let’s dive into the world of professional cooking methods , where we’re not just tossing ingredients together we’re embracing the art of making something truly special.
Today, i’m super excited to share my ocean's delight: homemade sea salt ice cream recipe with you! it's the perfect blend of sweet and salty, and believe me, it’s a game changer for your dessert table.
So, grab your gear, and let’s get cooking!
Essential Preparation Steps
Before you can whip up a delicious batch of creamy ice cream , you need to get your ducks in a row.
This is where mise en place comes into play basically, it means having everything ready before you start cooking.
- Gather Your Ingredients: Get your heavy cream, whole milk, granulated sugar, egg yolks, vanilla extract, and sea salt lined up.
- Prep Your Equipment: You’ll need a medium saucepan, whisk, and ice cream maker. Make sure your ice cream maker bowl is in the freezer; a well chilled bowl is crucial for that perfect churn!
- Time Management: This recipe requires active prep of about 15 minutes , plus 30 minutes for chilling. Plan your time wisely to avoid any last minute chaos.
And hey, don’t forget about safety considerations ! keep your cooking area tidy, wash your hands, and make sure no raw eggs end up in your ice cream mixture.
Ain't nobody got time for foodborne illnesses!
Step-by-step Process
Alright, let’s get down to business. Here’s how to create that dreamy sea salt ice cream.
- Combine Dairy: In your saucepan, mix 1 cup (240ml) of heavy cream and 1 cup (240ml) of whole milk with half the sugar (about 3/8 cup or 75g ).
- Heat Mixture: Warm it up over medium low until it’s steamy but not boiling. You want it hot, not angry!
- Whisk Egg Yolks: In a separate bowl, whisk together 4 egg yolks and the remaining sugar until you’ve got a pale, frothy mixture.
- Temper Egg Yolks: Slowly whisk a bit of that hot mixture into your yolks that’s called tempering, and it keeps your eggs from scrambling.
- Incorporate Mixtures: Pour the tempered yolk mixture back into the saucepan and stir continuously.
- Thicken Custard: Stir over medium low heat until it thickens to 160- 170° F —it should coat the back of a spoon.
- Strain Custard: Pour through a fine mesh strainer into a clean bowl.
- Add Flavoring: Mix in 1 teaspoon of sea salt and 1/2 teaspoon of vanilla extract . Cool this at room temperature for 10 minutes , then chill in the refrigerator for at least 30 minutes .
Once it's all nice and cold, we’re ready to churn!
- Churn Ice Cream: Pour your cooled custard into the ice cream maker and churn according to the manufacturer instructions (usually about 20- 25 minutes ).
- Freeze: Transfer the ice cream to a lidded container and freeze for about 2- 4 hours until solid.
Expert Techniques
Here’s where the magic happens. To make your ice cream the best it can be, keep these expert techniques in mind:
- Check Temperature: Using a thermometer is key. Make sure your custard doesn’t exceed 170° F , or you’ll end up with scrambled eggs instead of creamy goodness.
- Quality Control: When churning, make sure your ice cream mimics the consistency of soft serve before you freeze it.
- Troubleshooting Tips: If your ice cream ends up too icy, consider churning less next time or adding more fat to your base with extra cream.
Success Strategies
Alright, bestie, we all mess up sometimes! Here are success strategies to keep in mind:
- Avoid Over Churning: Keep an eye on it! Churn until soft serve consistency; it’ll harden up in the freezer.
- Quality Assurance: Remember, fresh ingredients make the best flavors. Don’t skimp on quality!
- Plan Ahead: Make it a couple of days in advance if you can. Good ice cream takes patience.
Now that we’ve nailed the basics, feel free to get creative. Think about adding other flavors like chocolate, caramel, or even fruit.
So whether you’re serving it as a sophisticated dessert or just indulging on a summer evening, you’ve got a gourmet ice cream that’s all your own.
Next up, let’s chat about additional information to elevate your ice cream game!
Pro Tips & Secrets for Sea Salt Ice Cream
Okay, let’s dive into making your sea salt ice cream even more delicious! you want to wow your friends or just treat yourself to an indulgent summer treat.
Here are my top tips .
1. time saving techniques : if you're strapped for time, consider making a larger batch. the ice cream base can sit in the fridge for up to two days before you churn it.
Just make sure to pay attention to your chilling process. also, freeze your ice cream maker’s bowl overnight it’ll save you some heartache later.
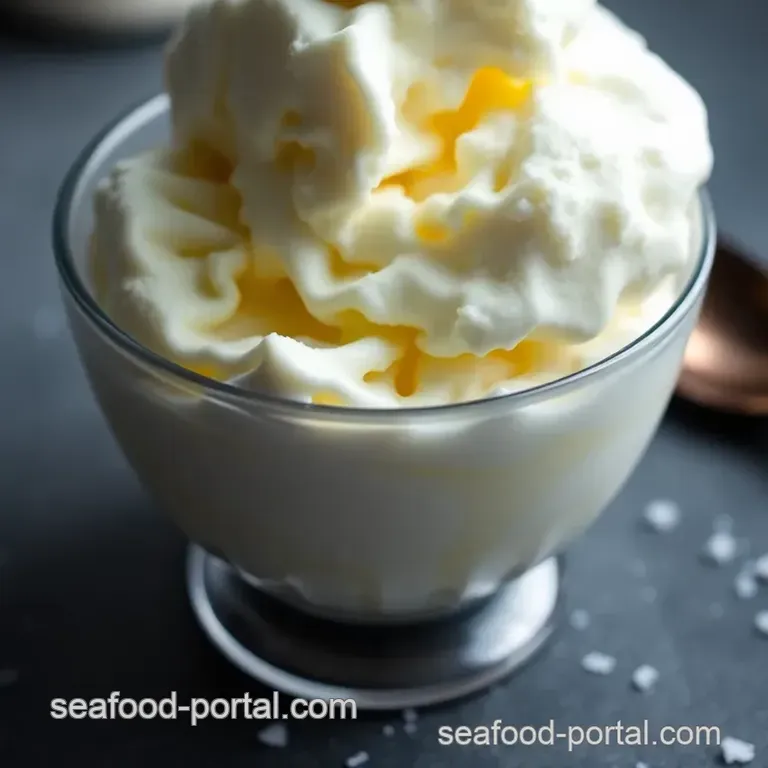
2. flavor enhancement tips : don’t skimp on the sea salt! it’s a game changer. want to amplify those sweet and salty notes? try finishing your ice cream with a sprinkle of flaky sea salt right before serving.
It’ll give that delightful crunch.
3. presentation advice : when it comes to plating, keep it simple yet elegant. use a small scoop, and dish it out into cute bowls.
Garnishing with mint leaves or a pinch of extra sea salt can really elevate the look. you know, make it pop!
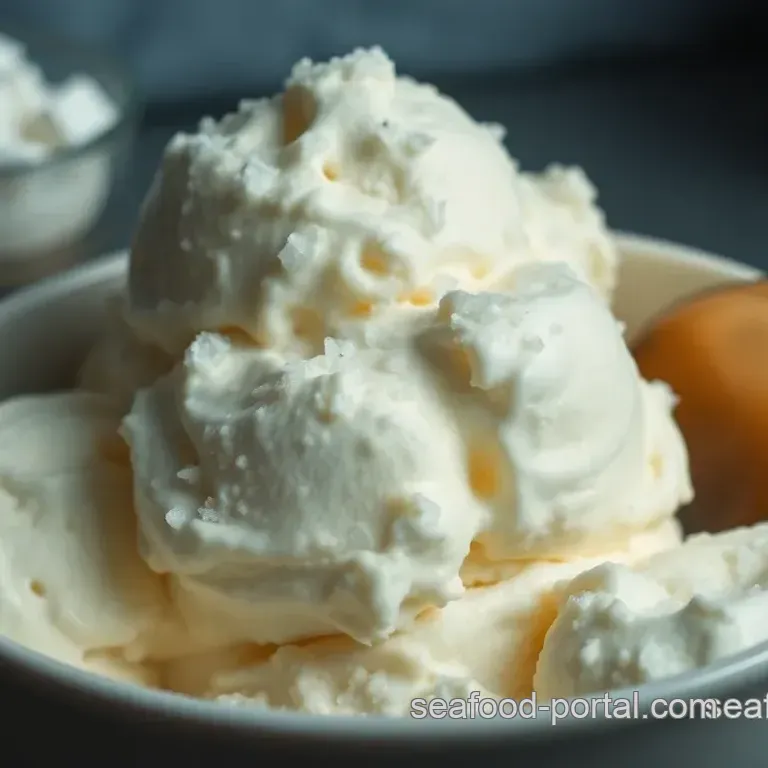
Perfect Presentation Eye Candy
You know what they say: we eat with our eyes first. Let’s get your homemade sea salt ice cream looking as good as it tastes!
Plating Techniques : A big scoop in a small dish is classic. But how about a fun ice cream sandwich or just piped into cones? The sky’s the limit!
Garnish ideas : fresh fruit like berries pairs beautifully with your vanilla sea salt ice cream. get a little fancy drizzle a homemade caramel or chocolate sauce over it while it’s still cold.
You'll feel like a gourmet chef in your own kitchen!
Color Combinations : White ice cream looks stunning next to vibrant berry sauces or even a dark chocolate drizzle. You could honestly just stare at it for a while.
Storage & make-ahead
Listen up! Knowing how to store your frozen treasures is key. You don’t want that ice cream to turn into an ungainly ice block, right?
Storage Guidelines : Put your ice cream in an airtight container. That's your best bet to keep that lovely texture. Otherwise, you're looking at freezer burn.
Reheating Instructions : Wait, reheating ice cream? Not quite. But if it’s firm as a rock, leave it out at room temp for 5- 10 minutes to soften before scooping. Heaven.
Freshness Duration : Properly stored, your sea salt ice cream should last about 2-3 weeks if it even lasts that long! Who could resist that creamy goodness?
Creative Variations
Why stop at just sea salt when you can get wild with flavors?
Flavor adaptations : how about turning your sea salt ice cream into a chocolate lover’s dream? add a swirl of dark chocolate.
Or make it a caramel sea salt ice cream by drizzling in some gooey goodness post churning.
Dietary Modifications : If you’re looking for dairy-free options, almond milk or coconut cream works wonders as a custard substitute. The world’s your oyster!
Seasonal Twists : Pumpkin spice, anyone? For autumn, a dash of cinnamon can transform this ice cream into something magical.
Complete Nutrition Guide
So yeah, indulging is great, but let’s peek at what’s inside our creamy dreams.
Detailed Breakdown : This ice cream packs around 300 calories per serving. It’s a treat, so don’t sweat the small stuff!
Health Benefits : Cream provides calcium and other nutrients. And those small salt pieces can enhance flavor without overloading on sugar.
Dietary Considerations : Watch out for allergies! Always check if your friends have any dietary restrictions before whipping up your delight.
Expert FAQ Solutions
Got questions? Don’t worry, I’ve been there too!
Common Questions : A big one is, "What if my ice cream is too hard?" Chill it before serving.
Success Tips : Make sure your mix is well chilled before churning. It needs to be as close to ice cold as it can get!
Variations Explained : Don't be afraid to mix things up. Want strawberry sea salt ice cream? Go ahead and blend strawberries into the mix!
So there you have it! your complete guide to mastering the art of sea salt ice cream. whether it’s the techno wizardry of custard or the joys of mixing flavors, take a shot at crafting your own decadent treat at home.
I promise it’s totally worth it! now go on, get churning and enjoy this sweet journey into ice cream heaven!
Ocean S Delight Homemade Sea Salt Ice Cream