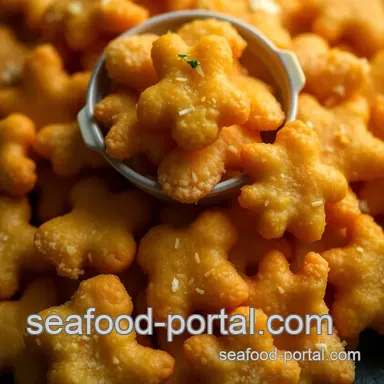
Crunchy Gluten-Free Goldfish Crackers
- Look into Into the Joy of Gluten-Free Goldfish Crackers
- A Bite of History: The Origin of Goldfish Crackers
- Why You’ll Love These Gluten-Free Treats
- Making It Your Own: Flavor and Fun!
- Essential Ingredients Guide for Delicious Snacks
- Mastering the Art of Professional Cooking
- Pro Tips & Secrets to Perfect Your Crunchy Gluten-Free Goldfish Crackers
- Perfect Presentation for Your Snack Table
- Storage & Make-Ahead
- Creative Variations to Spice Things Up
- Complete Nutrition Guide
- Frequently Asked Questions
- 📝 Recipe Card
Look into Into the Joy of gluten-free Goldfish Crackers
Oh my gosh, do you remember those tiny, fish shaped crackers we’d munch on as kids? the ones that somehow managed to make snack time feel like an adventure? well, here’s the deal i can’t have gluten anymore, and it broke my heart.
I mean, how could i give up those munchy memories? but then i discovered the magic of gluten-free goldfish crackers! you guys, making these little gems in your own kitchen is not only possible but super fun, too!
Imagine yourself in the cozy comfort of your kitchen, with the smell of melted cheese wafting through the air. sounds good, right? trust me, once you make these homemade fish crackers, you’ll wonder why you didn’t try it sooner.
Plus, they’re totally a hit with the kids seriously! let’s dive into this less than-fishy adventure!
A Bite of History: The Origin of Goldfish Crackers
Did you know that the iconic goldfish crackers were first made in switzerland back in 1962? yep! it’s true! they took the snack game to a whole new level.
But nowadays, gluten-free snacks have become a big deal as more folks are looking for tasty alternatives. homemade fish crackers like these gluten-free goldfish are gaining popularity not just for their nostalgic shape, but also for how you can make them your own!
Making these crunchy delights takes about an hour, which is more time than it takes to binge your favorite series, but so worth it! and honestly, they're not too tricky either.
It’s a perfect medium level recipe for anyone looking to dabble in gluten-free baking . as for cost? well, most ingredients are something you might already have in your pantry, making this an affordable treat that packs in the love!
Why You’ll Love These gluten-free Treats
Let’s talk about the health benefits for a sec! these gluten-free crispy bites are not just a snack; they can be part of a balanced diet.
Made with shredded sharp cheddar cheese , they’re a great source of protein, and you can totally sneak in some herbs for added goodness.
Think of them as healthy snack options that are easy for kids and adults alike!
Picture this school lunches, birthday parties, or just an afternoon pick-me-up while watching netflix. these crunchy bites are ideal for any occasion.
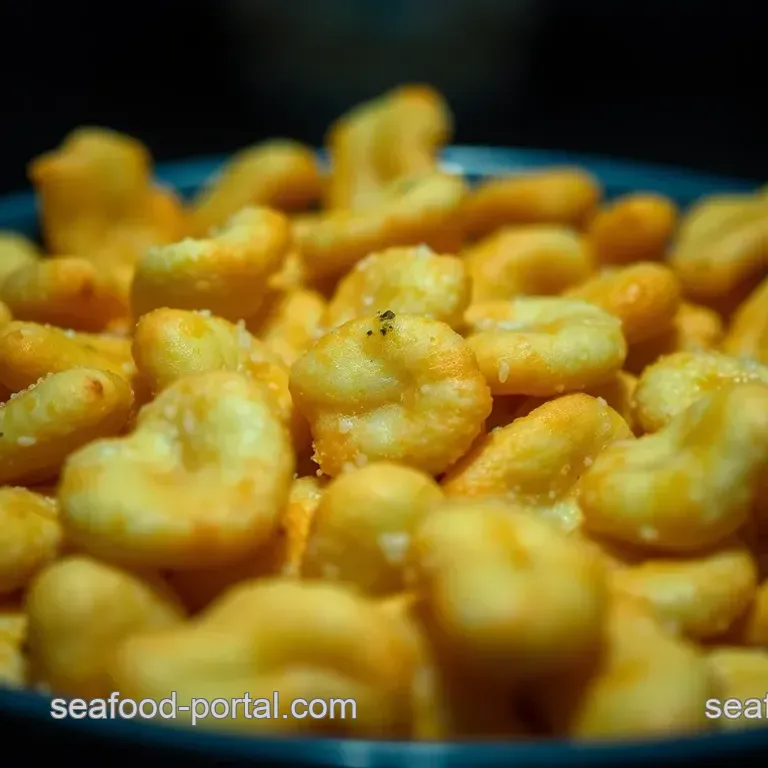
Plus, they stack up against traditional crackers with a cheesy, addictive flavor that beats store-bought snacks any day!
What sets these goldfish apart? they are customizable! you can play around with your favorite cheeses or even spice them up with some herbs.
Imagine serving this simple cheese cracker recipe at your next gathering it’ll be the talk of the snack table!
Making It Your Own: Flavor and Fun!
Now, here’s the real beauty of this recipe. you can take it anywhere you want! feel like going bold? toss in a little cayenne for a kick or go the sweet route and sprinkle some cinnamon.
You can totally experiment with gluten-free treats for kids that won’t leave out the fun!
And if you’ve got some dairy allergies in the mix, no worries! there are awesome dairy-free goldfish alternatives you can whip up using nutritional yeast and vegan butter.
So, tailored to everyone, this recipe is a must try!
Before we dive into all the ingredients you’ll need to get started, just imagine the praise you’ll get for these delightful snacks.
They’re perfect not just for snacking on their own but also as gluten-free appetizers to accompany dips like hummus or guacamole.
Let’s get to the good stuff how to pull these bad boys together! You’re going to love the process and the crunchiness of your very own homemade gluten-free goldfish crackers!
Essential Ingredients Guide for Delicious Snacks
When diving into the world of homemade snacks, having a solid essential ingredients guide is like having your favorite playlist ready for a road trip.
Trust me, it makes everything smoother! whether you're gearing up to make gluten-free goldfish crackers or whipping up some other gluten-free treats for kids , knowing your ingredients is key.
Let’s break it down!
Premium Core Components
First things first, let's talk about those premium core components .
Detailed measurements: for those of us who sometimes wonder if we should measure in cups or grams, here’s the scoop.
For instance, 1 ½ cups of gluten-free all-purpose flour weighs about 180 grams . having both measurements is like a safety net!
Quality indicators: you wanna make sure your ingredients are fresh. look for your cheese to be sharp and vibrant, not grey and sad.
Think of it like comparing a lively farmer's market with a dusty grocery aisle.
Storage Guidelines: Most dry ingredients can sit in the pantry, but cheese? That’s different! Once you open it, keep it wrapped and eat it within a week or so for best taste.
Freshness Tips: When selecting herbs, look for vibrant colors and fragrant smells. If you catch a whiff of pastel, it’s probably passed its prime. Always choose the freshest you can find.
Signature Seasoning Blend
Now to the fun part: seasoning! The signature seasoning blend is what transforms your homemade fish crackers or any snack into a total game changer.
Essential Spice Combinations: Think chili powder with cumin for a kick, or maybe a blend of Italian herbs for a savory vibe. Each region has its classics don’t be shy to get adventurous!
Herb Selections: Fresh herbs like basil cut through fats beautifully, while dried ones add depth. Pairing can make or break your snack think rosemary and thyme for a mind blowing cheese cracker.
Flavor Enhancers: A pinch of smoked paprika can add that warm hug of flavor we all love, while garlic powder is like your trusty knight in shining armor.
Smart Substitutions
We all know that cooking doesn’t always go as planned, right? That’s where smart substitutions come in clutch.
Common Alternatives: Don't have almond flour? No problem! Oat flour works, too.
Dietary Modifications: For those keeping an eye on dairy, there are tons of great dairy-free goldfish alternatives out there. Nutritional yeast can give your cracker cheese a run for its money!
Emergency Replacements: No cheese at home? Swap in some nutritional yeast it’ll give you a nice pop of umami flavor.
Seasonal Options: Feel like experimenting? Fresh herbs can jazz up your crackers based on what’s in season. Basil in the summer or sage in the fall can make a huge difference.
Kitchen Equipment Essentials
Let’s not forget about the tools! Having the right kitchen equipment essentials will make your cooking adventure way smoother.
Must Have Tools: A good mixing bowl, a rolling pin, and some funky cookie cutters will get you through most snack ideas for kids.
Alternative Equipment: If you don't have a rolling pin, grab a wine bottle (just make sure it’s clean, haha!).
Preparation Tips: When rolling your dough, think about chilling it first. The cooler it is, the easier it is to handle, trust me!
Storage Solutions: Airtight containers are your best friends for keeping those snacks fresh and ready to munch when the craving hits.
So there you have it! With these guides in hand, you’ll feel like a pro in the kitchen. Now, let’s dive into the instructions for that crave worthy Crunchy gluten-free Goldfish Crackers recipe that’s about to change your snack game forever!
Mastering the Art of Professional Cooking
Cooking can feel like a high stakes performance sometimes, right? whether you’re prepping a cozy dinner or trying to nail that fancy dish for guests, understanding a few professional cooking methods can make all the difference.
Let's dive into the essential preparation steps, the step-by-step process, expert techniques, and some strategies for success.
Essential Preparation Steps
Mise en place it sounds fancy, but it's just a french term that means "everything in its place." before you start cooking, gather all your ingredients and tools.
Trust me, it saves you from those frantic moments when you realize you’ve forgotten the garlic halfway through. i once had to run to the store mid-cooking because i neglected this step.
Lesson learned!
Next up is time management . we’ve all heard “time is of the essence,” but in the kitchen, that couldn’t be truer.
Make a plan. if you need to roast veggies and simmer sauce, start the roast first. it often takes the longest, so getting that in the oven before anything else makes sense.
Then there’s organization . keep your workspace tidy! nothing is more distracting than searching for that spatula you just used only to find it under a pile of flour.
Organize your cutting board space to make cooking smoother and less chaotic.
Lastly, don’t forget safety ! always keep a towel handy for those sizzling hot pan moments, and remember to wash your hands.
I can't stress that enough. you wouldn't believe how many times i've seen kitchen accidents due to careless kitchen hygiene.
Step-by-step Process
Now, let’s get down to the nitty gritty with some clear, numbered steps.
- Preheat your oven to 350° F ( 175° C) . It allows your food to cook evenly and properly.
- Gather all your ingredients and tools.
- Manage your prep time. For instance, if your recipe calls for roasting veggies for 30 minutes , start with that while you chop other ingredients.
- Use your senses. Visual cues can tell you when something is done. Check for that golden brown color on your baked goods.
- Finally, keep an eye on timing precision. A dish can go from perfect to overcooked in seconds, trust me I’ve been there!
Expert Techniques
Let’s talk about some techniques that can elevate your cooking game. always keep the integrity of your ingredients in mind.
When making something like my favorite recipe for homemade fish crackers (a.k.a. crunchy gluten-free goldfish!), pay attention to the quality of the cheese.
A good sharp cheddar can really kick it up a notch.
Quality checkpoints are essential. take that moment to taste your dish at different stages. adjust seasoning as you go! too salty? toss in a pinch of sugar.
Underseasoned? a sprinkle of salt might just do the trick.
And if things go sideways, don’t panic. troubleshooting is part of the game. if your dough is too crumbly, just add a splash of water.
If a sauce is too thick, add a little broth or cream!
Success Strategies
Alright, let’s wrap this up with some strategies for making sure your cooking is top-notch.
Common mistakes ? sure! one of the biggest is underestimating prep time. always give yourself more than you think you need.
If a recipe says 15- 20 minutes of cooking, what’s the harm in prepping a solid 30 ?
Don’t forget those quality assurance tips —always taste, adjust, and taste again. And, if you’re juggling multiple dishes, check on each one regularly.
And the best part? you can always make dishes ahead of time. let’s say you’re whipping up those gluten-free crispy bites ; they’ll keep in an airtight container for a few days.
Perfect for quick after school snacks or easy gluten-free recipes to wow your guests!
So, whether you’re trying your hand at those savory homemade fish crackers , or just looking for an easy recipe to spice up snack time, trust in these methods.
Get your kids involved too! making gluten-free cheese crackers is a simple way to bond, and kids love flipping dough and getting messy.
Up next, we’ll dive deeper into Additional Information that’ll make your culinary adventures even more exciting!
Pro Tips & Secrets to Perfect Your Crunchy gluten-free Goldfish Crackers
Alright friends, let’s dive into the fun of making these gluten-free goldfish crackers! first off, don’t stress if you’re new to baking; i’ve got your back with some pro tips that’ll take your cheesiness to a whole new level.
Chef's Personal Insights
You know what they say baking’s an art, but these crunchy little fish are more like a playful adventure! one secret i swear by? make sure the butter is super cold when you start mixing.
This helps keep your crackers from spreading too much in the oven. also, feel free to get wild with cheese don't just stick to cheddar! pepper jack brings a zesty punch that’ll have everyone coming back for more.
Time Saving Techniques
Let’s be real, we all lead busy lives, right? to save time, prepare your dough a day ahead. just chill it in the fridge overnight it’ll stay fresh and flavors will deepen, which is a win-win! when you roll the dough, work in batches.
It’s less overwhelming and you’ll have more control over the shapes.
Flavor Enhancement Tips
Your flavor profile can really shine here. herbs are your friends! fresh or dried parsley, chives, or even a sprinkle of dill can give those little fishies a unique twist.
If you wanna take it next level, a quick brush of garlic infused olive oil right before they come out can transform your gluten-free snacks into gourmet board material.
Presentation Advice
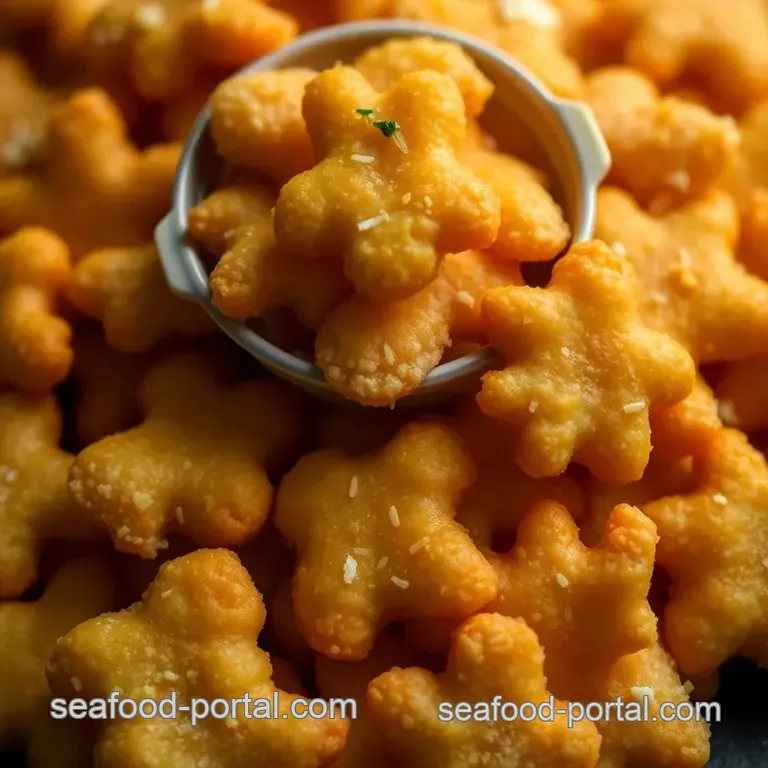
Presentation matters, ya know? even though they’re just crackers, a sprinkle of fresh herbs or a light dusting of sea salt right before serving can make all the difference! think about color too serve them with some colorful veggies or a homemade dip to really pop on your snack table.
Perfect Presentation for Your Snack Table
Now that they’re crafted to perfection, let’s present them like the stars they are!
Plating Techniques
Create a fun vibe by using a big basket lined with a colorful napkin or even a large platter. Stack some up high it makes for a more dramatic presentation that’ll impress your guests!
Garnish Ideas
I love using sprigs of fresh herbs for garnish. Basil or parsley not only looks gorgeous but also adds a punch of freshness. Trust me, it elevates the whole look!
Color Combinations
You want those gluten-free crispy bites to pop against whatever else you’re serving! Maybe mix them with bright cherry tomatoes, colorful bell peppers, or a side of zesty salsa.
Visual Appeal Tips
Keep it simple! Less is more; focus on the bright colors of your veggies and the golden hue of your goldfish crackers.
Storage & make-ahead
Now, let's talk about making these beauties last since we can’t eat 36 crackers all at once.
Storage Guidelines
Store these in an airtight container for up to a week. They’ll still be tasty however, if you leave them out too long, they might lose some of that crunch.
Preservation Methods
You can totally freeze the dough if you want to prep even further ahead. Just wrap it tightly in plastic so no air sneaks in.
Reheating Instructions
If you happen to have any leftovers, crisp them back up by popping them in a 350° F oven for just a few minutes. A quick reheat will bring back their crunch!
Freshness Duration
If you’re keeping the baked crackers, aim to consume them within one week for the best taste and texture.
Creative Variations to Spice Things Up
Sometimes, switching things up keeps the fun alive in the kitchen.
Flavor Adaptations
Try adding some smoky paprika or cayenne for a spicy twist. Or how about a sweet version with a bit of cinnamon and sugar?
Dietary Modifications
Going dairy-free? No problem! Swap the cheese for nutritional yeast for that cheesy essence without the dairy. Honestly, you won’t miss a beat!
Seasonal Twists
Using seasonal herbs can change things dramatically. Imagine using fresh basil or rosemary in the summer for a vibrant flavor that screams picnic!
Regional Variations
Feeling adventurous? Think southwestern spices or Italian herbs to take these snacks from ordinary to extraordinary!
Complete Nutrition Guide
Let’s keep it real about those little bites of cheesy goodness.
Detailed Breakdown
Each serving rounds up to about 120 calories, 3g of protein, and 8g of fat. Not bad for a satisfying snack!
Health Benefits
These homemade fish crackers are made with whole ingredients, avoiding all that processed junk. Perfect for serving to kids, you can feel great knowing they’re munching on some wholesome goodness.
Dietary Considerations
If gluten’s not your jam, these are a lifesaver! Plus, they're adaptable for various diets.
Portion Guidance
Keep portions moderate, especially if you’re serving them at gatherings. Just because they’re snackable doesn't mean we can eat ALL of them in one sitting maybe I’m just saying this to convince myself too…
So there you have it! whether whipping them up for an evening binge watch or packing them for a kid-friendly lunch, these gluten-free cheese crackers are your new go-to! try them out and let the crunchy goodness unfold.
Happy snacking!
Frequently Asked Questions
What are gluten-free goldfish, and how do they differ from regular goldfish crackers?
Gluten-free goldfish are a homemade snack that replicates the classic fish shaped crackers using ingredients that do not contain gluten. They are made with gluten-free all-purpose flour and are perfect for those with gluten sensitivities or celiac disease, ensuring they can enjoy a delicious, crunchy treat without worry.
Can I substitute the cheese in the gluten-free goldfish recipe?
Yes, you can substitute the cheddar cheese with any cheese that melts well, such as mozzarella, gouda, or pepper jack to create a different flavor profile. For a dairy-free version, try using nutritional yeast along with vegan butter for a cheesy flavor without the dairy.
How should I store leftover gluten-free goldfish crackers?
To store leftover gluten-free goldfish crackers, keep them in an airtight container at room temperature for up to a week. For longer storage, you can also freeze them; just place them in a zip-top bag, making sure to remove excess air, and they should last up to three months.
What can I serve with gluten-free goldfish for a snack?
These crunchy gluten-free goldfish are fantastic on their own, but you can also serve them with tasty dips like hummus, guacamole, or salsa for added flavor. Pair them with fruit, such as apple slices, or include them on a cheese board along with some sharp cheddar for a delightful combination.
How can I make gluten-free goldfish spicier or more flavorful?
You can spice up your gluten-free goldfish by adding a pinch of cayenne pepper or chili powder to the dough for a kick. Additionally, incorporating fresh herbs like rosemary or thyme, or even a bit of garlic salt could enhance the overall flavor of your homemade crackers!
Can beginners successfully make gluten-free goldfish crackers?
Absolutely! This recipe is designed for cooks of all skill levels, and while it does involve some techniques like mixing and rolling dough, the steps are straightforward and easy to follow. Just take your time, and don't hesitate to have fun with different shapes and flavors!
Crunchy gluten free Goldfish Crackers